
These High Protein Sausage Breakfast Pies are warm, filling, and easy to make.
They have a flaky crust, a cheesy egg filling, and plenty of savory sausage.
They are great for breakfast, meal prep, or a quick lunch.
Every bite is packed with protein and flavor, and they reheat really well.

Why I Love This Recipe
The first time I made these breakfast pies, I wanted something I could grab on busy mornings that would actually keep me full. I already loved breakfast sandwiches, but I wanted something easier to make ahead. After a few tries, these little pies became my favorite. They bake up crispy on the outside while staying soft and cheesy inside.
Now I make a batch almost every week. They freeze well, they taste great fresh from the oven, and they are easy to pack for breakfast or lunch.
Here’s why I keep making them:
- High in protein to help keep you full.
- Easy to make ahead.
- Crispy outside and creamy inside.
- Great for meal prep.
- Simple ingredients you can find anywhere.
- Easy to customize with your favorite vegetables or cheese.

Servings and Cook Time
- Servings: 8 breakfast pies
- Prep Time: 20 minutes
- Cook Time: 30 minutes
- Total Time: 50 minutes
What You’ll Need
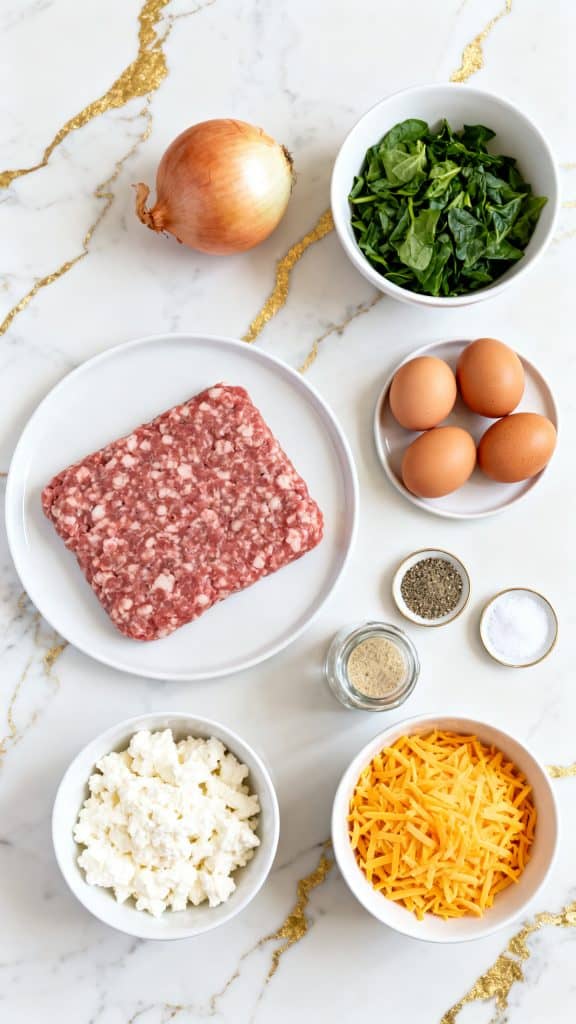
- 1 pound breakfast sausage
- 1 small onion, finely diced
- 1 cup chopped spinach
- 6 large eggs
- 1 cup cottage cheese
- 1 cup shredded sharp cheddar cheese
- 1 teaspoon garlic powder
- ½ teaspoon black pepper
- ½ teaspoon salt
- 1 package refrigerated pie crusts (2 crusts)
- 1 egg beaten (for egg wash)
- Cooking spray
Pro Tips
- Let the sausage cool for about 5 minutes before mixing with the eggs so they stay fluffy.
- Drain extra grease from the sausage to keep the pies from getting soggy.
- Press the pie edges firmly with a fork so the filling stays inside.
- Let the pies cool for 5 minutes before serving so the filling can set.
- Freeze baked pies individually for quick breakfasts.

Tools
- Large skillet
- pie crust shells
- aluminum foil tart pan
- Mixing bowl
- Whisk
- Knife
- Cutting board
- Measuring cups
- Measuring spoons
- Biscuit cutter or large round cutter
- Pastry brush
- Baking sheet
- Parchment paper
- Cooling rack
Substitutions and Variations
- Swap breakfast sausage for turkey sausage.
- Use mozzarella instead of cheddar.
- Replace spinach with chopped kale.
- Add diced bell peppers.
- Use pepper jack cheese for extra flavor.
- Use ricotta instead of cottage cheese.
Make Ahead Tips
Bake the pies completely and let them cool. Store them in the refrigerator for up to 4 days or freeze for up to 3 months. Reheat in a 350°F oven for about 12 minutes or in the microwave for about 1 minute.
Why This Recipe Works (Quick Science)
Protein helps keep you full longer. The eggs, sausage, cottage cheese, and cheddar all add protein while making the filling creamy. Cottage cheese also adds moisture, so the filling stays soft instead of dry. Cooking the sausage first removes extra fat and helps the crust stay crisp. The egg wash gives the pies a beautiful golden color while baking.
Recipe
Step 1. Cook the sausage and vegetables
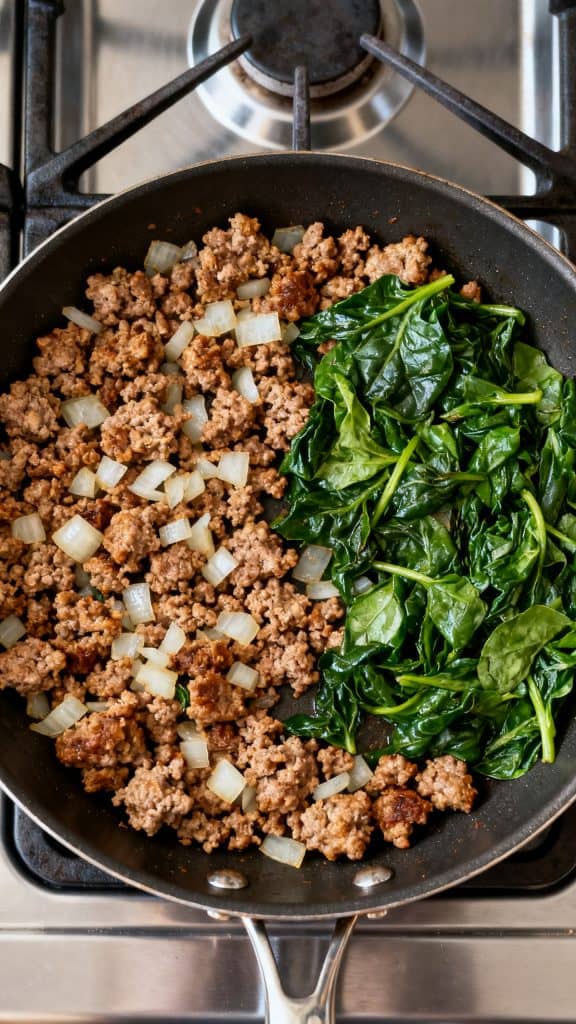
Heat a large skillet over medium heat. Add 1 pound breakfast sausage and cook for about 6 to 8 minutes until browned, breaking it into small crumbles. Stir in 1 small finely diced onion and cook for 3 minutes until soft. Add 1 cup chopped spinach and cook for 1 minute until wilted. Drain any extra grease and let everything cool for 5 minutes.
Step 2. Mix the filling
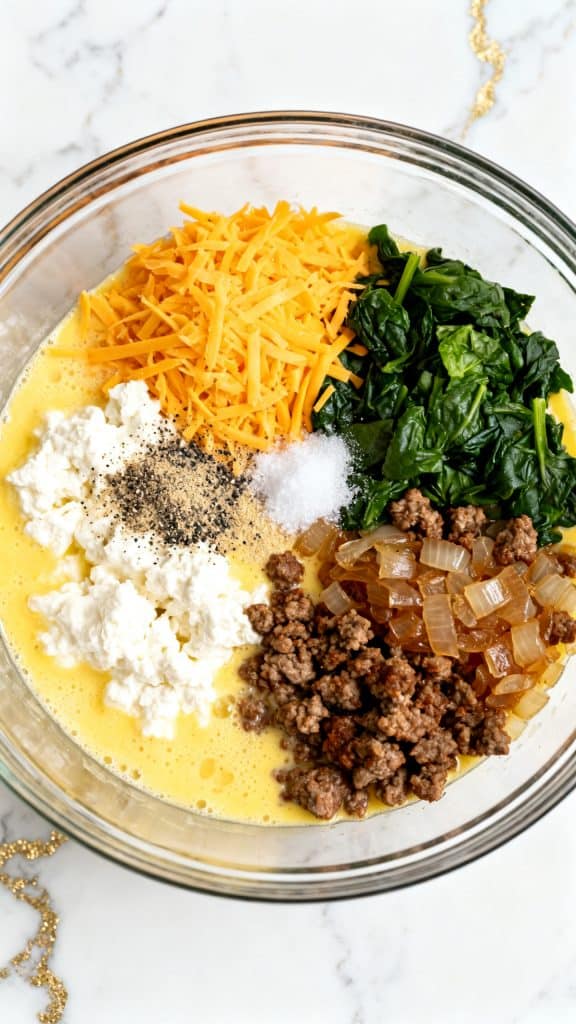
In a large bowl, whisk together 6 large eggs, 1 cup cottage cheese, 1 cup shredded sharp cheddar cheese, 1 teaspoon garlic powder, ½ teaspoon black pepper, and ½ teaspoon salt until smooth. Stir in the cooled cooked sausage mixture until everything is evenly mixed.
Step 3. Place the Pie Crust Shells Into the Tart Pans
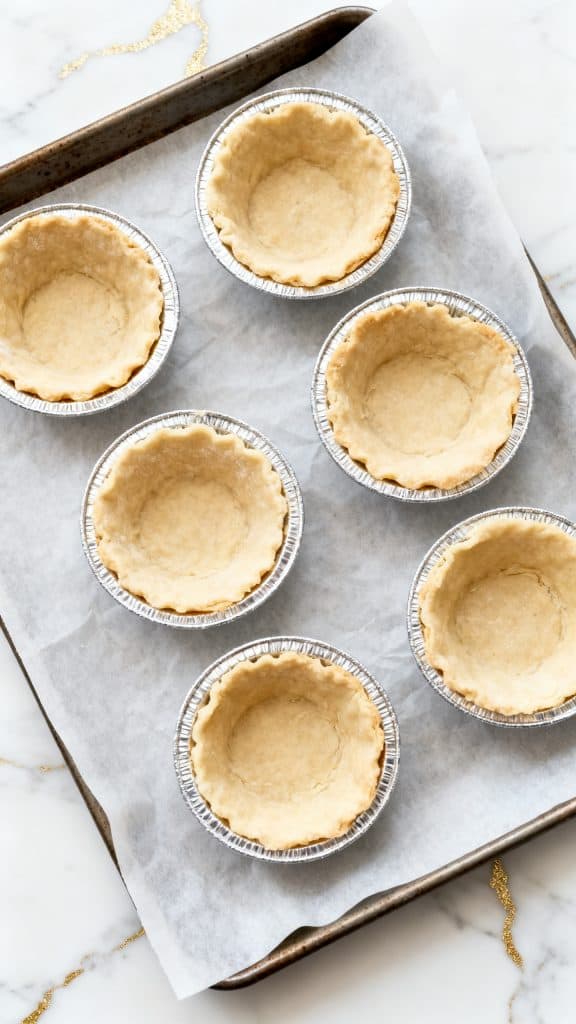
Place 1 store-bought pie crust shell into each small aluminum foil tart pan. Press each crust gently into the bottom and sides of the pan so it fits neatly.
Step 4. Add the filling
Fill each pie crust shell with the evenly mixed filling mixture. Make sure the filling is spread evenly inside each shell.
Step 5. Bake
Spray a parchment-lined baking sheet with cooking spray. Arrange the pies on the baking sheet. Bake at 375°F for 25 to 30 minutes until the crust is golden brown.

Step 6. Cool and serve
Let the pies cool for 5 minutes before serving. Enjoy warm.

Macros Information
Per pie (approximate):
- Calories: 365
- Protein: 23g
- Carbohydrates: 18g
- Fat: 22g
- Fiber: 1g
Common Mistakes
- Do not add hot sausage directly to the eggs. Let it cool first.
- Do not skip draining the grease.
- Do not overfill the pies or they may leak.
- Make sure the edges are sealed tightly.
- Bake until the crust is fully golden for the best texture.
What to Serve With
- Fresh fruit
- Greek yogurt
- Roasted breakfast potatoes
- Sliced avocado
- Cottage cheese
- Fresh salsa
- Orange slices
- Green salad
Leftovers and Storage
Store leftover pies in an airtight container in the refrigerator for up to 4 days.
Freeze for up to 3 months.
Reheat in a 350°F oven for 10 to 12 minutes or microwave for about 1 minute.
FAQ
Q: Can I freeze these breakfast pies?
A: Yes. Let them cool completely, wrap each pie, and freeze for up to 3 months.
Q: Can I use turkey sausage?
A: Yes. Turkey sausage works very well and lowers the fat.
Q: Can I make them ahead?
A: Yes. Bake them the day before and reheat when ready to eat.
Q: Can I use homemade pie dough?
A: Absolutely. Homemade pie dough works great.
Q: How do I know they are done?
A: The crust should be golden brown and the filling should be set in the center.
Final Thoughts
These High Protein Sausage Breakfast Pies are simple, satisfying, and packed with flavor. They are easy enough for busy weekdays but tasty enough to serve for a weekend brunch. Make a batch, enjoy them fresh, and save a few for later. If you try this recipe, I’d love to hear how it turned out and what fun twists you added.
1 thought on “High Protein Sausage Breakfast Pies”