
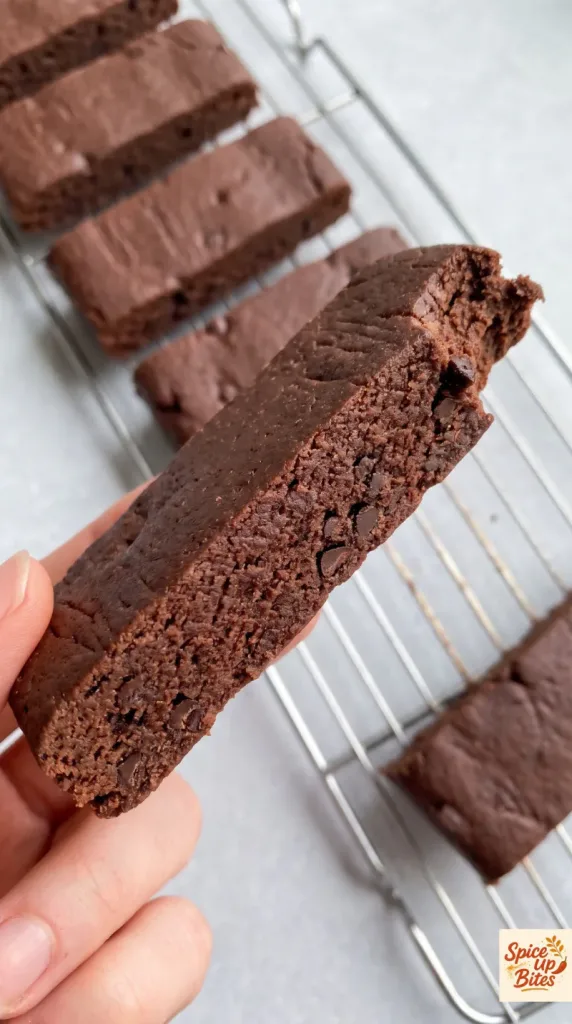
Chocolate Protein Bars bring rich cocoa flavor and a soft, chewy bite to your snack break. Peanut butter holds the dough together, while tiny chocolate chips add little pockets of sweetness. There is no oven to heat and no chocolate coating to fuss with. Mix the dough, press it into a pan, and give it time to firm up in the fridge.
Why I Love This Recipe
The appeal is in the simple method. You get a brownie-like chocolate snack from a bowl of pantry ingredients, and you can portion the whole batch ahead of time. The peanut butter flavor comes through gently under the cocoa.
- No baking: The fridge does the setting.
- Easy portions: A square pan makes twelve handy bars.
- Chocolate throughout: Cocoa flavors the base, and mini chips add texture.
- A useful texture check: You can adjust the dough before pressing it into the pan.
What You’ll Need
- Servings: 12 bars; 1 bar per serving
- Prep Time: 15 minutes
- Cook Time: 0 minutes
- Chill Time: 1 hour
- Total Time: 1 hour 15 minutes
- Pan: 8-inch square metal pan
- Oven Temperature: Not needed
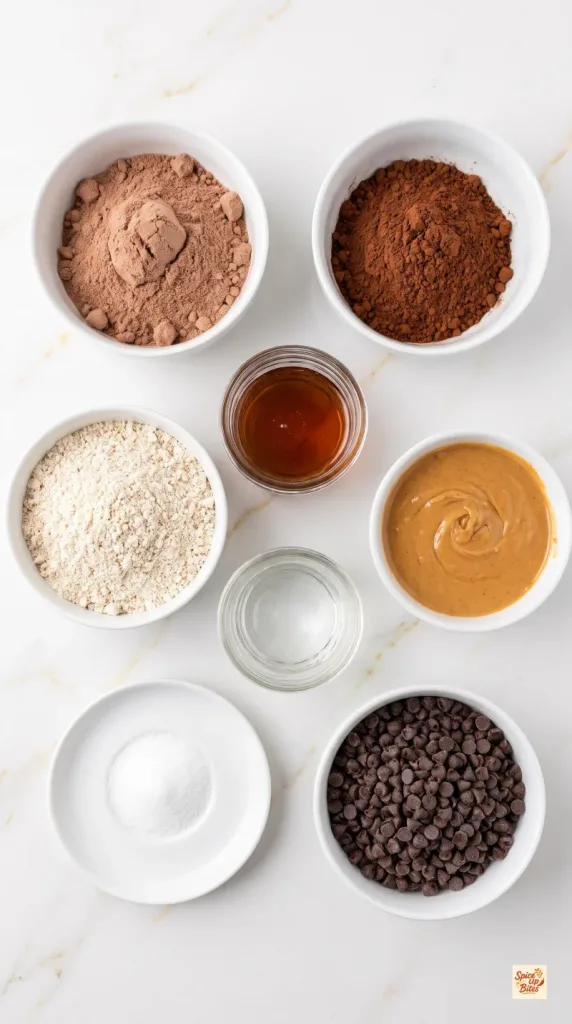
Use a chocolate whey protein powder you enjoy on its own. Weigh it rather than counting scoops, since scoop sizes vary. Choose oat flour labeled ready to eat or suitable for uncooked recipes; do not replace it with raw wheat flour.
- 120 g chocolate whey protein powder, approximately 1 cup depending on brand
- 40 g unsweetened Dutch-process cocoa powder, about 1/2 cup
- 80 g ready-to-eat oat flour, about 3/4 cup
- 1/8 teaspoon fine salt
- 200 g well-stirred natural creamy peanut butter, about 3/4 cup plus 1 tablespoon
- 160 g pure maple syrup, about 1/2 cup
- 60 g mini semisweet chocolate chips, about 1/3 cup
- 1–3 tablespoons water, only as needed
Tools You Need
- Digital kitchen scale
- Large mixing bowl
- Whisk and sturdy spatula
- Measuring spoons
- 8-inch square metal pan
- Parchment paper
- Sharp knife for portioning
- Airtight storage container
How to Make Chocolate Protein Bars
Have the pan lined before you mix, since the thick dough is easier to press while fresh.
Step 1: Blend the Dry Ingredients
Line an 8-inch square metal pan with parchment, leaving an overhang on opposite sides for lifting.
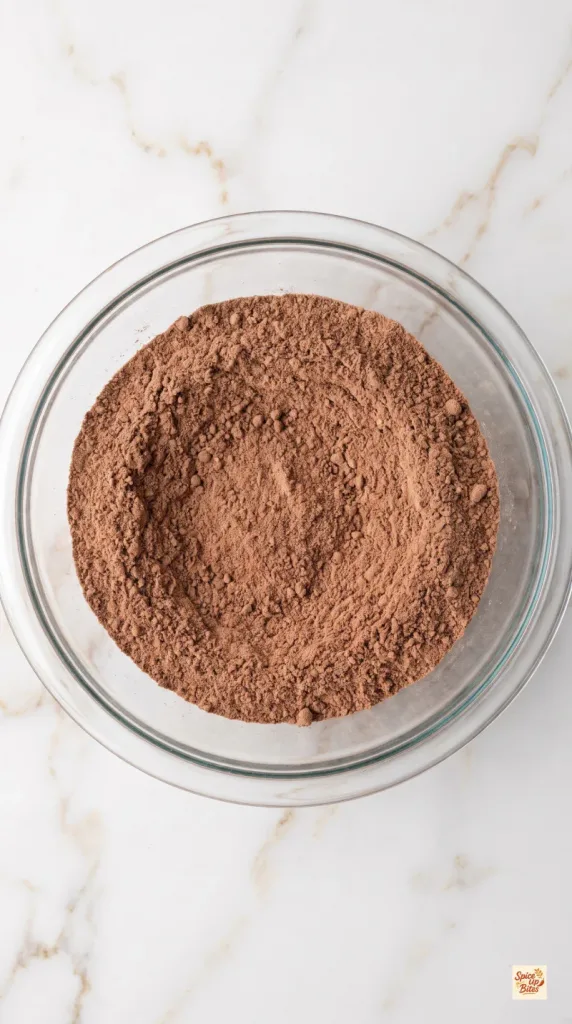
In a large bowl, whisk 120 g chocolate whey protein powder, 40 g Dutch-process cocoa powder, 80 g ready-to-eat oat flour and 1/8 teaspoon fine salt until the color is even.
Break up any cocoa lumps so they do not leave bitter pockets in the bars.
Step 2: Make the Dough
Add 200 g well-stirred natural creamy peanut butter and 160 g pure maple syrup to the dry blend.
Stir firmly, pressing the mixture against the bowl, until it forms a thick dough.
If it stays crumbly, work in 1 tablespoon water first, then add more from the remaining 2 tablespoons water, 1 teaspoon at a time, only until a squeezed piece holds together. You may not need the full amount.
Fold in 60 g mini semisweet chocolate chips until spread throughout.
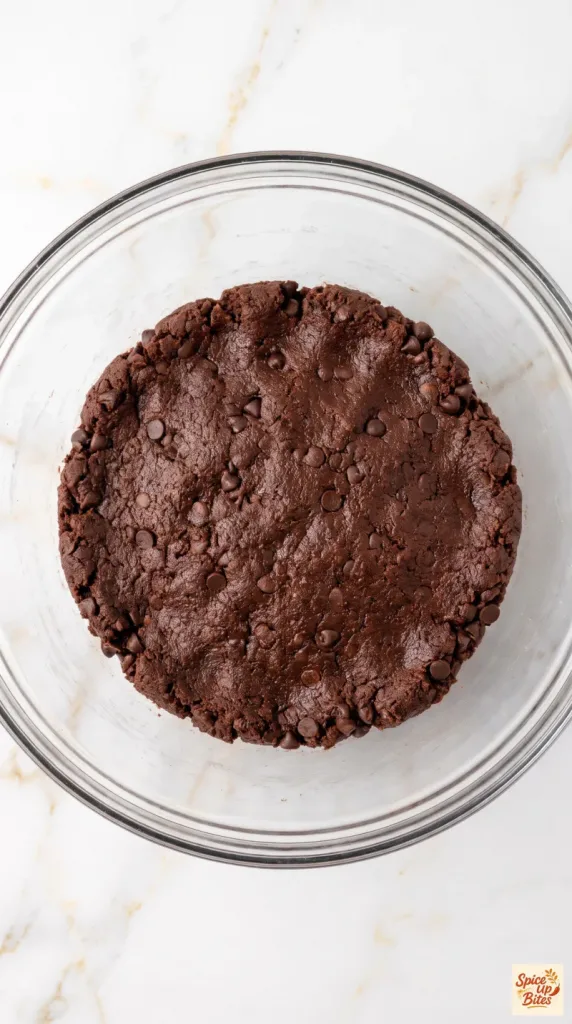
The dough should feel firm and moldable, with no loose powder. It should not flow like brownie batter.
Step 3: Press and Chill
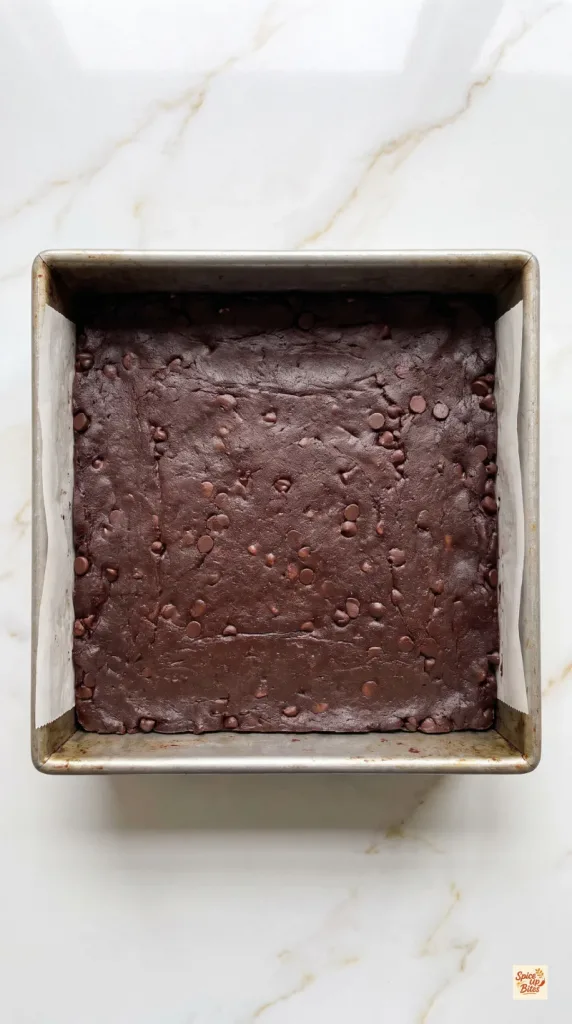
Transfer the dough to the lined 8-inch square pan.
Press firmly into an even layer about 5/8 inch thick, working all the way into the corners. Use a loose piece of parchment over the dough to keep it from sticking to your fingers, then remove that top sheet.
Refrigerate for 1 hour, or until firm enough to lift without bending apart. A softer brand of peanut butter may need a little longer.
Step 4: Slice and Serve
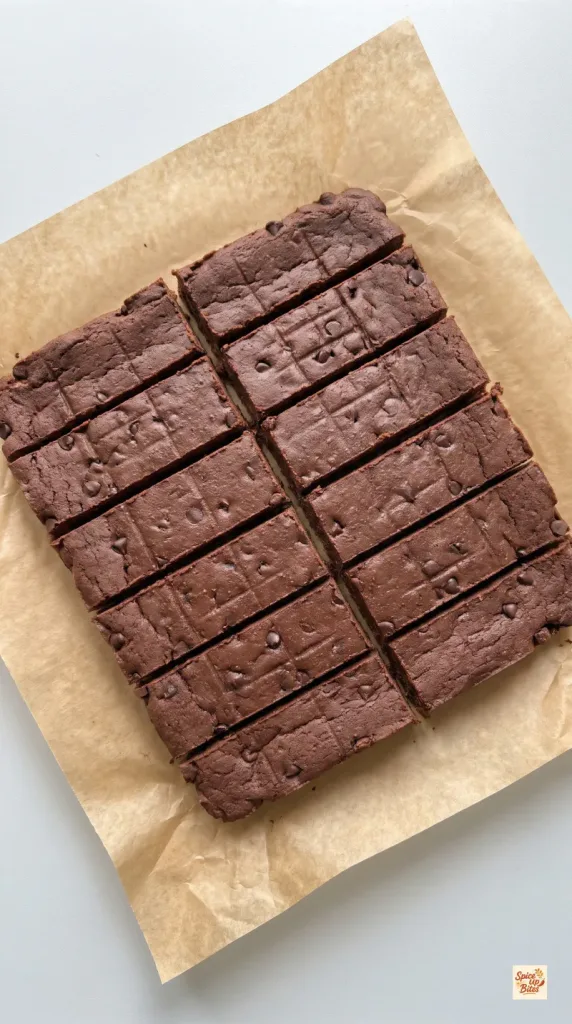
Lift the chilled slab out using the parchment overhang.
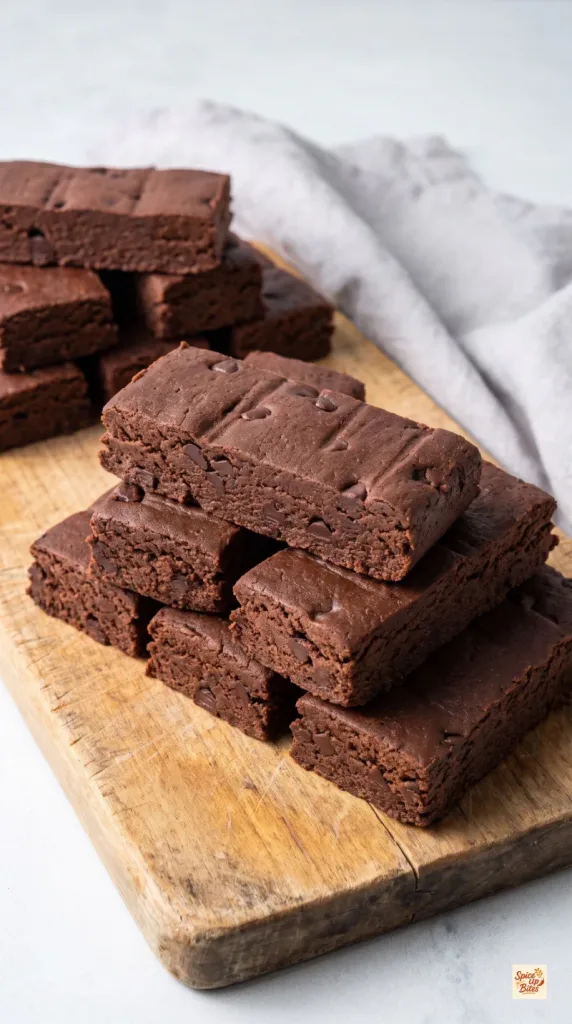
Cut it in half through the middle, then make five evenly spaced cuts across both halves to create 12 bars, each about 4 inches long and 1 1/3 inches wide.
Serve the bars plain. For a softer bite, let your portion stand for 5 minutes before eating; return the rest to the fridge.
Why This Recipe Works (Quick Science)
Peanut butter supplies fat and a thick paste that binds the dry ingredients. Maple syrup adds both sweetness and moisture. Oat flour and protein powder take up some of that moisture, turning a loose mixture into a dough you can press and slice.
Chilling firms the peanut butter mixture; it does not bake or cook the bars. That is why the flour must be suitable for eating without cooking. A small amount of water can soften a dry dough, but too much leaves the bars sticky. The finished texture should be dense and fudgy, with chocolate chips throughout rather than a separate chocolate layer.
Common Mistakes to Avoid
- Using dry peanut butter: Stir the oil back into the jar before weighing your portion.
- Measuring powder by scoop: Different brands pack very differently. Use grams for the main dry ingredients.
- Pouring in all the water: Add only enough to make the dough hold together.
- Pressing loosely: Air pockets make the edges crumble when sliced.
- Cutting too soon: Let the slab firm up before lifting it from the pan.
- Expecting a baked crust: These bars stay soft and chewy, with no browned edges.
Pro Tips
Press the edges as firmly as the middle. A level slab gives you bars that chill and slice evenly.
Wipe the knife between cuts for tidy edges. If the slab feels sticky, chill it longer before trying again.
For the closest texture, keep the listed whey protein powder. Casein and plant-based powders can absorb a different amount of moisture, so they are not exact swaps.
Substitutions and Variations
- Nut butter: Smooth almond butter can replace the peanut butter by weight. Its flavor and firmness will differ.
- Cocoa: Natural unsweetened cocoa can replace Dutch-process cocoa by weight for a slightly sharper flavor.
- Gluten-free needs: Choose certified gluten-free ready-to-eat oat flour and check the other ingredient labels.
- Chocolate chips: Finely chopped semisweet chocolate can replace the mini chips by weight.
These swaps can change the nutrition and dough texture. Powdered peanut butter does not replace the full-fat peanut butter directly.
Leftovers and Storage
Keep the bars in an airtight container in the refrigerator for up to 4 days. Separate layers with parchment so they lift out easily.
For longer storage, wrap individual bars and freeze in a sealed container for up to 2 months. Thaw a portion in the fridge. Freezing may make the texture slightly more crumbly, so start with a small portion if texture matters to you.
These are soft homemade bars. Pack them with an ice pack rather than leaving them in a warm bag for hours.
Macros Information
Estimated per bar, based on 12 equal bars and a typical chocolate whey protein powder:
- Calories: 235
- Protein: 14 g
- Carbohydrates: 24 g
- Fat: 11 g
- Saturated Fat: 3 g
- Fiber: 3 g
- Sugar: 15 g
- Sodium: 95 mg
These are estimates. Your protein powder, peanut butter and chocolate chip labels will change the values.
Frequently Asked Questions (FAQ)
Q: Do Chocolate Protein Bars need baking?
A: No. They set in the fridge, so use ingredients that are suitable for eating without cooking.
Q: Can I use vanilla protein powder?
A: Yes, use the same weight of whey powder. The cocoa still gives a chocolate flavor, though sweetness will vary by brand.
Q: Why is my dough crumbly?
A: Your powder may absorb more moisture, or the peanut butter may be dry. Work in the listed water slowly and stop when a squeezed piece holds together.
Q: Why are the bars sticky?
A: The dough may have too much moisture or need more chilling. Chill it longer first. A very soft batch can be kept frozen and thawed by the portion.
Q: Can I leave out the chocolate chips?
A: Yes. The dough still binds, but the yield by weight and estimated nutrition will be lower. Keep the same twelve cuts for smaller bars.
Q: Can I use honey instead of maple syrup?
A: Honey can bind the dough, but its thickness and flavor differ. Replace it by weight and assess the texture before adding any water.
Q: Are these vegan?
A: This version contains dairy-based whey. A vegan version needs plant-based protein powder and dairy-free chips, with moisture adjusted for that powder.
Q: Can these stay at room temperature?
A: Serve a portion briefly at room temperature, but keep the batch refrigerated. They soften in warmth and are meant to be stored cold.
Final Thoughts
Chocolate Protein Bars make a simple batch snack with a rich cocoa taste and a chewy, fudgy center. Pay attention to the dough texture, press it firmly, and give it time to chill. Leave a comment with the protein powder you used and how your batch turned out. Happy cooking!