
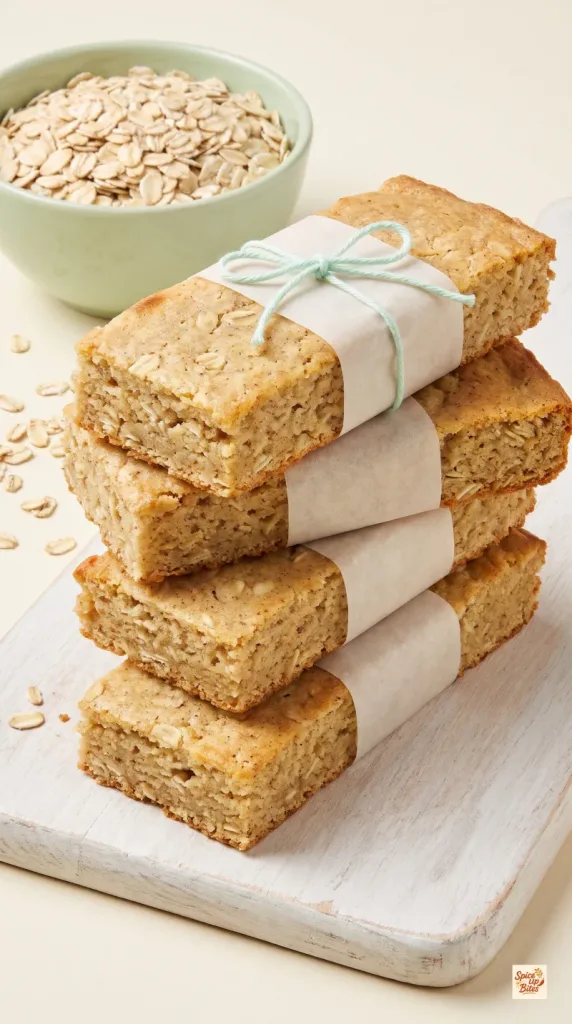
Soft Baked Banana Protein Bars bring banana-bread flavor to a simple oat snack. They have a tender middle, a little chew from rolled oats, and a mild touch of cinnamon. Ripe bananas add sweetness, while yogurt and peanut butter help keep the bars moist. Bake a pan, let it cool, and tuck a few portions away for busy mornings.
Why I Love This Recipe
These bars make good use of spotty bananas without turning into a full loaf of bread. The mix comes together with a bowl and a fork, and the finished bars are easy to portion. They are gently sweet rather than candy-like, so a sweetened vanilla protein powder works well here.
- Soft texture: Banana and yogurt keep the oat mixture tender.
- Simple prep: There is no mixer or blender to wash.
- Useful protein: Dairy, egg and protein powder all contribute.
- Easy to save: The bars can be chilled or frozen in separate portions.
What You’ll Need
- Servings: 12 bars; 1 bar per serving
- Prep Time: 15 minutes
- Cook Time: 25 minutes
- Cooling Time: 45 minutes
- Total Time: 1 hour 25 minutes
- Oven Temperature: 350°F (175°C), conventional oven
- Pan Size: 8-inch square white ceramic baking dish with two built-in side handles
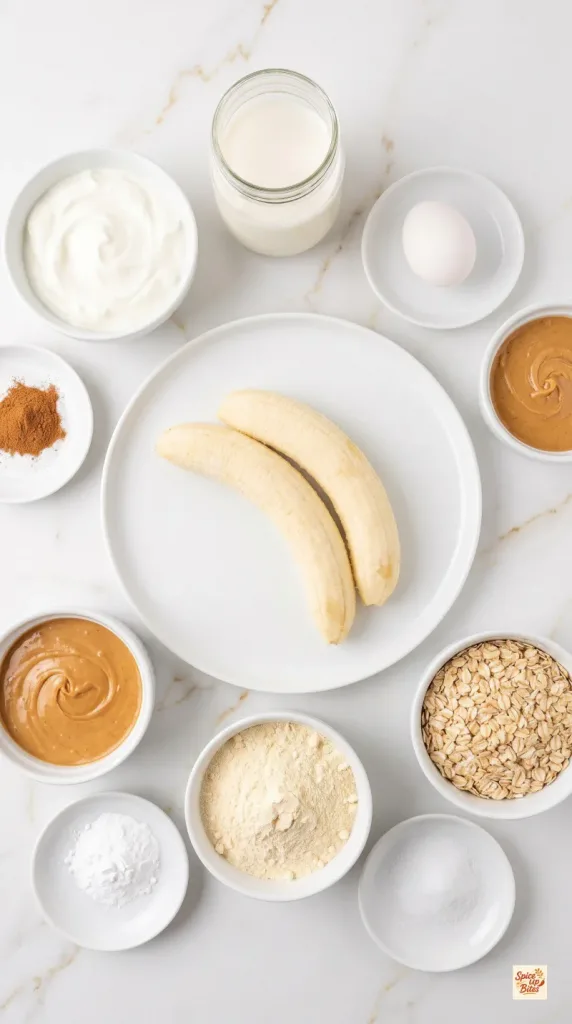
Ingredients
- 1 cup mashed very ripe banana (240 g; about 2 large bananas)
- 1/2 cup plain nonfat Greek yogurt (120 g)
- 1/2 cup 2% milk (120 ml)
- 1 large egg
- 2 tablespoons smooth peanut butter (32 g), well stirred
- 2 cups old-fashioned rolled oats (160 g)
- 90 g sweetened vanilla whey-casein protein powder, weighed rather than measured by scoop
- 1 teaspoon baking powder
- 1 teaspoon ground cinnamon
- 1/4 teaspoon fine salt
Tools You Need
- 8-inch square white ceramic baking dish with two built-in side handles
- Parchment paper
- Large glass mixing bowl
- Fork, whisk and flexible spatula
- Digital kitchen scale and measuring spoons
- Wire cooling rack
- Sharp knife for slicing the cooled bars
How to Make Soft Baked Banana Protein Bars
Measure the ingredients before you start, and keep the mixing gentle once the oats go in.
Step 1: Prepare the Dish
Heat the oven to 350°F (175°C) with a rack in the middle.
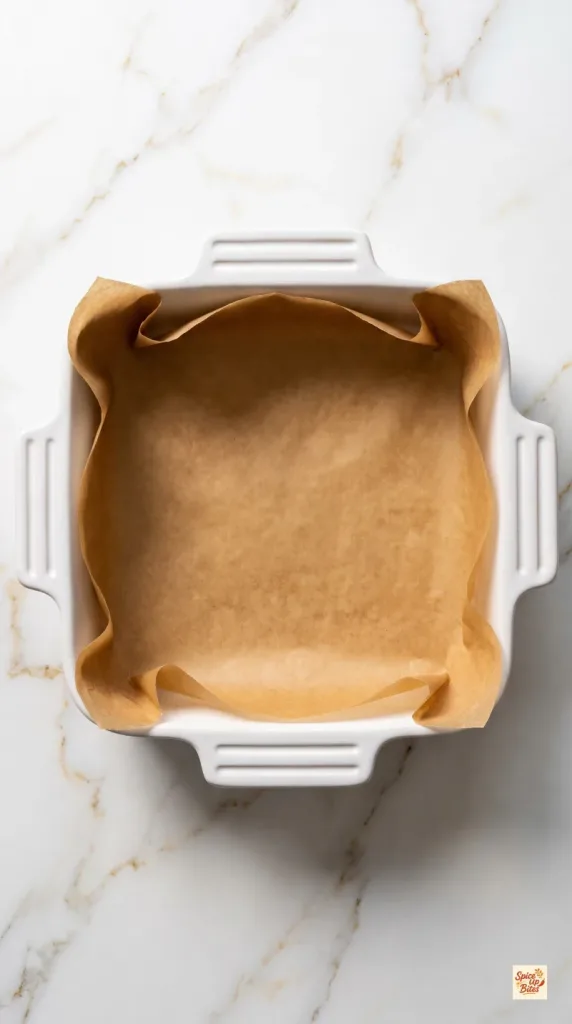
Line an 8-inch square white ceramic baking dish with two built-in side handles with parchment, leaving enough overhang on two opposite sides to lift out the cooled slab. Fold the corners flat so the paper fits snugly.
Step 2: Mix the Wet Ingredients
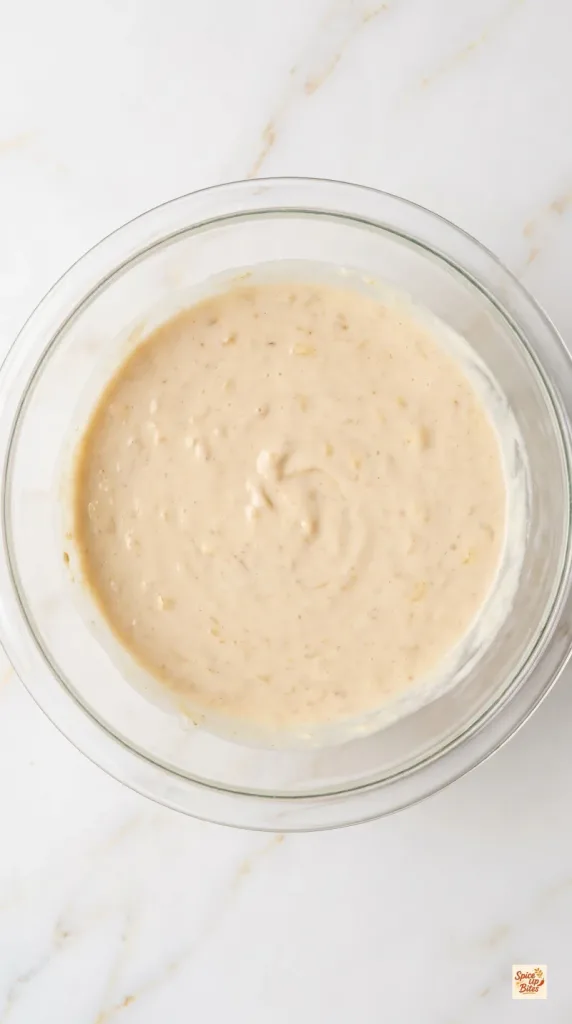
Mash 1 cup ripe banana (240 g) in a large glass bowl until mostly smooth, with only tiny soft lumps.
Whisk in 1/2 cup plain nonfat Greek yogurt (120 g), 1/2 cup 2% milk (120 ml), 1 large egg and 2 tablespoons smooth peanut butter (32 g) until evenly blended.
Step 3: Fold in the Dry Ingredients
Add 2 cups old-fashioned rolled oats (160 g), 90 g sweetened vanilla whey-casein protein powder, 1 teaspoon baking powder, 1 teaspoon ground cinnamon and 1/4 teaspoon fine salt.
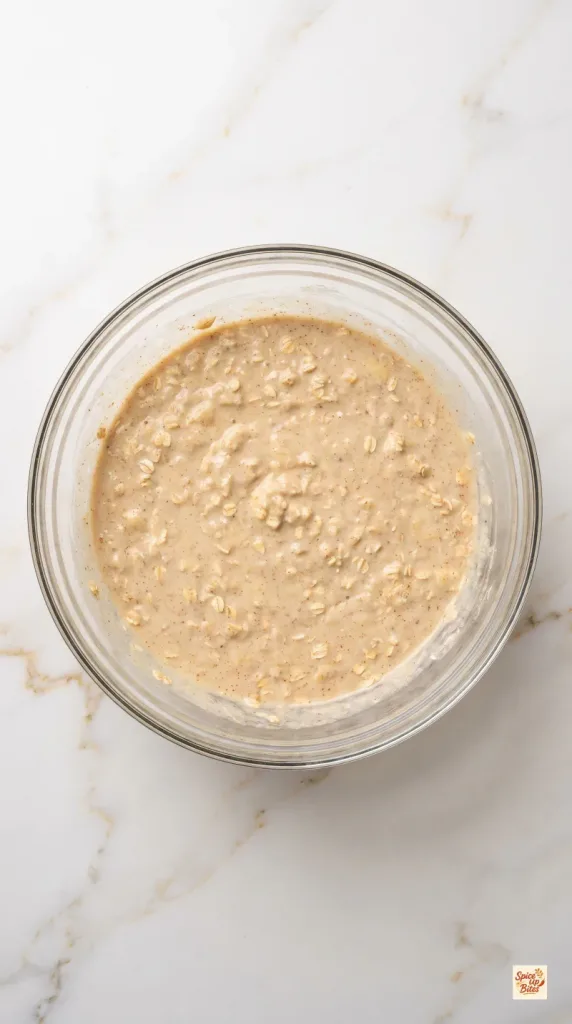
Fold just until no dry pockets remain, then let the mixture stand for 5 minutes so the oats can absorb some liquid. It should be thick and spoonable, with no loose milk around the edges.
Step 4: Fill and Bake
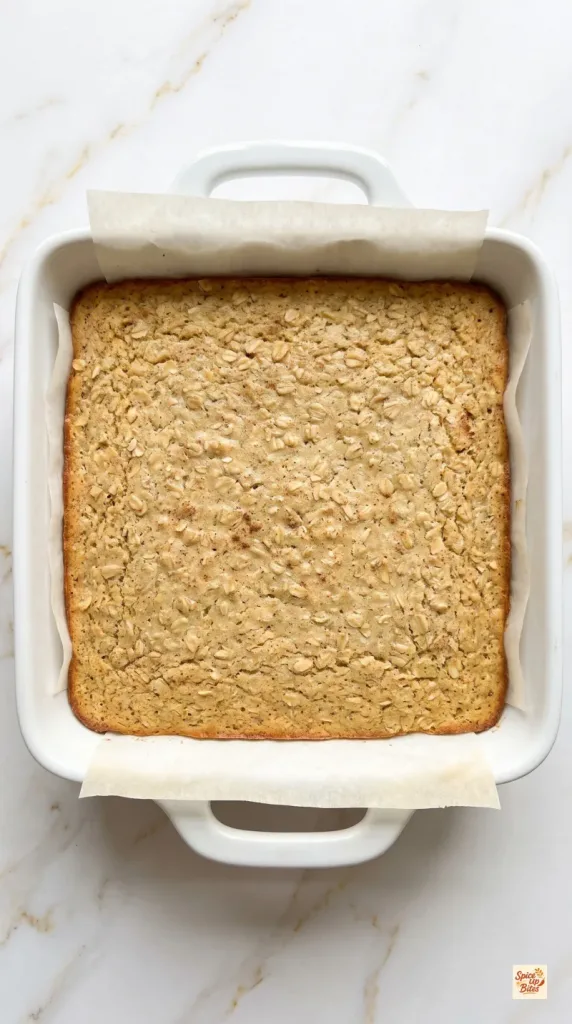
Spread all the batter into the prepared 8-inch square parchment-lined white ceramic baking dish with two built-in side handles. Smooth it into an even layer, reaching the corners.
Bake for 23–27 minutes, planning on 25 minutes, until the edges are lightly golden and the center is set. A toothpick should come out with a few moist crumbs, without wet batter. Avoid waiting for a completely dry toothpick.
Step 5: Cool, Slice and Serve
Let the slab cool in its dish for 20 minutes. Lift it out using the parchment, transfer to a wire rack, and cool for another 25 minutes, or until no longer warm.
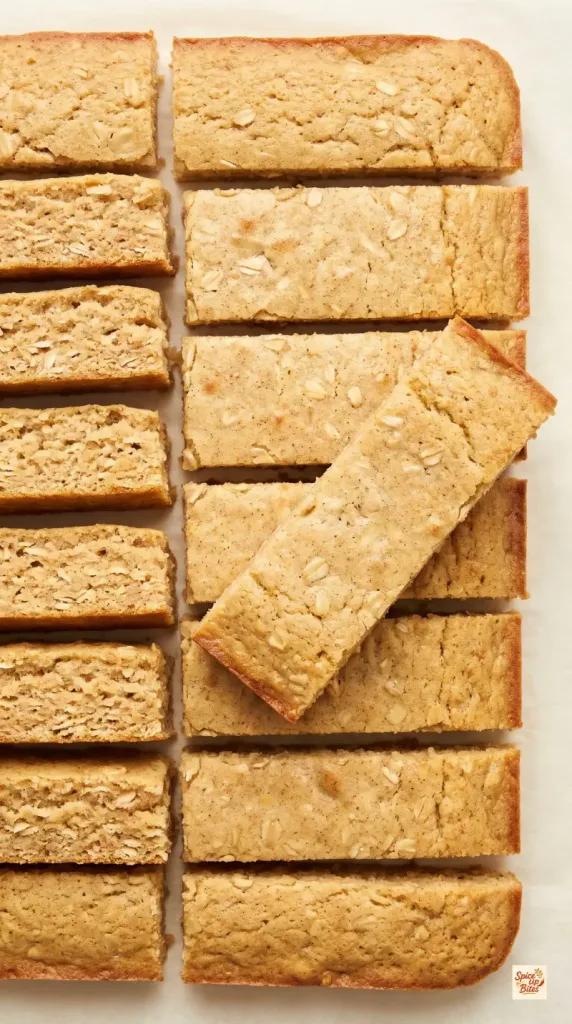
Cut the slab in half, then cut each half into six strips to make 12 rectangular bars, each about 4 by 1 1/3 inches. Serve the bars on their own. The soft centers hold together best once fully cooled.
For taking them along, wrap the cooled bars individually in parchment and place them in a sealed container.
Why This Recipe Works (Quick Science)
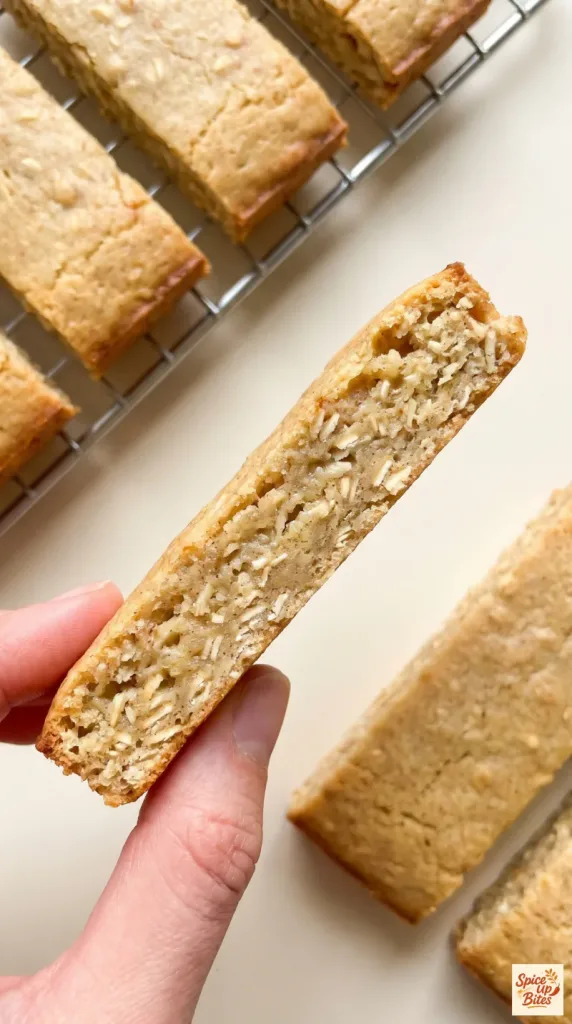
Banana brings moisture and natural sweetness. Its soft pulp also helps the oats stick together. As the oats rest and bake, they absorb liquid and soften without losing all their texture.
Egg and dairy proteins help the mixture set. Yogurt and a little peanut butter keep the bite tender, while baking powder adds a small lift. Too much baking drives off moisture and makes protein powder taste dry, so a set center with moist crumbs is the cue to stop. Cooling lets the slab firm up before slicing.
Common Mistakes to Avoid
- Using firm bananas: Choose bananas with plenty of brown spots for better sweetness and easier mashing.
- Adding extra protein powder: Scoop sizes vary. Weigh the 90 g so the batter does not become dry.
- Changing the powder without adjusting expectations: Plant powders and pure casein absorb liquid differently. They are not direct swaps here.
- Baking until hard: The bars should stay soft. A wet center needs longer, but moist crumbs are fine.
- Slicing while warm: Give the slab its cooling time so it holds its shape.
Pro Tips
- Stir the peanut butter before measuring if the oil has separated.
- Use room-temperature milk and yogurt when possible so the peanut butter blends more easily.
- Start checking at 23 minutes. Ceramic dishes and ovens can vary.
- For cleaner edges, wipe the knife between cuts once the slab is cool.
Leftovers and Storage
Cool the bars fully before sealing them so trapped moisture does not make the tops sticky. Keep them in an airtight container in the refrigerator for up to 4 days, with parchment between layers.
Freeze separate portions for up to 2 months. Thaw overnight in the refrigerator. Let a chilled bar sit out briefly before eating, or microwave it for 10–15 seconds if you prefer a softer bite.
Macros Information
Estimated per bar, based on 12 bars and a protein powder providing about 70 g protein per 90 g:
- Calories: 130
- Protein: 10 g
- Carbohydrates: 16 g
- Fat: 3 g
- Saturated Fat: 1 g
- Fiber: 2 g
- Sugar: 5 g
- Sodium: 130 mg
These are estimates; your protein powder and other ingredient brands will change the numbers.
Frequently Asked Questions (FAQ)
Q: What protein powder should I use?
A: Use a sweetened vanilla whey-casein blend designed for mixing into food. Weigh 90 g. A pure whey powder may make the bars a little firmer, while plant powder or pure casein can make the batter much thicker.
Q: Can I leave out the protein powder?
A: It supplies both dry matter and protein, so leaving it out changes the recipe. Use a banana oat bar recipe made without protein powder instead of simply skipping it.
Q: Can I use quick oats?
A: Quick oats absorb liquid faster and give a softer, less distinct texture. Old-fashioned rolled oats are the better choice for this version. Steel-cut oats will not soften enough in this baking time.
Q: Are these bars very sweet?
A: They are mildly sweet. Very ripe bananas and sweetened vanilla protein powder provide the sweetness; there is no added syrup or sugar in the base recipe.
Q: Can I make them gluten-free?
A: Use certified gluten-free rolled oats and check that the protein powder and baking powder are also labeled gluten-free.
Q: Can I replace the peanut butter?
A: Smooth almond butter can replace the same 32 g of peanut butter. It will change the flavor slightly. For a peanut allergy, check every ingredient label for possible cross-contact.
Q: Why are my bars gummy?
A: Too much banana, underbaking or cutting while warm can leave the center gummy. Weigh the mashed banana, check that there is no wet batter in the center, and let the slab cool fully.
Q: Can I double the recipe?
A: Bake two separate 8-inch square dishes rather than making one deep slab. Start checking each at the usual time and rotate their positions if your oven browns unevenly.
Q: Are these firm like packaged protein bars?
A: No. They have a soft baked-oat texture with a tender center. Keep them chilled for easier packing and a slightly firmer bite.
Final Thoughts
Soft Baked Banana Protein Bars are a simple way to turn ripe bananas into a useful make-ahead snack. Keep the baking gentle, let the slab cool, and enjoy the soft oat texture. Leave a comment with your favorite way to fit them into your day. Happy cooking!