
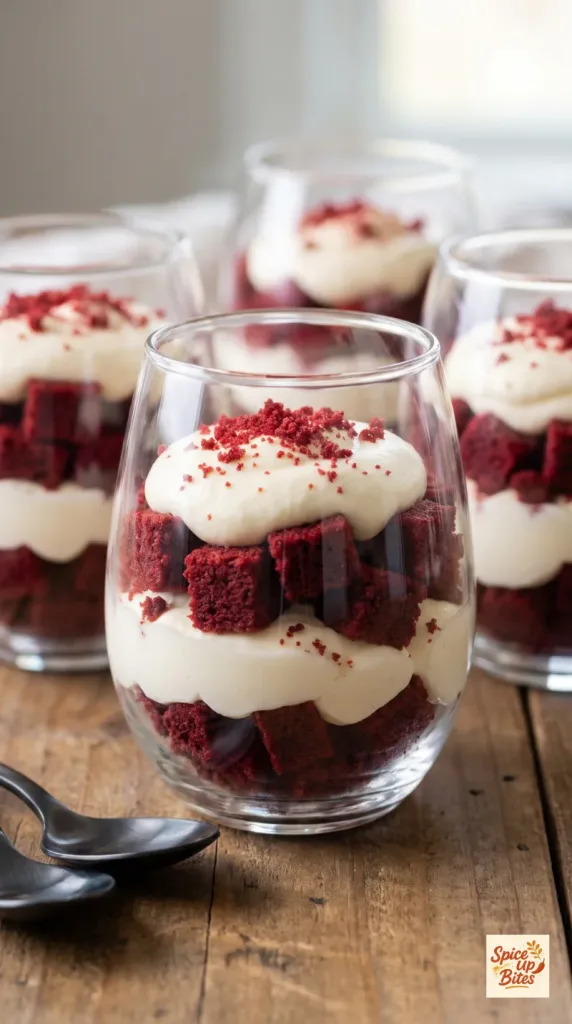
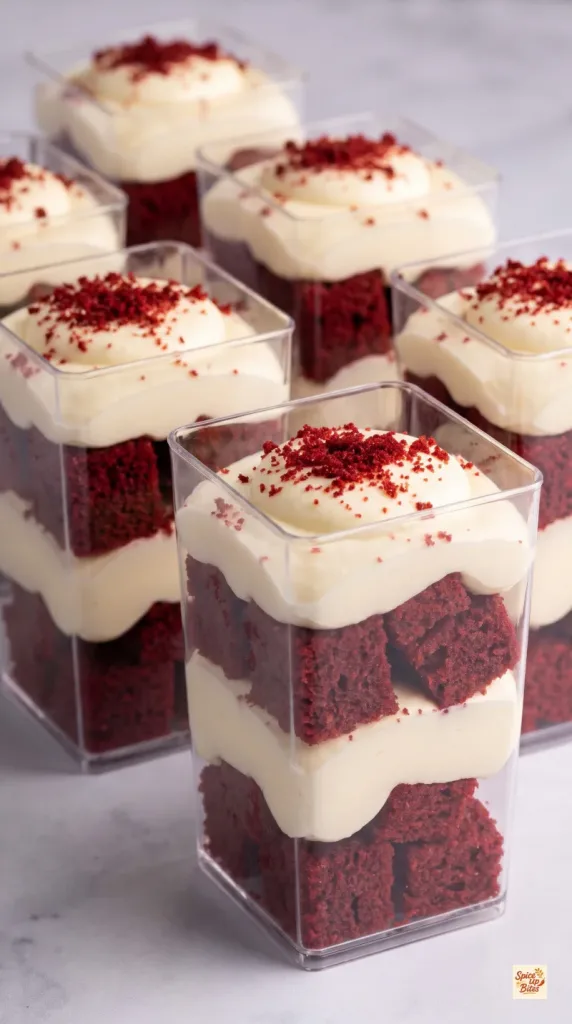
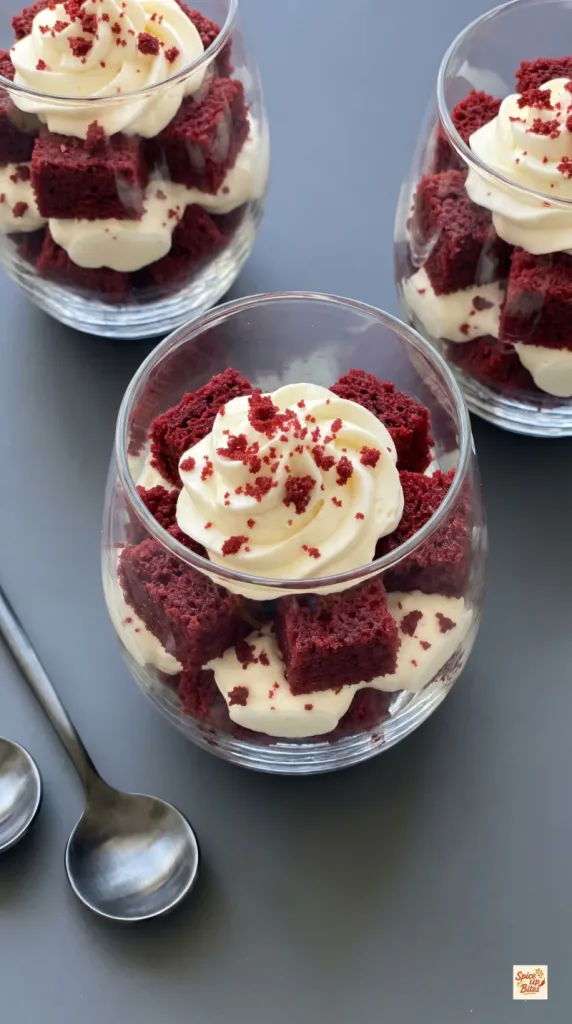
Red Velvet Dessert Cups layer soft bites of cocoa cake with tangy whipped cream cheese. The red cake crumbs on top are saved from the same cake, so they add color without an extra topping to buy. Start with a plain baked cake and you can put the cups together in about 25 minutes. Chill them while you get the rest of the meal ready.
Why I Love This Recipe
A good spoonful gets all the way through the cream and into the cake. Small cubes make that easy, and a short rest in the fridge softens the edges where the cake touches the filling.
- Easy to portion — Each cup is its own serving, so there’s no cake to slice at the table.
- A little tang — Cream cheese gives the filling enough tang to balance the sweet cake.
- Make-ahead friendly — Assemble the cups early, then scatter on the crumbs just before serving.
What You’ll Need
- Servings — 8 dessert cups
- Prep Time — 25 minutes
- Cook Time — 0 minutes
- Chill Time — 1 hour
- Total Time — 1 hour 25 minutes
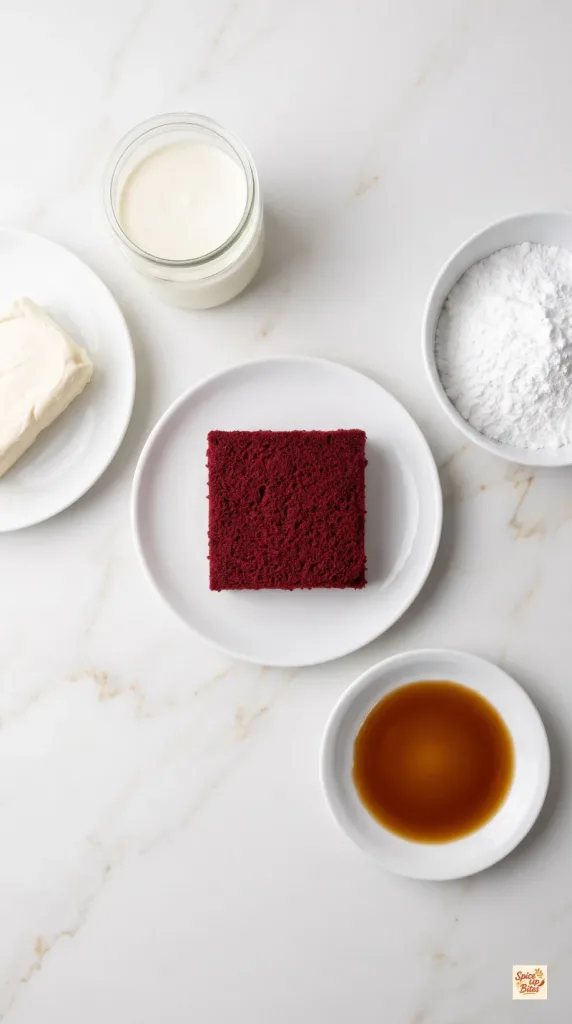
- 16 oz plain baked red velvet cake, completely cooled and unfrosted, divided between the layers and topping
- 8 oz full-fat block cream cheese, softened
- 1 cup cold heavy whipping cream
- ⅓ cup powdered sugar
- 1 teaspoon vanilla extract
Tools You Need
- Kitchen scale
- Wooden cutting board and a serrated knife
- Two glass mixing bowls
- Electric hand mixer and flexible spatula
- Eight clear 8-ounce dessert cups
- Spoon or piping bag with a wide opening
How to Make Red Velvet Dessert Cups
Cut the cake and make the filling before you set out the cups.
Step 1: Cut the Cake
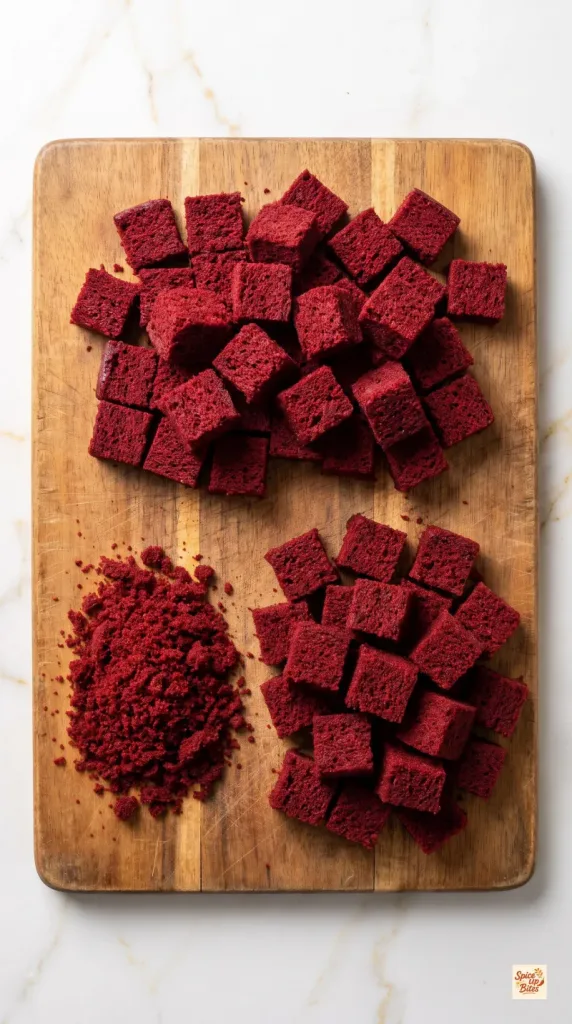
Set 16 oz cooled, unfrosted red velvet cake on a wooden cutting board.
Break off ½ oz of cake, rub it into fine crumbs, and set it aside for the topping.
Cut the remaining 15½ oz of cake into ½-inch cubes. Divide the cubes into two equal piles for the two cake layers.
Step 2: Make the Whipped Cream Cheese Filling
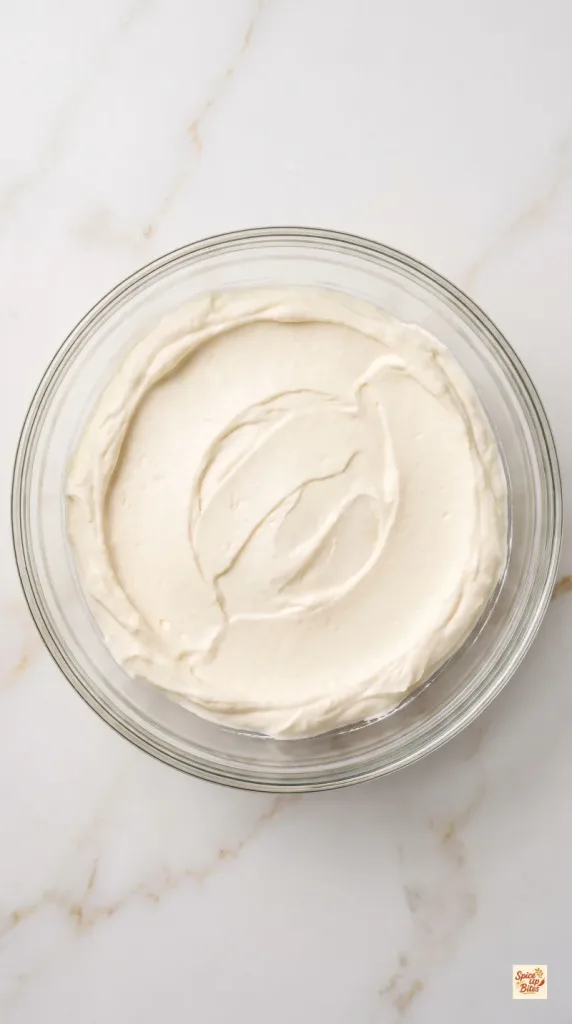
Beat 8 oz softened cream cheese, ⅓ cup powdered sugar, and 1 teaspoon vanilla extract in a glass bowl until smooth. Scrape the sides so there are no lumps.
In a separate glass bowl, whip 1 cup cold heavy whipping cream until it holds medium peaks. When you lift the beaters, the tips should curl over.
Fold about a third of the whipped cream into the cheese mixture to lighten it. Gently fold in the rest just until the filling is smooth and streak-free.
Step 3: Layer, Chill, and Serve
Divide one 7¾ oz pile of cake cubes among eight clear 8-ounce cups to make the bottom layers. Leave the cubes loose so a spoon can slip through them easily.
Spoon about 2 tablespoons whipped cream cheese filling into each cup. Spread it to the glass so the layer shows.
Divide the second 7¾ oz pile of cake cubes among the cups. Finish each cup with an even share of the remaining filling, spooned into a soft mound.
Cover and refrigerate for at least 1 hour. Divide the reserved ½ oz cake crumbs among the eight tops just before serving cold.
Why This Recipe Works (Quick Science)
Whipping heavy cream traps tiny air bubbles. Folding it into the cream cheese keeps enough of those bubbles intact to make the filling light but firm enough to stay in layers. The cube edges soften where they touch the filling during chilling, while the centers keep their soft cake texture. The dry crumbs go on at the end so they stay loose and distinct.
Common Mistakes to Avoid
- Starting with warm cake — Let it cool completely before cutting. Warm cake sheds more crumbs and can soften the filling.
- Using cream cheese straight from the fridge — Cold cream cheese can leave little lumps that are hard to smooth out once the whipped cream is folded in.
- Packing down the cubes — Lightly settle them into the cups so the filling can slip into the small gaps.
- Filling the cups to the very top — Leave room for the last mound of cream and its crumb topping, especially if you plan to cover the cups.
Macros Information
These are estimates per cup based on eight servings and will vary with the cake you use.
- Calories — 420
- Protein — 5 g
- Carbohydrates — 42 g
- Fat — 26 g
- Saturated Fat — 15 g
- Fiber — 1 g
- Sugar — 32 g
- Sodium — 290 mg
Frequently Asked Questions (FAQ)
Q: Can I bake the cake from a box mix?
A: Yes. Bake it as directed on the box, let it cool fully, then weigh out 16 oz of unfrosted cake.
Q: Can I use homemade red velvet cake?
A: Yes. An unfrosted cake layer works well. Use a serrated knife and a gentle sawing motion to cut it into small cubes.
Q: Can I make the cups the day before?
A: Yes. Refrigerate the assembled cups, covered, overnight. Keep the reserved crumbs in an airtight container and sprinkle them on just before serving.
Q: What if I only have frosted cake?
A: Scrape off the frosting first and weigh the cake after trimming. Extra frosting between the layers can make the cups quite sweet.
Q: Can I use whipped cream cheese from a tub?
A: Use full-fat block cream cheese for this filling. It gives the whipped cream enough body to sit in visible layers.
Q: How do I keep the sides of the cups clean?
A: Use a small spoon or a wide-opening piping bag to place the filling in the middle, then nudge it outward with the back of a spoon.
Q: Can I use smaller cups?
A: Yes. Divide the cake and filling among more cups, keeping the same two layers of each. Smaller cups are handy on a dessert table.
Q: How long do leftovers keep?
A: Cover and refrigerate for up to 3 days for best texture. The cake will get softer the longer it sits.
Final Thoughts
Red Velvet Dessert Cups give you the cake and cream cheese combination in a dessert you can serve straight from the fridge. If you make a batch, leave a comment and tell me how you served it.
Happy cooking!