
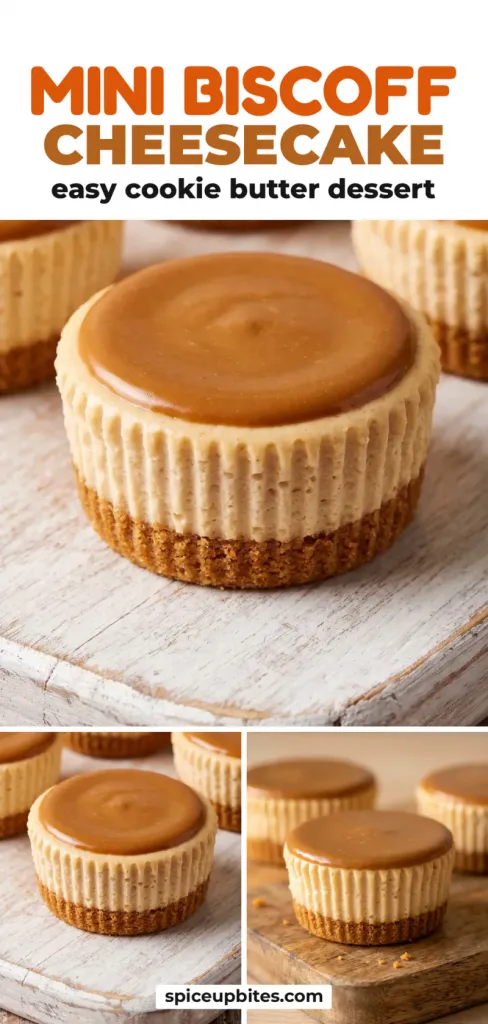
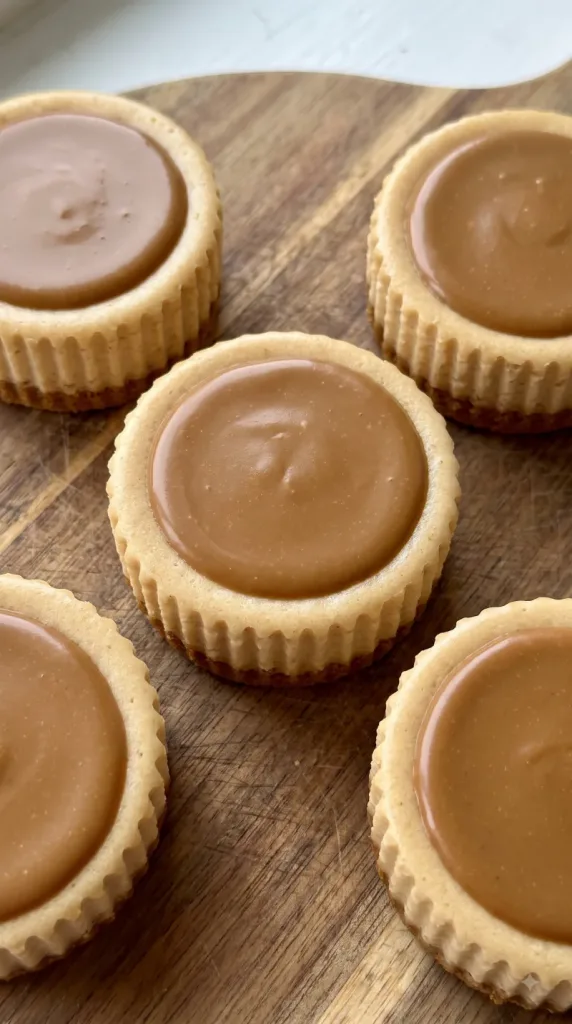
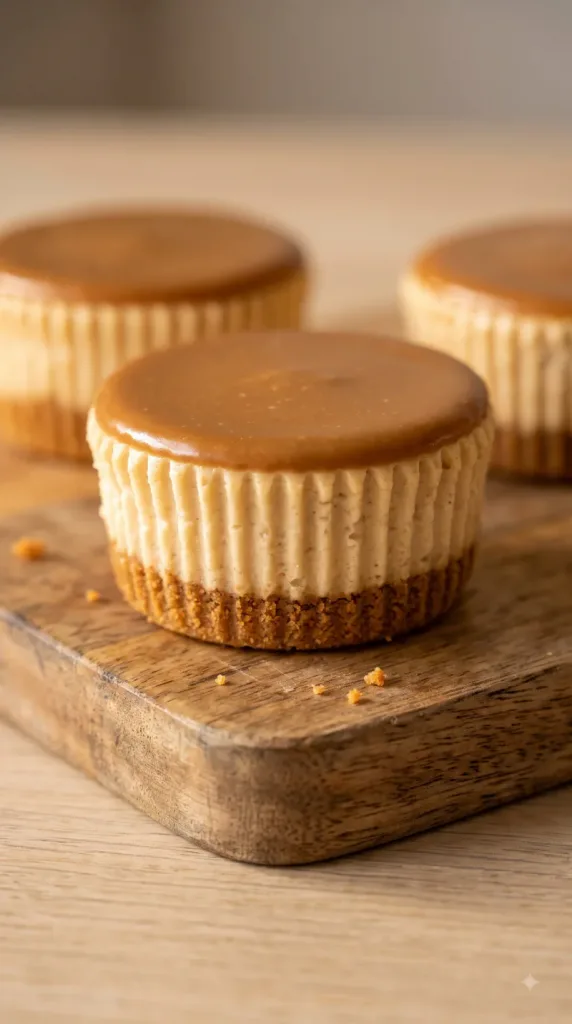
Mini Biscoff Cheesecake brings cookie butter flavor to a creamy, no-bake dessert. Each little cheesecake has a buttery cookie crust and a thin, glossy Biscoff top. You only need a muffin pan and a little fridge space. Make the batch the day before so the filling has plenty of time to set.
Why I Love This Recipe
The charm of this dessert is the contrast. A firm cookie base gives each bite a little crunch, while the filling stays soft and creamy. Cookie butter runs through the filling and the topping, so the flavor comes through without a long ingredient list.
- No oven needed: The crust and filling set in the fridge.
- Ready to portion: Each muffin liner holds a single serving.
- Easy to make ahead: An overnight chill does most of the work.
- Simple finish: A thin cookie butter cap adds plenty of flavor without extra decorations.
What You’ll Need
- Servings: 12 individual cheesecakes; 1 cheesecake per serving
- Prep Time: 30 minutes, including topping and serving preparation
- Cook Time: 0 minutes
- Chill Time: 12 hours 20 minutes
- Total Time: 12 hours 50 minutes
- Pan: Standard 12-cup muffin pan, with wells that hold about 1/3 cup each
- Oven Temperature: None; this is a no-bake recipe
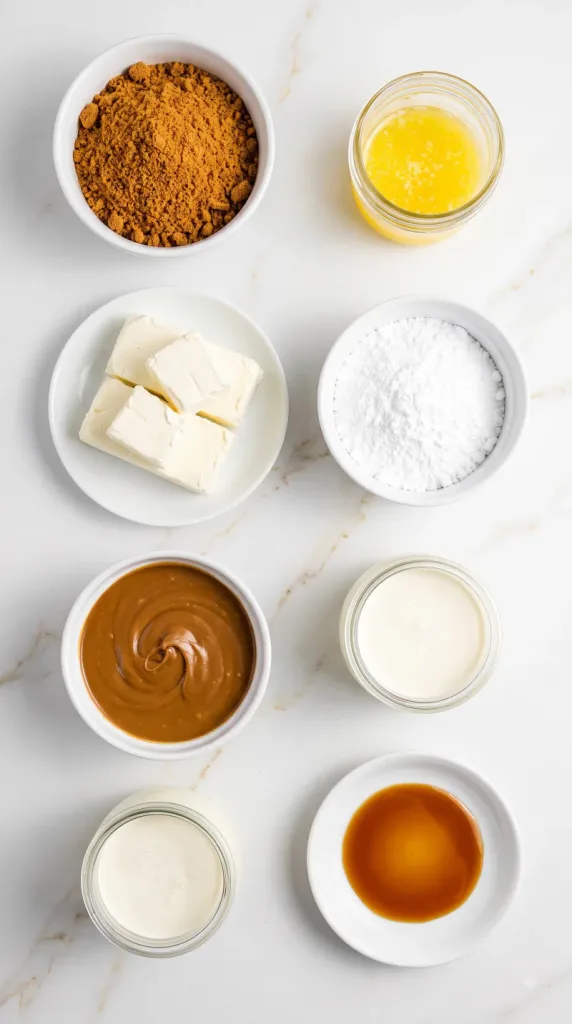
For the crust:
- 180 g Biscoff cookies, finely crushed
- 60 g unsalted butter, melted and cooled slightly
For the filling and topping:
- 12 oz (340 g) full-fat block cream cheese, softened
- 1/2 cup (60 g) powdered sugar, sifted
- 180 g smooth Biscoff cookie butter spread, divided: 120 g for the filling and 60 g for the topping
- 1/2 cup (120 ml) heavy whipping cream, cold
- 1 teaspoon vanilla extract
Use block cream cheese rather than a soft spread from a tub. Choose smooth cookie butter so the filling and topping stay even. Keep the cream cold until you whip it; the cream cheese should be soft enough to beat without lumps.
Tools You Need
- Standard 12-cup metal muffin pan
- 12 paper cupcake liners
- Electric hand mixer
- Glass mixing bowls and a small microwave-safe glass bowl
- Silicone spatula and spoon
- Kitchen scale and measuring cups and spoons
- Resealable food bag and rolling pin for crushing cookies
- Food wrap or a pan cover
How to Make Mini Biscoff Cheesecake
Start the day before you plan to serve them, and leave space for the pan in your fridge.
Step 1: Make the Cookie Bases
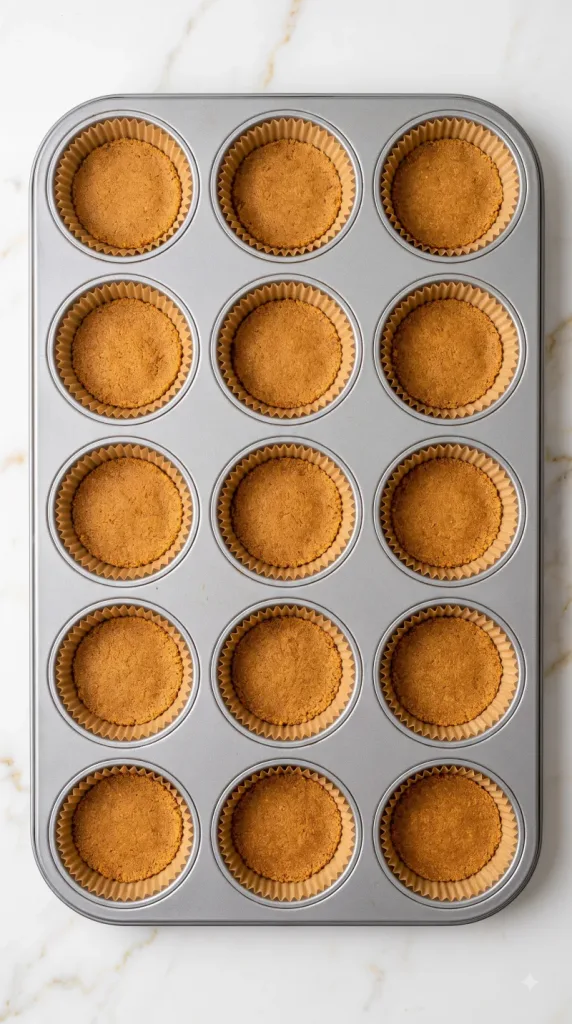
Line a standard 12-cup muffin pan with 12 paper cupcake liners.
Stir 180 g finely crushed Biscoff cookies with 60 g melted unsalted butter in a glass bowl until the crumbs look like evenly damp sand.
Divide the mixture evenly among the liners, about 20 g per liner, and press it firmly into flat bases with the back of a spoon.
Put the pan in the fridge while you prepare the filling. This short crust chill takes place during the prep time.
Step 2: Whip the Cream
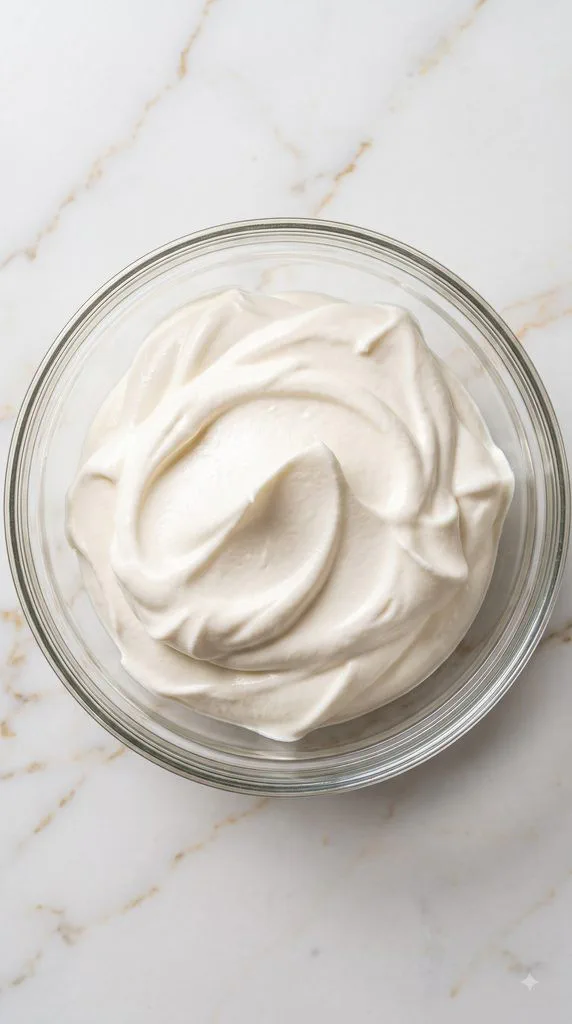
Beat 1/2 cup (120 ml) cold heavy whipping cream in a clean glass bowl for about 2–3 minutes, until it forms stiff peaks that stand up when the beaters lift.
Stop before the cream looks grainy, and keep it in the fridge while you mix the cream cheese.
Step 3: Beat the Cookie Butter Mixture
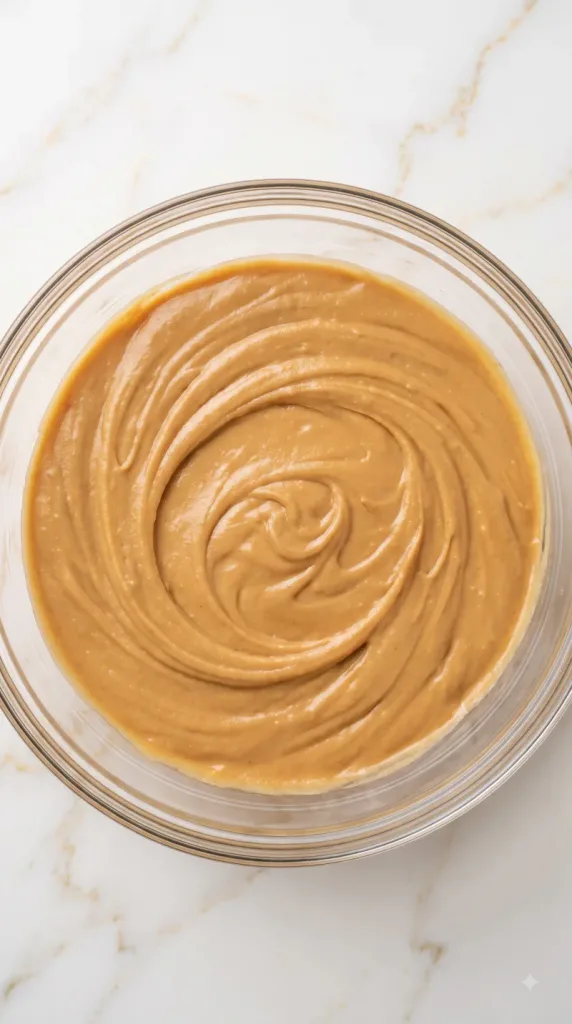
Beat 12 oz (340 g) softened full-fat block cream cheese with 1/2 cup (60 g) sifted powdered sugar in a separate large glass bowl for 1–2 minutes, until smooth with no visible lumps.
Add 120 g smooth Biscoff cookie butter spread and 1 teaspoon vanilla extract.
Beat for about 30 seconds, stopping to scrape the bowl, until the mixture is even. Keep the remaining 60 g Biscoff spread for the topping.
Step 4: Fold in the Cream
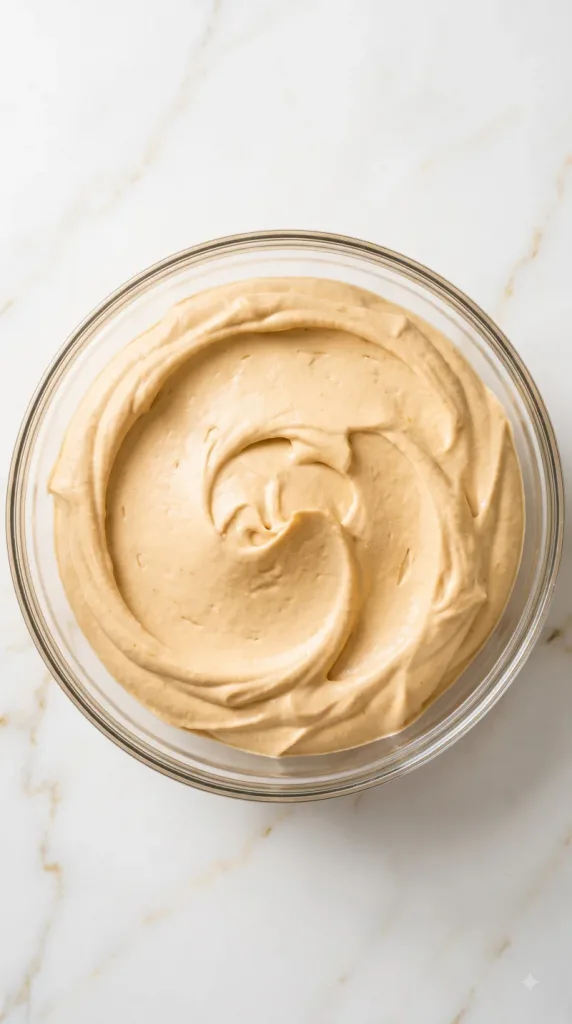
Add the whipped cream made from 1/2 cup (120 ml) heavy whipping cream to the cookie butter mixture in two additions.
Fold gently with a silicone spatula until no white streaks remain. The finished filling should be pale caramel-beige, thick and airy.
Step 5: Fill and Chill
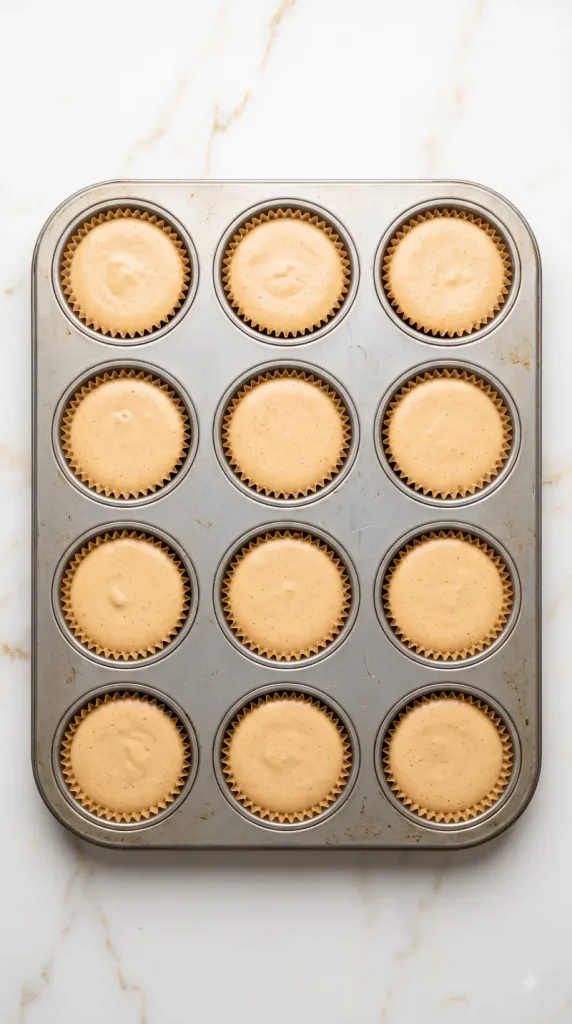
Divide all of the filling among the 12 chilled cookie bases, about 55–60 g filling per liner. Smooth the tops gently, leaving a little room for the topping.
Cover the pan without touching the filling and refrigerate for 12 hours, until the tops feel firm and the cheesecakes hold their shape.
Keep them in the pan for topping. These have a creamy chilled set, rather than the dense texture of a baked cheesecake.
Step 6: Add the Biscoff Tops
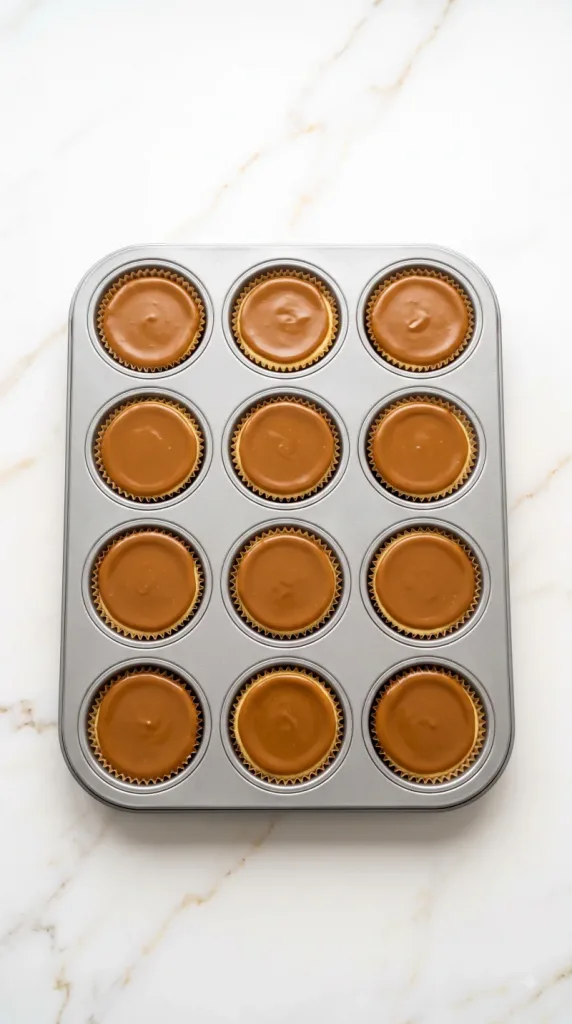
Place the reserved 60 g smooth Biscoff spread in a small microwave-safe glass bowl and microwave in 5-second bursts, stirring between bursts, just until it loosens.
Let it cool until it feels barely warm and remains thick but spreadable. Do not put very warm spread onto the chilled filling.
Divide it over the 12 cheesecakes, using 5 g per cheesecake, and spread it into thin, even caps without drips.
Refrigerate for 20 minutes, until the caps settle and the cheesecakes are cold again.
Step 7: Unwrap and Serve
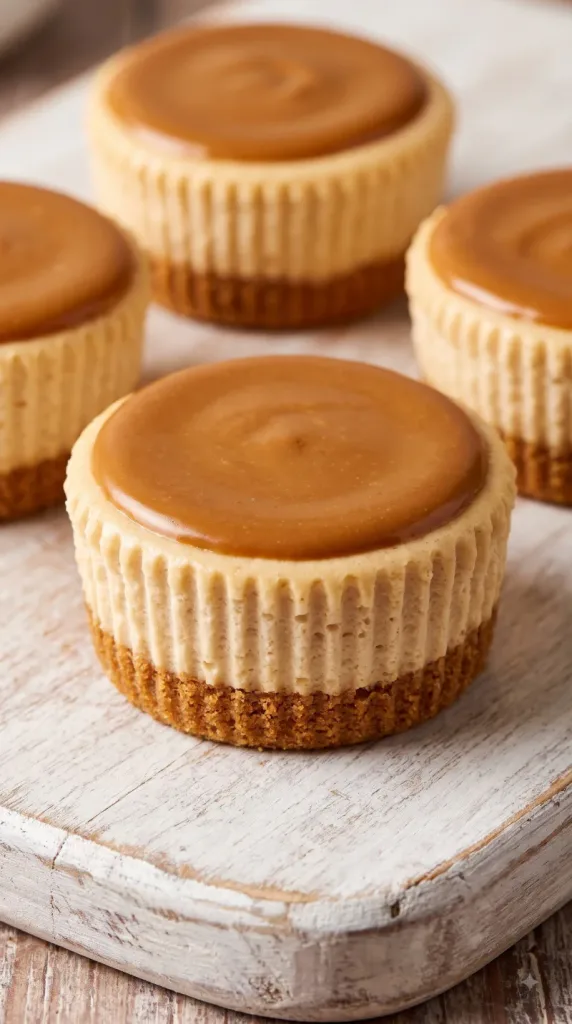
Lift the 12 chilled cheesecakes from the pan using their paper liners, then peel the liners away gently. If a cheesecake feels too soft, chill it longer before unwrapping.
Place on dessert plates and serve cold, with 1 cheesecake per serving. Serve them on their own so the crust, filling and cookie butter top can shine.
Why This Recipe Works (Quick Science)
The butter coats the fine cookie crumbs and firms up as it cools. Pressing that mixture firmly helps the base stay together when you peel off the liner.
Cream cheese gives the filling body, while whipped cream adds tiny air pockets. Gentle folding keeps those pockets in place. The long chill firms the dairy fats, helping the filling hold its shape without eggs or gelatin. The thin Biscoff cap adds a smooth finish without weighing down the filling.
Common Mistakes to Avoid
- Using soft tub cream cheese: Its texture can make the filling too loose. Full-fat block cream cheese is the better choice here.
- Leaving large cookie chunks: Fine crumbs pack more firmly and make a base that holds together.
- Underwhipping the cream: Soft, loose cream gives the filling less structure. Look for stiff peaks, then stop.
- Beating after adding whipped cream: Fold it in gently to keep the filling airy.
- Rushing the chill: The full overnight rest helps the cheesecakes release neatly.
- Overheating the topping: Very warm spread can soften the filling. Let it cool before spreading.
Make-Ahead Tips and Storage
Make the cheesecakes a day ahead and keep them covered in the fridge. Add the Biscoff caps after the overnight set, then chill again before serving.
Store covered in the fridge for up to 4 days, counting from the day you make the filling. For longer storage, freeze the firm cheesecakes in an airtight container for up to 1 month. Thaw overnight in the fridge and serve cold. The crust may soften a little after thawing.
Macros Information
These are estimates per cheesecake, based on 12 servings. Brands and portion sizes will change the numbers.
- Calories: 345
- Protein: 4 g
- Carbohydrates: 30 g
- Fat: 24 g
- Saturated Fat: 12 g
- Fiber: 0.5 g
- Sugar: 20 g
- Sodium: 180 mg
Frequently Asked Questions (FAQ)
Q: Is Mini Biscoff Cheesecake baked?
A: This version is not baked. The cookie base and filling set in the fridge, so you do not need an oven or a water bath.
Q: Do I need gelatin?
A: No. Full-fat block cream cheese, stiffly whipped cream and a long chill give this filling its structure. It will still be softer than baked cheesecake.
Q: Can I use crunchy cookie butter?
A: Smooth cookie butter gives the texture described here. Crunchy spread leaves cookie bits in the filling and makes a less even topping.
Q: Why is my filling lumpy?
A: The cream cheese may have been too cold. Beat softened cream cheese smooth before folding in the whipped cream. Once the cream is added, avoid heavy beating.
Q: Why are the cheesecakes too soft to unwrap?
A: They may need more chilling, or the cream may not have reached stiff peaks. Leave them in their liners and chill longer. If they still will not hold their shape, serve them cold in their liners with a spoon.
Q: Can I use a mini muffin pan?
A: This recipe is sized for a standard muffin pan. Smaller wells will make more pieces and need less crust and filling in each liner. Keep the same overnight chill rather than guessing a shorter setting time.
Q: Can I make this in one large pan?
A: A large cheesecake needs a different pan size and filling depth. For the stated yield and texture, use the standard muffin pan rather than swapping pans without adjusting the recipe.
Q: Can I leave off the cookie butter topping?
A: Yes. Leave out the reserved 60 g spread if you prefer an untopped cheesecake. The filling and crust stay the same; the nutrition estimate will change.
Q: Can I freeze the cheesecakes?
A: Yes. Freeze them once firm, protect them in an airtight container, and thaw overnight in the fridge. Keep the topping thin so it stays easy to eat when cold.
Recipe Sources
The no-bake methods in [Teak & Thyme’s mini cheesecakes](https://teakandthyme.com/mini-biscoff-cheesecakes/) and [The Real Recipes’ cheesecake bites](https://www.therealrecipes.com/mini-biscoff-cheesecakes-no-bake/) informed the approach. This version uses its own standard-muffin portions, a whipped-cream filling without yogurt or sour cream, and a plain cookie butter cap.
Final Thoughts
Mini Biscoff Cheesecake is a simple way to enjoy cookie butter in a dessert that is ready to portion. Give the filling its full chill, keep the topping thin, and serve each little cheesecake cold. Leave a comment with how your batch turned out.
Happy cooking!