
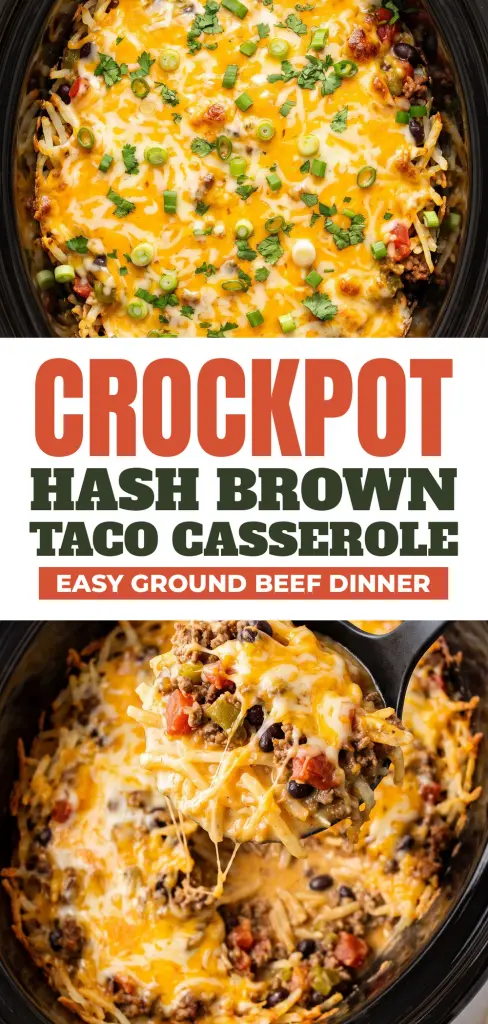
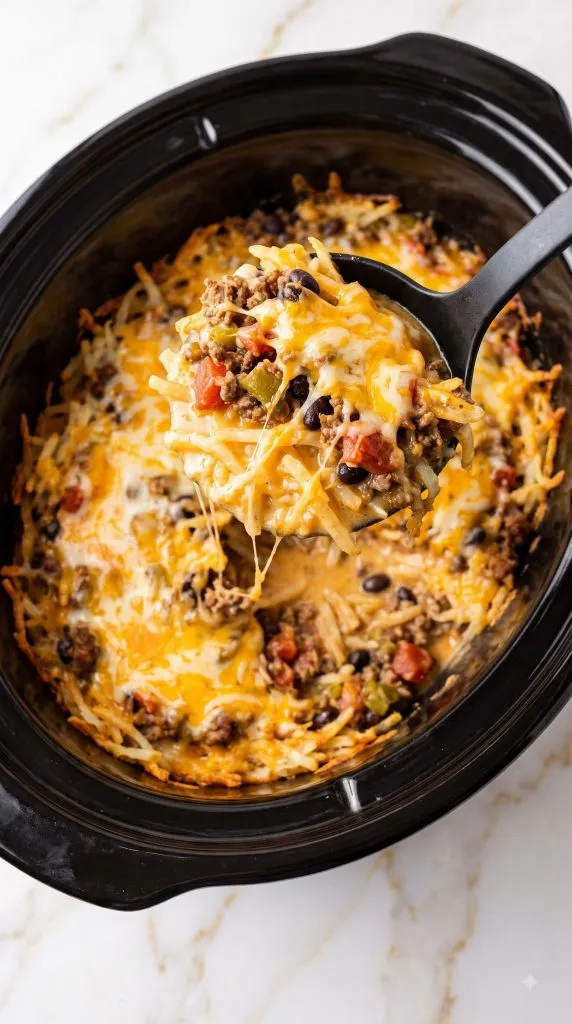
This Crockpot Hash Brown Taco Casserole is cheesy, hearty, and so easy to throw together. Seasoned taco beef with black beans and zesty tomatoes is layered between creamy cheddar hash browns. It cooks low and slow until the potatoes are tender, then gets a thick blanket of melted cheese on top. It’s taco night and potato casserole in one big comforting dish.
Why I Love This Recipe
Taco Tuesday is a big deal at my house, but some weeks I just want something I can set and forget. One busy afternoon I had a bag of frozen hash browns and a pound and a half of ground beef, and this casserole was born. The creamy, cheesy potatoes with that seasoned taco beef was a total hit, and now it’s on repeat.
- Taco flavor in every bite: Seasoned beef, black beans, and tomatoes with green chiles.
- Creamy cheesy potatoes: Hash browns cook in a cheddar and sour cream sauce until tender.
- Easy prep: Brown the beef, mix the potatoes, layer, and walk away.
- Budget friendly: Simple pantry ingredients feed a crowd.
- Fun toppings: Add your favorite taco toppings and make it your own.
What You’ll Need
- Servings: 8
- Prep Time: 15 minutes
- Cook Time: 4 hours 30 minutes
- Total Time: 4 hours 45 minutes
- Slow Cooker Size: 6-quart oval
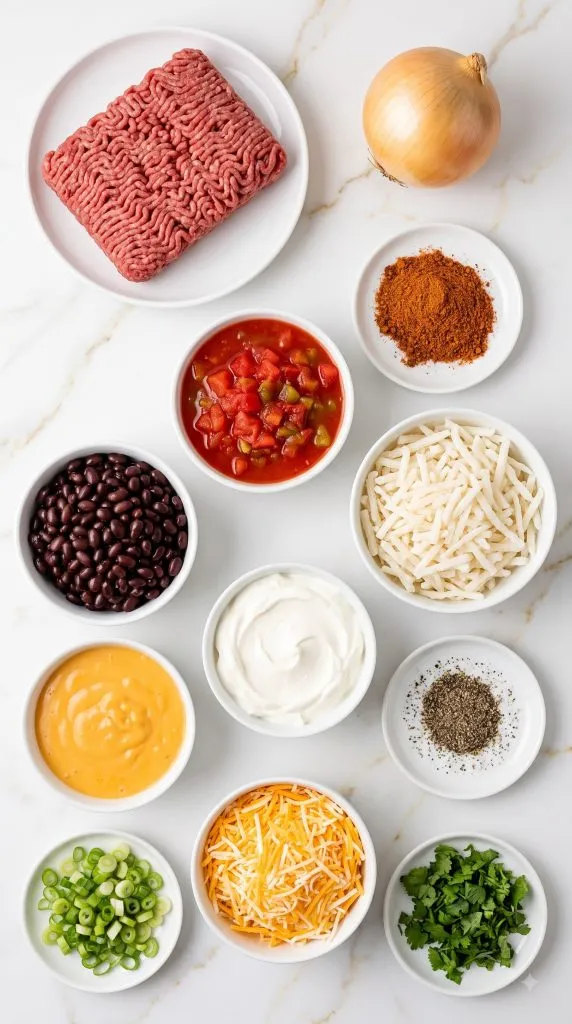
Ingredients:
- 1 1/2 lb ground beef (85% lean)
- 1 onion, diced
- 1 packet (1 oz) taco seasoning
- 1 can (10 oz) diced tomatoes with green chiles, undrained
- 1 can (15 oz) black beans, drained and rinsed
- 1 bag (30 oz) frozen shredded hash browns
- 1 can (10.5 oz) condensed cheddar cheese soup
- 1 cup sour cream
- 1/4 tsp ground pepper
- 2 cups shredded Mexican-blend cheese, divided
- Nonstick cooking spray
- 2 green onions, sliced
- 2 tbsp chopped fresh cilantro
Tools You Need
- 6-quart oval slow cooker (crockpot)
- Large skillet
- Large glass mixing bowl
- Wooden spoon
- Wooden cutting board and sharp knife
- Can opener
- Measuring cups and spoons
How to Make Crockpot Hash Brown Taco Casserole
Here’s how to build this cheesy taco casserole step by step.
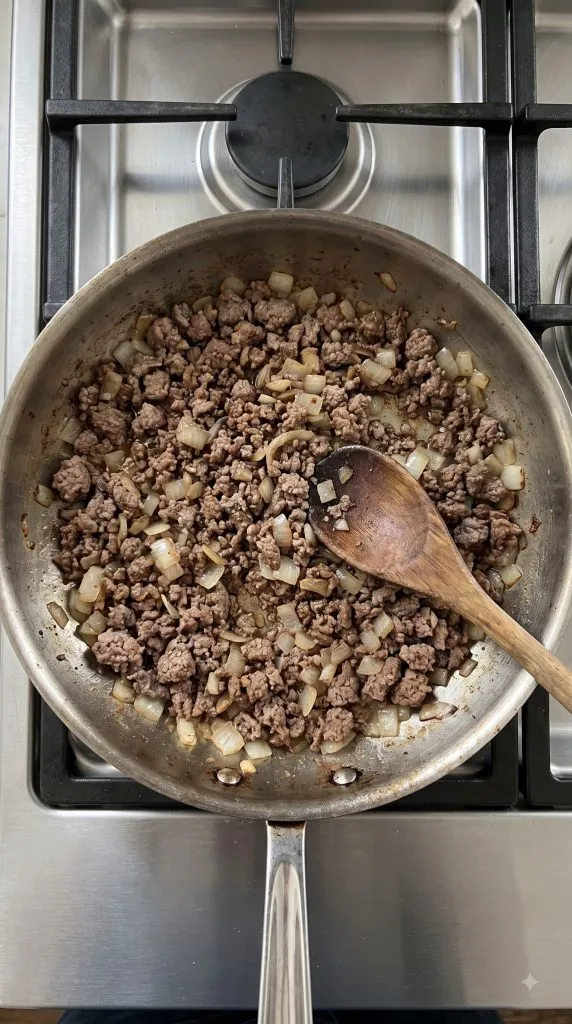
Step 1: Brown the Beef and Onion
Heat a large skillet over medium-high heat.
Add 1 1/2 lb ground beef and 1 onion, diced.
Cook for 8 to 10 minutes, breaking the beef into small crumbles, until no pink remains.
The beef should reach 160°F (71°C).
Drain off the extra grease.
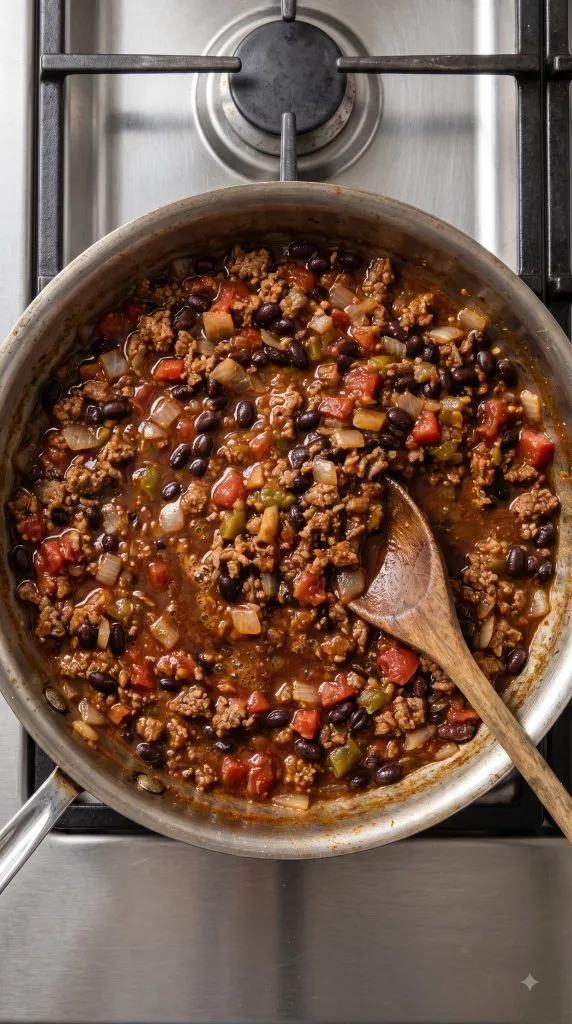
Step 2: Make the Taco Beef
Stir in 1 packet (1 oz) taco seasoning.
Add 1 can (10 oz) diced tomatoes with green chiles with their juice.
Add 1 can (15 oz) black beans, drained and rinsed.
Stir well and simmer for 3 minutes, until slightly thickened.
Step 3: Mix the Creamy Hash Browns
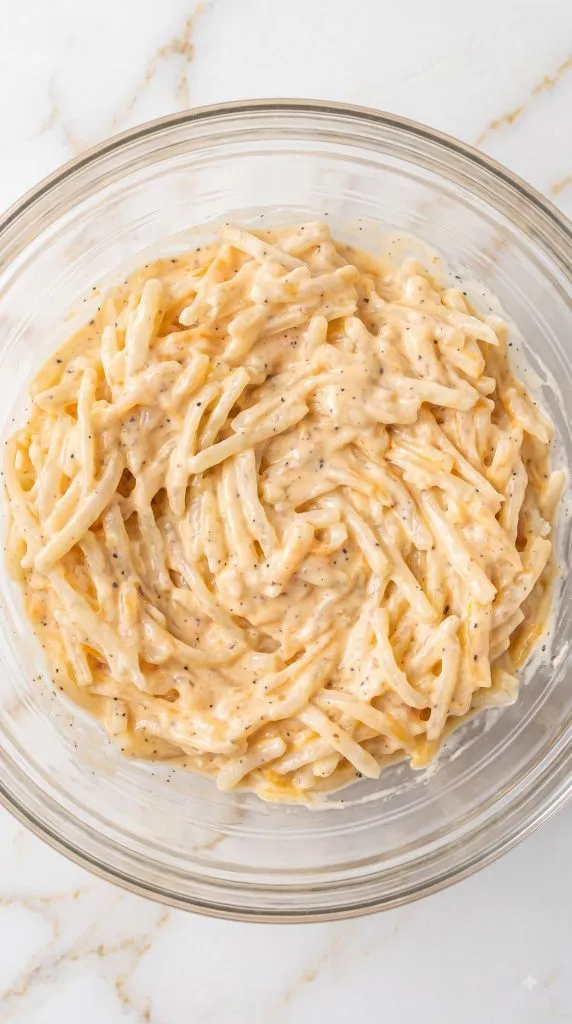
In a large glass bowl, add 1 can (10.5 oz) condensed cheddar cheese soup, 1 cup sour cream, and 1/4 tsp ground pepper.
Stir until smooth.
Add 1 bag (30 oz) frozen shredded hash browns and 1 cup shredded Mexican-blend cheese.
Mix until every shred is coated.
Step 4: Layer the Casserole in the Crockpot
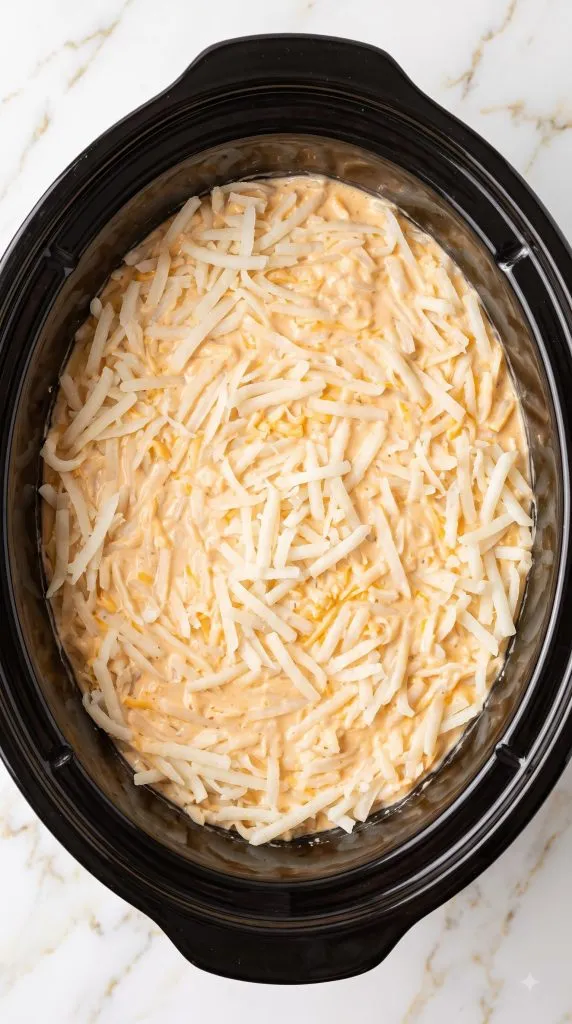
Spray the inside of a 6-quart crockpot with nonstick cooking spray.
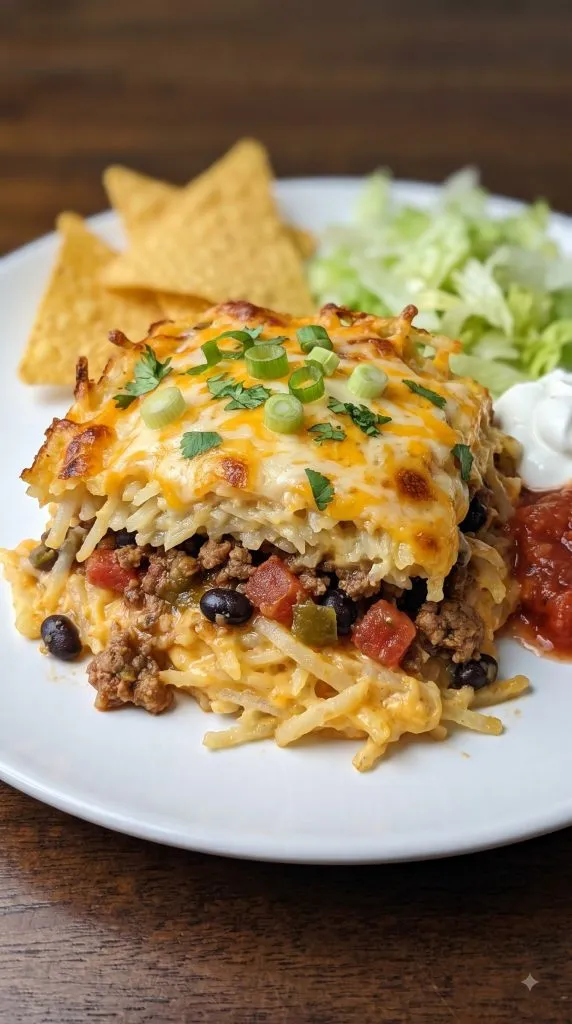
Spread half of the hash brown mixture over the bottom.
Spoon all of the taco beef over the potatoes in an even layer.
Top with the rest of the hash brown mixture and gently press it flat.
Step 5: Slow Cook Until Tender
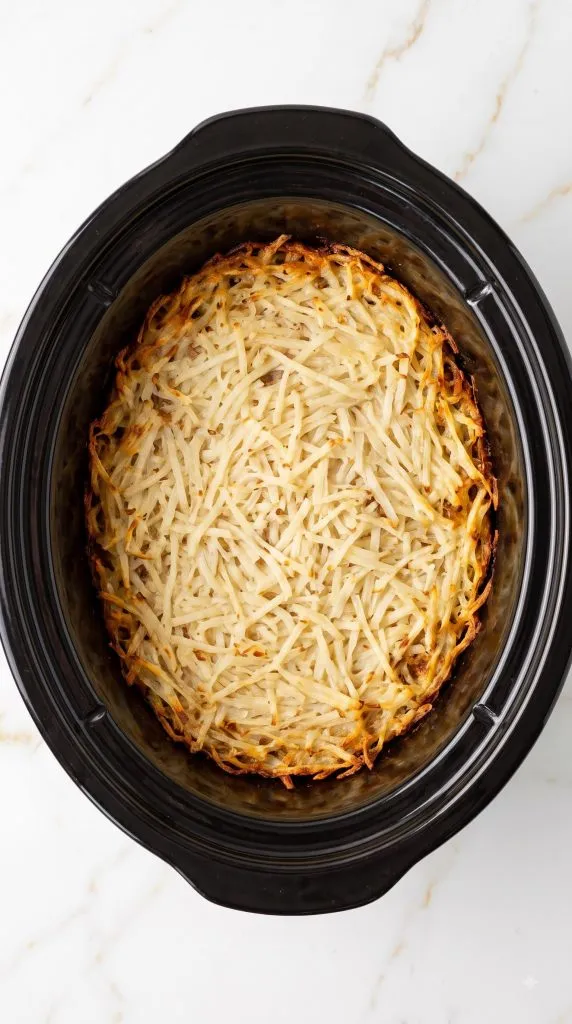
Cover and cook on LOW for 4 hours (or HIGH for 2 to 2 1/2 hours).
It’s ready when the potatoes are tender and the edges are golden and crispy.
The center should reach 165°F (74°C).
Step 6: Melt the Cheese on Top
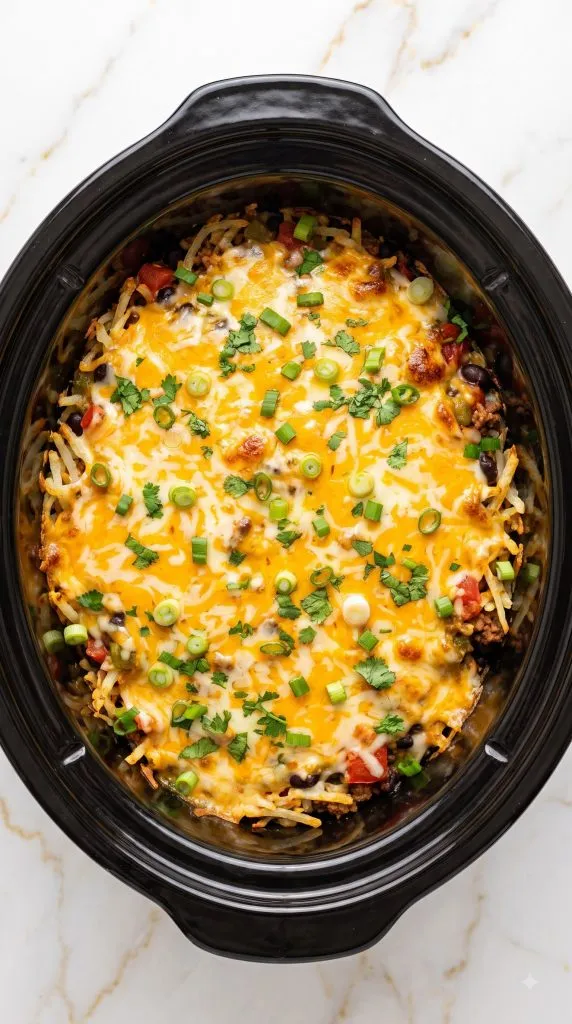
Sprinkle the remaining 1 cup shredded Mexican-blend cheese over the top.
Cover and cook for 15 minutes, until the cheese is melted and gooey.
Right after the cheese melts, sprinkle 2 green onions, sliced and 2 tbsp chopped fresh cilantro over the top.
Step 7: Serve
Let it rest for 5 minutes so the layers hold together when you scoop.
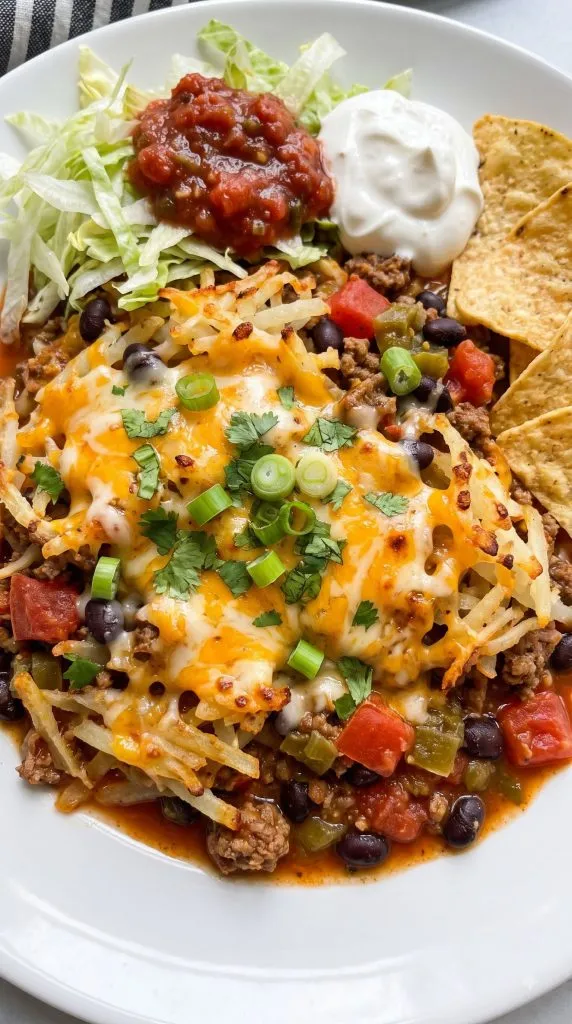
Serve on plates over a little shredded lettuce, with a spoonful of salsa, a dollop of sour cream, and tortilla chips on the side for a full taco-night meal.
Why This Recipe Works (Quick Science)
Frozen shredded hash browns are already par-cooked, so they turn tender in the crockpot without getting gummy.
The cheddar soup and sour cream coat every shred. As it cooks, the potatoes release starch that thickens the sauce into a creamy binder.
Layering the taco beef in the middle keeps it juicy and lets its flavor seep into the potatoes above and below.
The bottom and sides touch the hot crock the most, which gives you those golden, crispy edges everyone fights over.
Adding the top cheese at the end keeps it melty and smooth instead of greasy.
Common Mistakes to Avoid
- Not draining the beef: Extra grease makes the casserole oily. Drain it well after browning.
- Skipping the cooking spray: The potatoes will stick to the crock without it.
- Adding all the cheese at the start: Save half for the top so it stays melty, not greasy.
- Using thawed, wet hash browns: Use them frozen, straight from the bag, so the casserole doesn’t get watery.
- Serving it right away: A 5-minute rest helps the layers hold together.
What to Serve With Crockpot Hash Brown Taco Casserole
- Shredded lettuce: A crisp, fresh base under each scoop.
- Salsa: Adds a bright, tangy kick.
- Sour cream: Cool and creamy on top.
- Tortilla chips: Great for scooping and for extra crunch.
- Mexican street corn salad: A sweet, tangy side that goes great with taco flavors.
Make-Ahead Tips
- Brown the beef and make the taco beef up to 2 days ahead. Keep it in the fridge.
- Mix the hash browns the morning you cook so the potatoes don’t get soggy.
- If the taco beef is cold from the fridge, add about 30 minutes to the cook time.
Leftovers and Storage
- Fridge: Store in an airtight container for up to 4 days.
- Reheat: Microwave single servings for 1 to 2 minutes, or warm in a 350°F (175°C) oven covered with foil.
- Freezer: Freeze portions for up to 3 months. Thaw overnight in the fridge before reheating.
Macros Information
These numbers are estimates per serving, based on 8 servings, without the optional sides.
- Calories: 520
- Protein: 26 g
- Carbohydrates: 32 g
- Fat: 32 g
- Saturated Fat: 15 g
- Fiber: 5 g
- Sugar: 4 g
- Sodium: 1100 mg
Frequently Asked Questions (FAQ)
Q: Do I need to thaw the hash browns first?
A: No. Use them straight from the freezer. Thawed hash browns release more water and can make the casserole soggy.
Q: Can I use cubed hash browns instead of shredded?
A: Yes. Southern-style diced hash browns work well. They may need about 30 minutes longer to get tender.
Q: Can I put raw ground beef in the crockpot?
A: It’s best to brown it first. This drains the fat and adds flavor, and it keeps the casserole from getting greasy.
Q: Can I use ground turkey?
A: Yes. Ground turkey works great. Cook it to 165°F (74°C) before layering.
Q: What can I use instead of cheddar cheese soup?
A: Cream of chicken or cream of mushroom soup both work. Add an extra 1/2 cup of shredded cheese for more cheesy flavor.
Q: Is this casserole spicy?
A: It’s mild. For more heat, use hot Rotel, add a diced jalapeño, or use a spicy taco seasoning.
Q: How do I know when it’s done?
A: The potatoes should be tender, the edges golden, and the center should reach 165°F (74°C).
Q: Can I make this in the oven instead?
A: Yes. Layer it in a greased white 9×13-inch baking dish and bake at 350°F (175°C) for about 1 hour, adding the top cheese in the last 10 minutes.
Final Thoughts
This Crockpot Hash Brown Taco Casserole is cozy, cheesy, and packed with taco flavor. It’s easy enough for a busy weeknight and fun enough for game day with all the toppings. Try it out and let me know in the comments which toppings you piled on! Happy cooking!