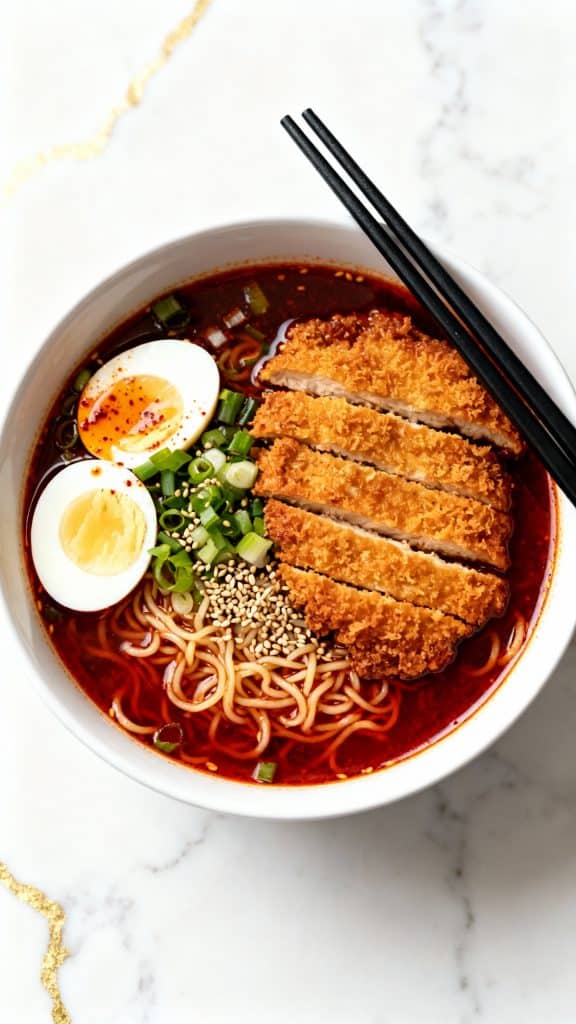
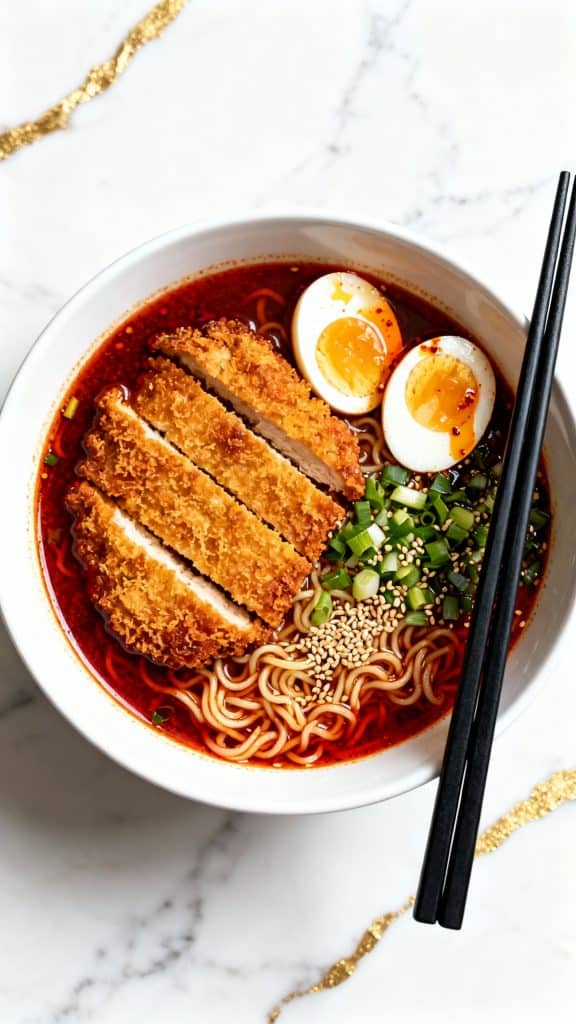
This one’s a total flavor bomb. Crispy chicken, slurpy noodles, rich broth, and just the right amount of spice. It’s the kind of meal that feels like a warm hug but with a kick.
I love making this when I want something cozy but crave something bold. You’ll feel like you ordered out from a top ramen shop—except you made it in your own kitchen.

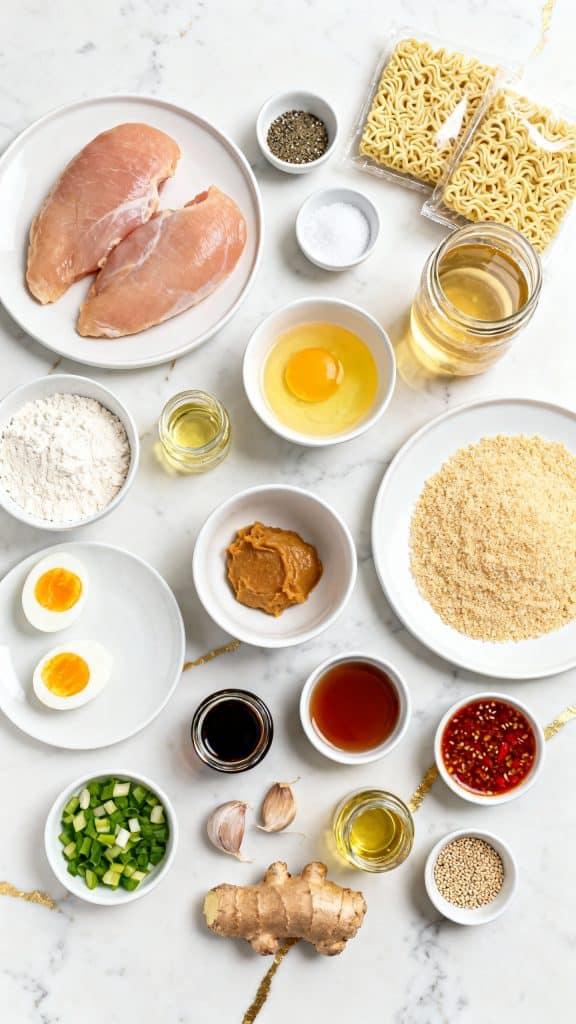
What You’ll Need
- 2 boneless, skinless chicken breasts
- 1/2 tsp salt
- 1/2 tsp pepper
- 1/2 cup all-purpose flour
- 2 large eggs, beaten
- 1 cup panko breadcrumbs
- 1/2 cup vegetable oil (for frying)
- 2 packs ramen noodles (discard seasoning)
- 4 cups chicken broth
- 1 tbsp soy sauce
- 1 tbsp miso paste
- 1 tbsp chili garlic sauce or gochujang
- 1 tsp sesame oil
- 2 cloves garlic, minced
- 1 tsp fresh ginger, grated
- 1 tbsp green onion, chopped (plus more for topping)
- 2 soft-boiled eggs, halved
- 1 tsp sesame seeds
- Optional: drizzle of chili oil
Why I Love This Recipe
This dish has become my go-to for when I want something hearty but a little special. The first time I made it, I had leftover panko chicken and a craving for ramen, and it just clicked. That crispy chicken on top of a rich, spicy broth? Total win.
- The crunch of the chicken vs. the soft noodles is perfect
- It’s surprisingly easy to make at home
- You can customize the spice level
- Feels like comfort food with a little edge
Makes: 2 big bowls
Total Time: 45 minutes
Why This Recipe Works (Quick Science)
The crispy panko coating insulates the chicken, keeping it juicy while frying. The miso paste adds depth (umami) to the broth. Chili garlic sauce brings heat and tang, and ramen noodles soak up all that bold flavor. It’s a perfect balance of texture and taste.
Tools You’ll Need
- Medium pot
- Frying pan
- Tongs
- Knife and cutting board
- Slotted spoon
- Whisk
- Bowls for dredging
- Ladle
Pro Tips
- Use cold eggs for soft-boiling so the yolks stay jammy
- Don’t crowd the pan when frying chicken or it won’t get crispy
- Use low-sodium broth to control saltiness
- Slice chicken after it rests to keep it juicy
- Warm your serving bowls to keep ramen hot longer
Substitutions and Variations
- Swap chicken for tofu to make it vegetarian (use the same katsu breading method)
- Add corn, mushrooms, or bok choy to bulk up the ramen
- Use soba or udon noodles instead of ramen
- Replace miso with a dash of fish sauce if needed
Make Ahead Tips
- Fry the chicken katsu ahead and reheat in the oven to keep it crispy
- Soft-boil eggs a day ahead and store in the fridge
Recipe + Instructions
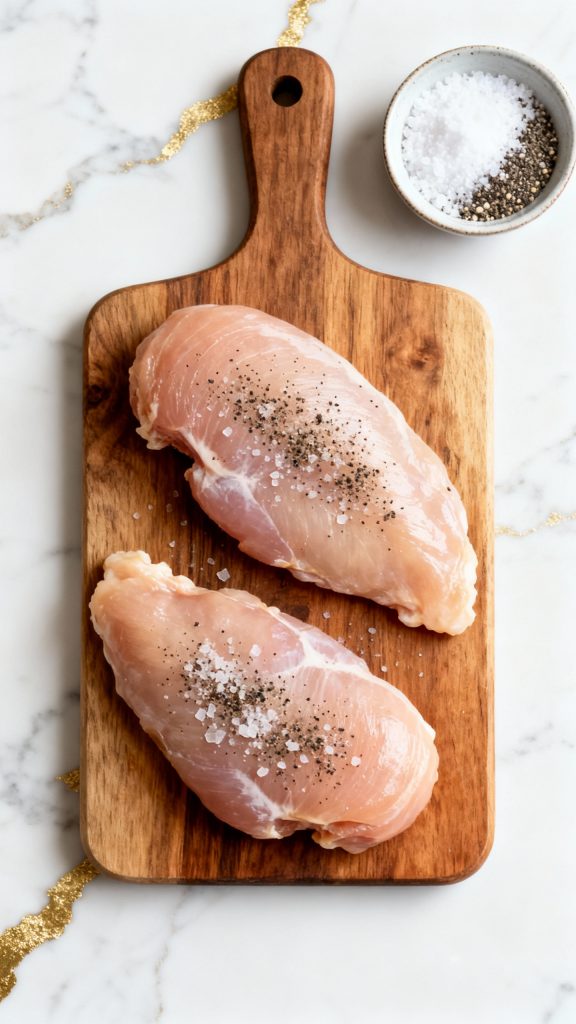
Step 1: Season the Chicken
Pat dry 2 boneless, skinless chicken breasts. Season both sides with 1/2 tsp salt and 1/2 tsp pepper.
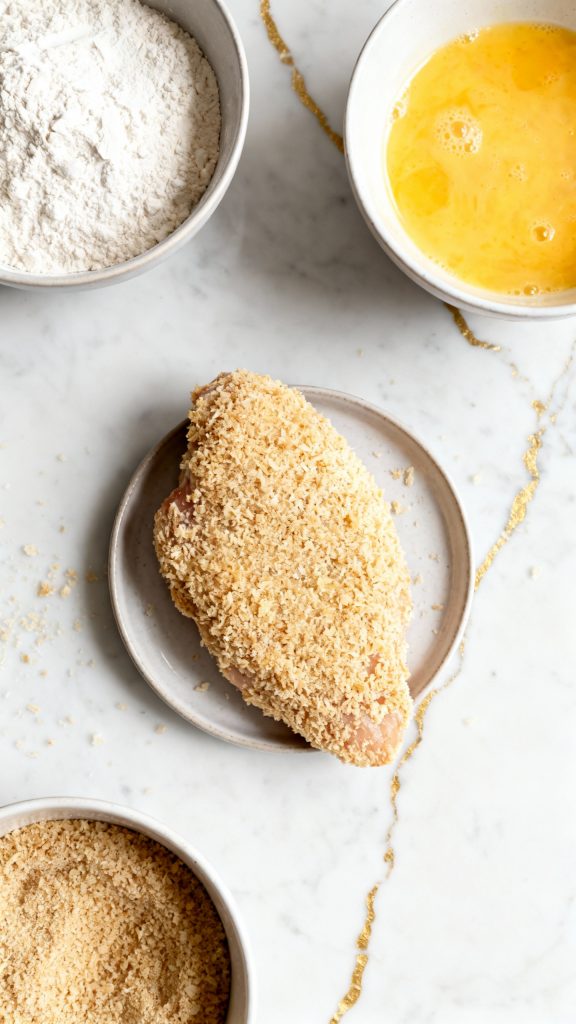
Step 2: Dredge the Chicken
Set up three bowls:
1 with 1/2 cup flour
1 with 2 beaten eggs
1 with 1 cup panko
Coat chicken in flour, dip in egg, then press into panko.
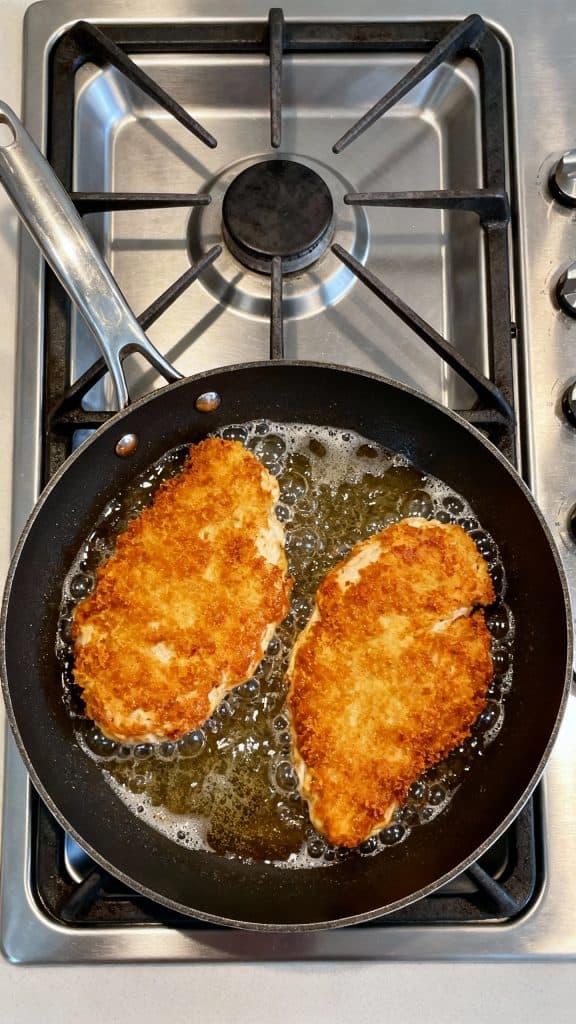
Step 3: Fry the Chicken
Heat 1/2 cup vegetable oil in a frying pan over medium heat. Fry chicken 3–4 minutes per side until golden and crispy. Drain on paper towels.
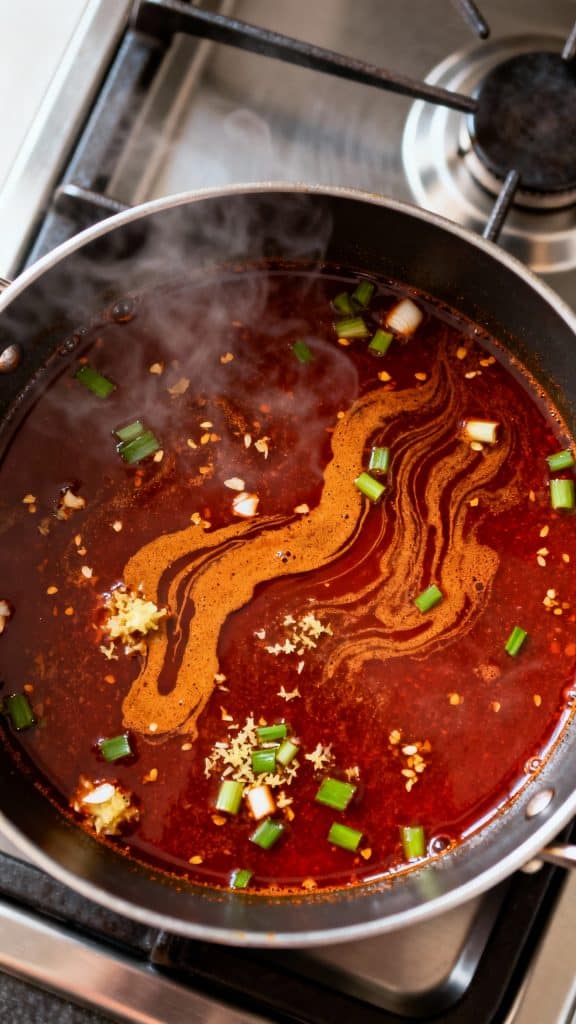
Step 4: Make the Broth
In a pot, sauté 2 cloves minced garlic, 1 tsp grated ginger, and 1 tbsp chopped green onion in 1 tsp sesame oil for 1 min. Add 4 cups chicken broth, 1 tbsp miso paste, 1 tbsp soy sauce, and 1 tbsp chili garlic sauce. Simmer 10 min.
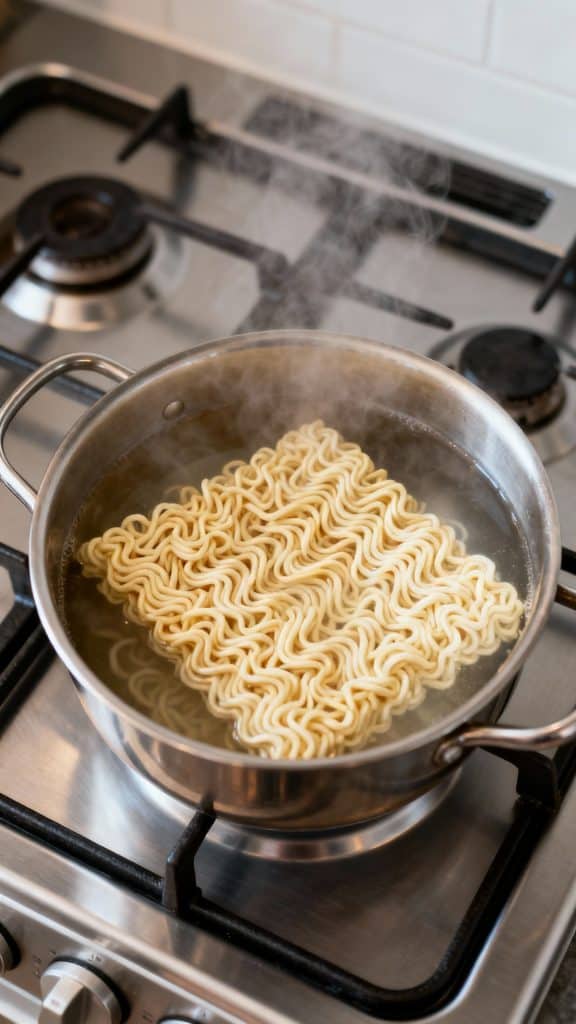
Step 5: Cook the Ramen Noodles
In another pot, boil water and cook 2 packs ramen noodles (no seasoning) for 3–4 minutes until tender. Drain and set aside.
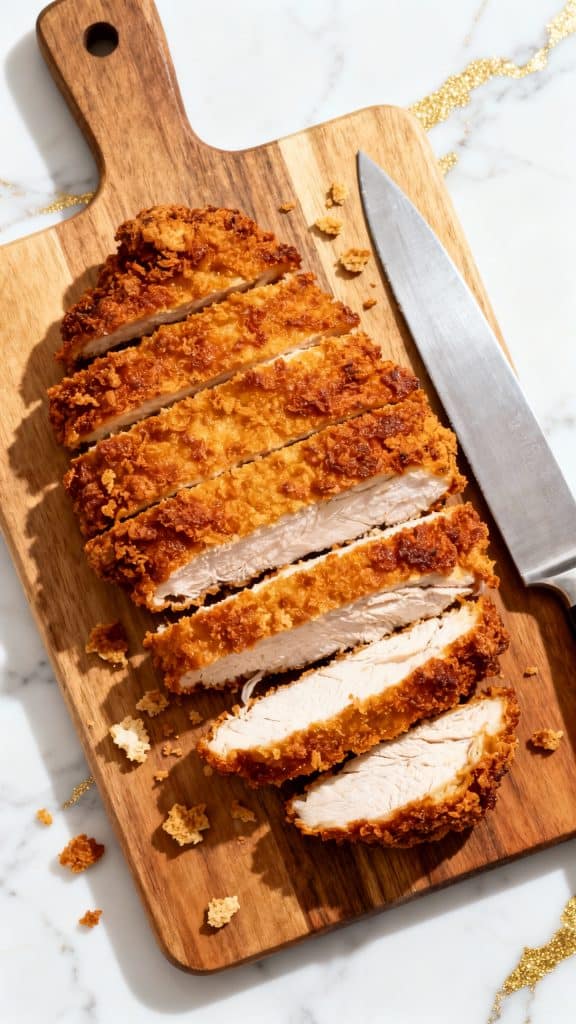
Step 6: Slice the Chicken
Let chicken rest 5 minutes, then slice into thick strips.
Step 7: Build Your Bowl
Divide noodles between 2 bowls. Ladle hot broth over. Top with sliced chicken, soft-boiled egg halves, more green onion, sesame seeds, and optional chili oil drizzle.
Leftovers and Storage
- Keep broth and noodles separate when storing
- Store broth in airtight container in fridge for up to 3 days
- Reheat chicken in the oven to keep it crispy
- Don’t store soft-boiled eggs in hot broth—they’ll overcook
Common Mistakes
- Overcrowding the pan—makes the chicken soggy
- Skipping the rest time after frying—loses juiciness
- Boiling miso—kills the flavor, add it after broth starts to simmer
- Using the seasoning packet—too salty and not needed
What to Serve With
- Light cucumber salad
- Steamed edamame
- Gyoza (pan-fried dumplings)
- A cold beer or iced green tea
FAQ
Can I make this less spicy?
Yes—just cut the chili garlic sauce in half or leave it out.
Can I air fry the chicken?
Yes! 400°F for about 15–18 minutes, flip halfway through.
Can I make it gluten-free?
Use gluten-free panko and tamari instead of soy sauce.
What kind of miso should I use?
White miso works best—it’s milder and sweeter.
Final Thoughts
This spicy chicken katsu ramen is one of those recipes that just hits. Whether you’re making it for a cozy night in or trying to impress someone, it delivers every time. Give it a try, and let me know how yours turns out in the comments—I’d love to hear how it went or answer any questions!