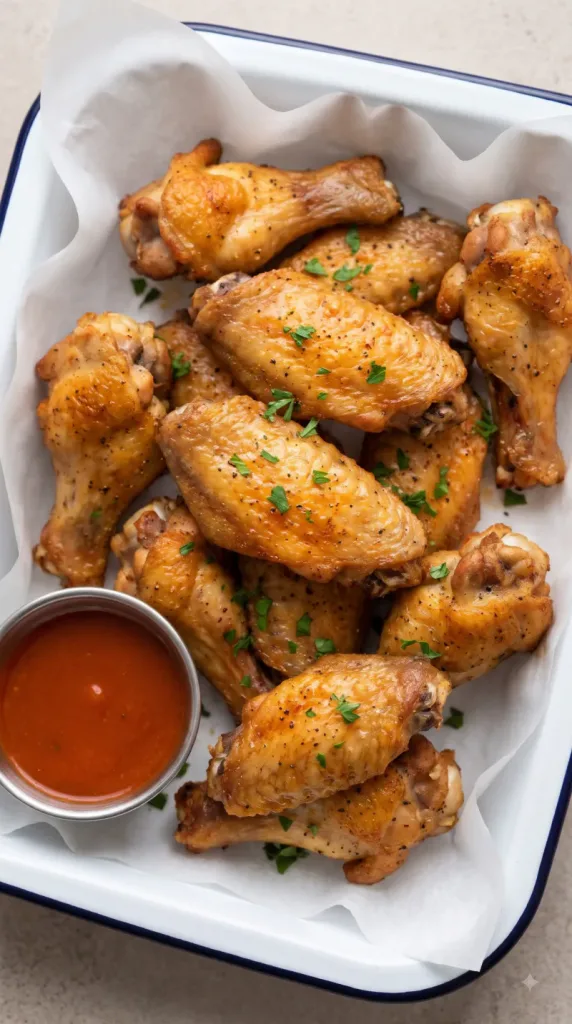

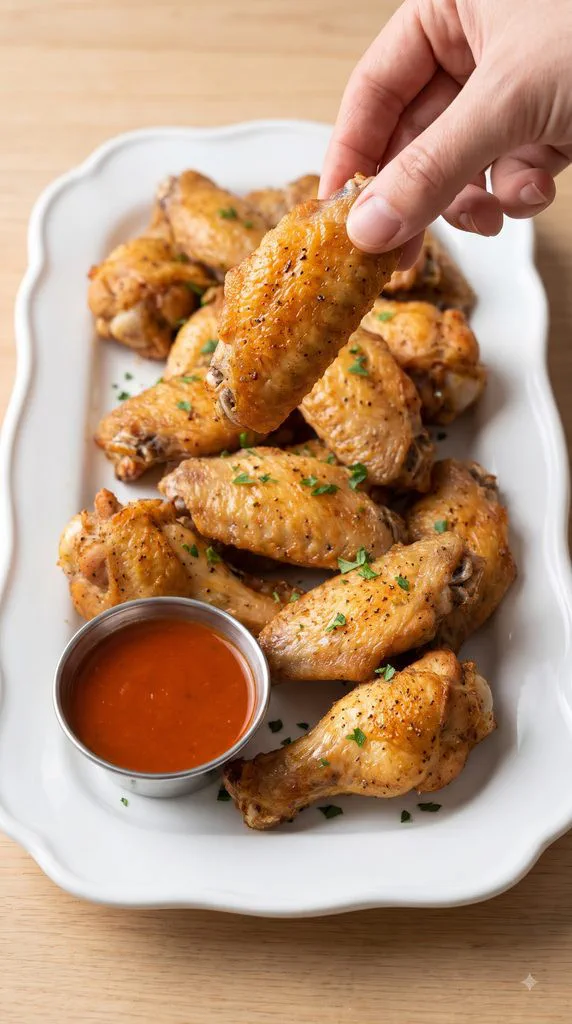
Crispy Baked Chicken Wings bring plenty of crunch without a pot of hot oil. Dry skin, a light seasoning coat and a wire rack do most of the work. The wings bake until golden, with juicy meat inside. Serve the Buffalo sauce on the side so each bite stays crisp.
Why I Love This Recipe
This recipe keeps wing night simple. There is no breading station, and the oven handles the whole batch while you get the rest of the meal ready.
- Crisp skin: A thin baking-powder coating helps the surface brown and blister.
- Simple ingredients: Salt and pepper let the chicken flavor stand out.
- Flexible serving: Keep the wings plain or dip them in Buffalo sauce.
- Less hands-on work: A rack lets heat reach both sides without deep frying.
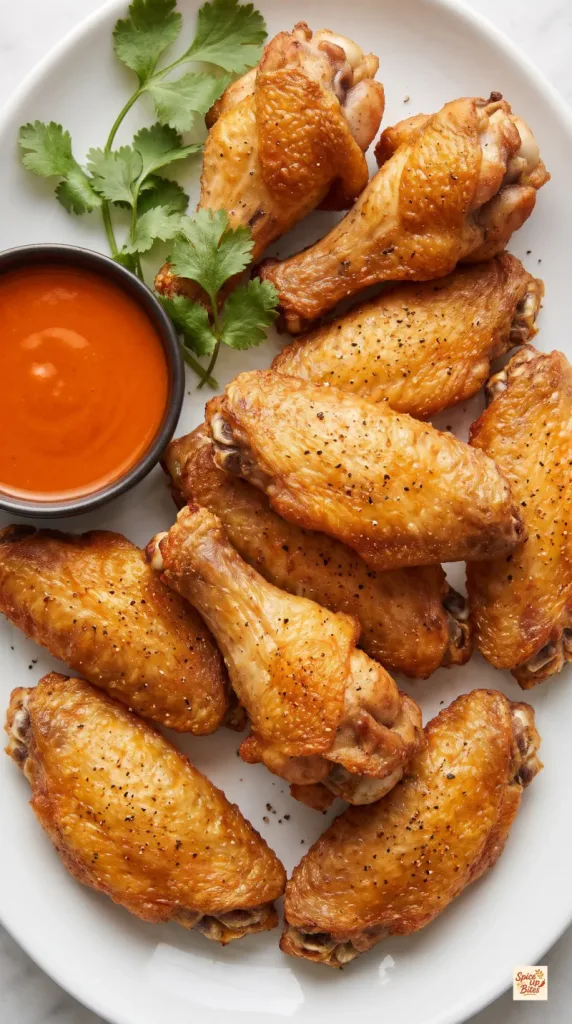
What You’ll Need
- Servings: 4 appetizer servings
- Prep Time: 15 minutes
- Cook Time: 80 minutes
- Rest Time: 5 minutes
- Total Time: 1 hour 40 minutes
- Oven: 250°F (120°C), then 425°F (220°C), conventional heat
- Pan: 18-by-13-inch rimmed baking sheet with an oven-safe wire rack
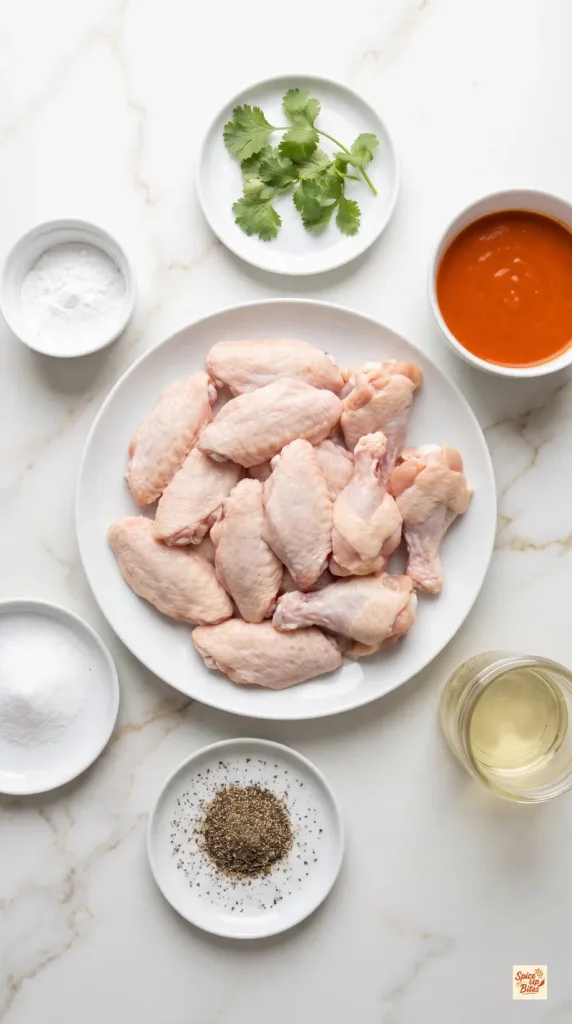
Ingredients
- 2 pounds chicken wing sections, bone-in and skin-on, flats and drumettes separated, tips removed, thawed if frozen
- 2 teaspoons aluminum-free baking powder, not baking soda
- 1/2 teaspoon fine salt
- 1/2 teaspoon ground black pepper
- 1 teaspoon neutral oil, for the rack
- 1/2 cup prepared Buffalo sauce, for dipping
- 2 tablespoons fresh cilantro sprigs, for serving
Tools You Need
- 18-by-13-inch silver aluminum rimmed baking sheet
- Fitted oven-safe silver wire rack
- Aluminum foil
- Large mixing bowl
- Paper towels
- Measuring spoons
- Tongs
- Instant-read meat thermometer
How to Make Crispy Baked Chicken Wings
Start with fully thawed wings and leave space around each piece.
Step 1: Dry the Wings
Heat the oven to 250°F (120°C) with racks in the lower and upper thirds.
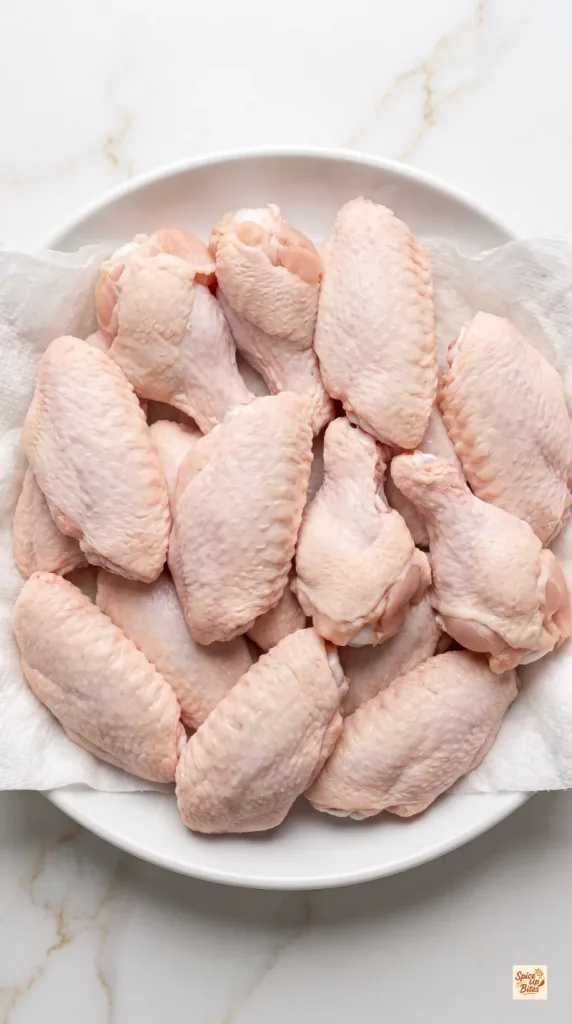
Pat 2 pounds chicken wing sections very dry with paper towels, including the folds around each joint. Do not rinse raw chicken.
Step 2: Season and Arrange
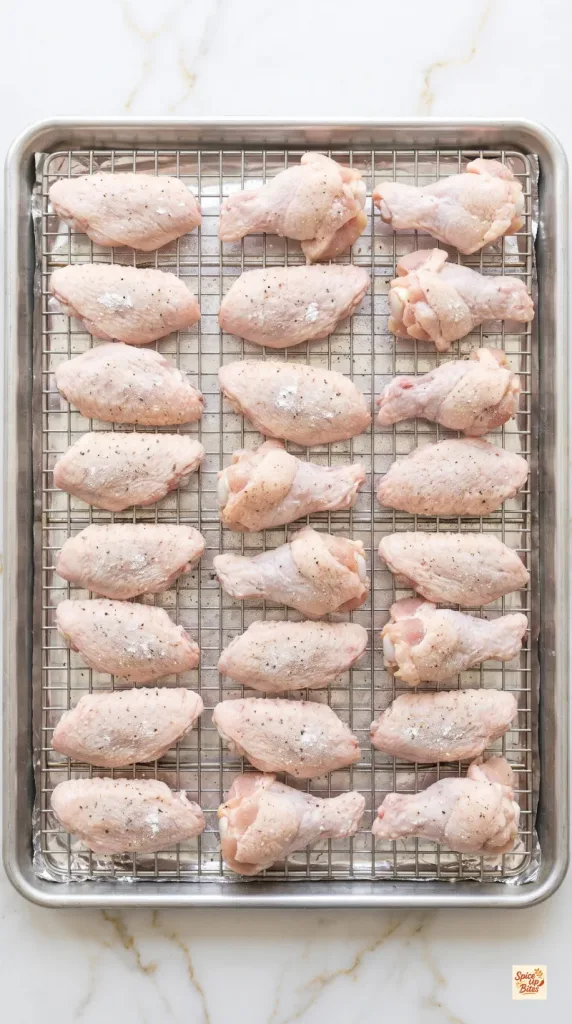
Line an 18-by-13-inch rimmed baking sheet with foil and set an oven-safe wire rack over it. Brush the rack with 1 teaspoon neutral oil.
Toss the dry wings in a large bowl with 2 teaspoons aluminum-free baking powder, 1/2 teaspoon fine salt and 1/2 teaspoon ground black pepper until evenly dusted. Break up any powder clumps; this should be a fine coat, not breading.
Arrange the wings skin-side up on the rack in a single layer, leaving small gaps between pieces.
Step 3: Bake Low
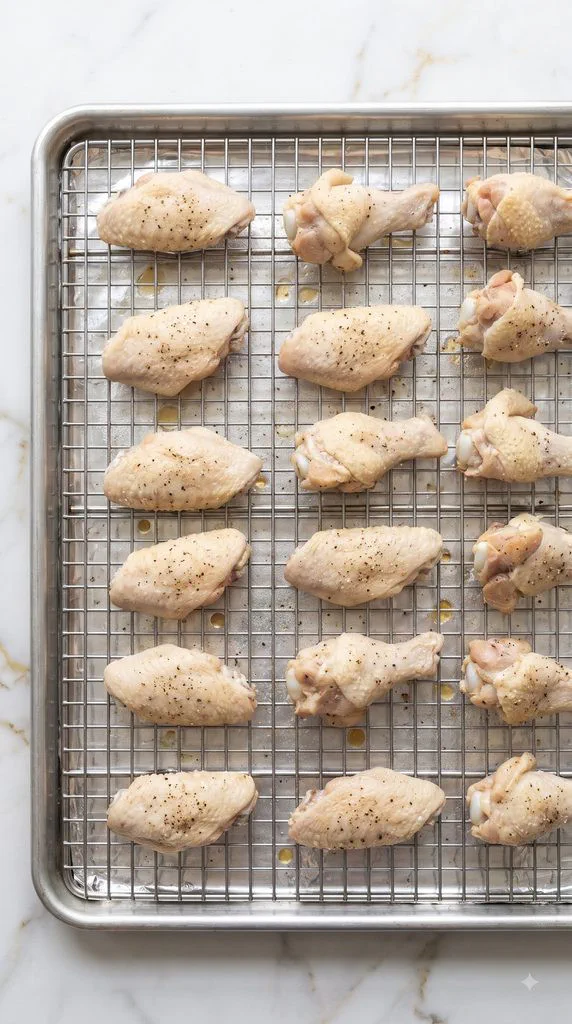
Bake on the lower oven rack for 30 minutes. The wings will still look pale; this stage starts drying the skin and rendering the fat.
Step 4: Crisp the Skin
Move the baking sheet to the upper oven rack and raise the heat to 425°F (220°C). Keep the wings in the oven while it heats.
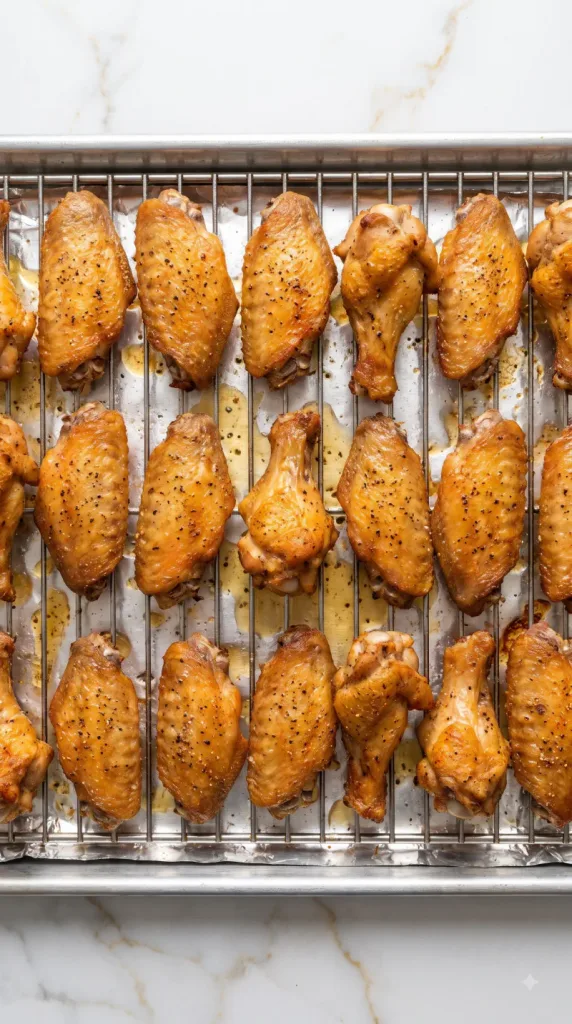
Bake for 40–50 minutes, rotating the pan front to back halfway through, until the skin is golden and crisp. Count this time from when you raise the temperature; ovens vary, so use the skin and thermometer as your final checks.
Check several of the largest pieces in the thickest meat without touching bone. Chicken must reach at least 165°F (74°C); wings often become more tender around 175–185°F (79–85°C).
Step 5: Rest and Serve
Rest the wings uncovered on the rack for 5 minutes. Do not cover them or pile them into a deep bowl while they release heat.
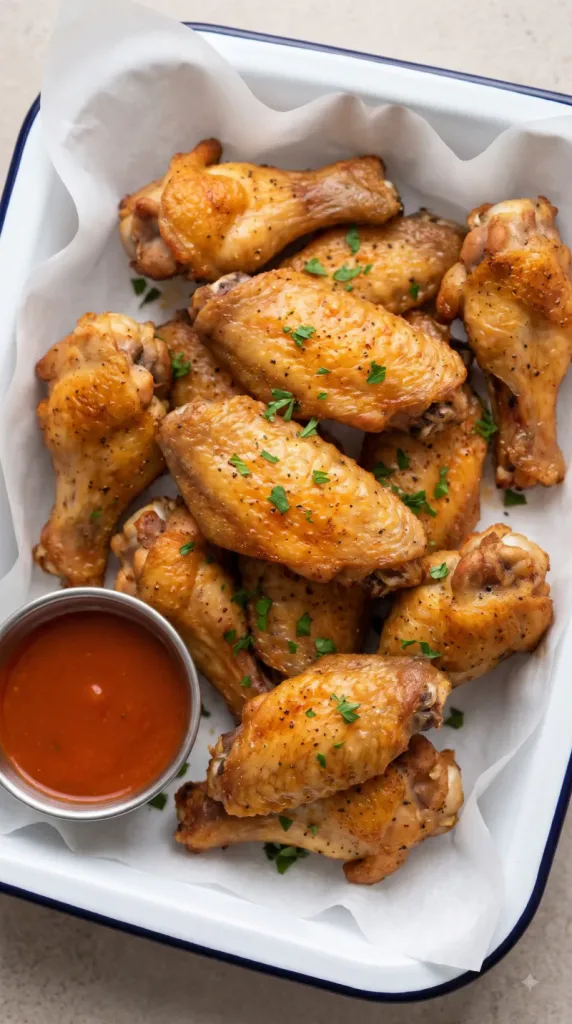
Serve with 1/2 cup prepared Buffalo sauce in a separate dipping bowl. Arrange 2 tablespoons fresh cilantro sprigs beside the wings on a serving platter, or leave the wings on the rack and offer the cilantro separately.
For a fuller meal, add optional celery sticks, carrot sticks and potato wedges. Keep the sauce separate until you are ready to eat.
Why This Recipe Works (Quick Science)
Water must leave the surface before skin can turn crisp. Patting the wings dry gives that process a head start. Baking powder changes the skin’s surface conditions and helps form tiny blisters as it bakes.
The low oven stage begins rendering fat. Higher heat then drives off more moisture and browns the skin. A raised rack keeps the underside out of the drippings, while sauce on the side protects the finished crunch.
Common Mistakes to Avoid
- Using baking soda: It is not a one-for-one swap for baking powder and can leave an unpleasant taste.
- Leaving wet patches: Dry the joints and folds, not just the broad skin surfaces.
- Adding too much powder: A light dusting is enough. A thick layer can taste chalky.
- Crowding the rack: Overlapping wings trap moisture. Use another matching pan if needed and rotate their positions.
- Saucing too soon: A long soak in sauce softens crisp skin.
- Skipping the thermometer: Color alone does not confirm safe chicken.
What to Serve With Crispy Baked Chicken Wings
Buffalo sauce and fresh cilantro give these wings a bright finish. Celery and carrot sticks add a cool crunch. Potato wedges make the platter feel more like dinner, while a simple green salad keeps the meal lighter.
Leftovers and Storage
Refrigerate leftovers in a shallow covered container within 2 hours, and use within 3–4 days. Store sauce separately. Freeze cooked wings for up to 3 months for best quality.
Reheat refrigerated wings on a rack at 400°F (200°C) for about 12–18 minutes, until the center reaches 165°F (74°C). A microwave warms the meat but softens the skin.
Macros Information
Estimated per appetizer serving, including one-fourth of the dipping sauce and cilantro. Bone size, rendered fat and sauce brand change the numbers; optional sides are excluded.
- Calories: 310
- Protein: 23 g
- Carbohydrates: 2 g
- Fat: 23 g
- Saturated Fat: 6 g
- Fiber: 0 g
- Sugar: 0 g
- Sodium: 1,000 mg
These values are estimates, not a lab analysis.
Frequently Asked Questions (FAQ)
Q: Can I use frozen wings?
A: Yes, but thaw them completely in the refrigerator first. Drain any liquid and dry the skin well before seasoning.
Q: Is baking powder the same as baking soda?
A: No. Use aluminum-free baking powder for this recipe. Baking soda alone can taste harsh.
Q: Do I need flour or breadcrumbs?
A: No. The thin seasoning coat works with the chicken skin itself. Flour and crumbs would make a different coating.
Q: Can I make the wings ahead?
A: You can dry and season them on the rack, then refrigerate uncovered for up to 24 hours on a lower shelf away from ready-to-eat food. Place the rack over its lined baking sheet to catch drips. Bake as directed and allow extra time if needed.
Q: What if I do not have a wire rack?
A: A lightly oiled metal sheet can work, but the underside will sit in fat and may be less crisp. Turn the wings during the hot baking stage. Use a rack for the closest result to this recipe.
Q: Should I flip the wings?
A: With a raised rack and good spacing, you can leave them skin-side up. If the undersides look pale near the end, turn them briefly, then return them skin-side up to finish.
Q: Can I double the recipe?
A: Use separate baking sheets and racks rather than stacking wings. Rotate the pans between oven positions during the hot stage, and check every batch for doneness.
Q: Can I toss them in sauce?
A: Yes. Toss only the portion you will eat right away. The skin softens as it sits in sauce, so dipping gives you a longer-lasting crunch.
Q: Why are my wings not crisp yet?
A: They may have started too wet, been crowded, or need more time in the hot oven. Check your oven temperature and keep baking in short intervals while watching the color.
Final Thoughts
Crispy Baked Chicken Wings make a simple platter with plenty of golden crunch. Dry the skin well, keep the coating light and let the rack do its job. Leave a comment with your favorite dipping sauce.
Happy cooking!