
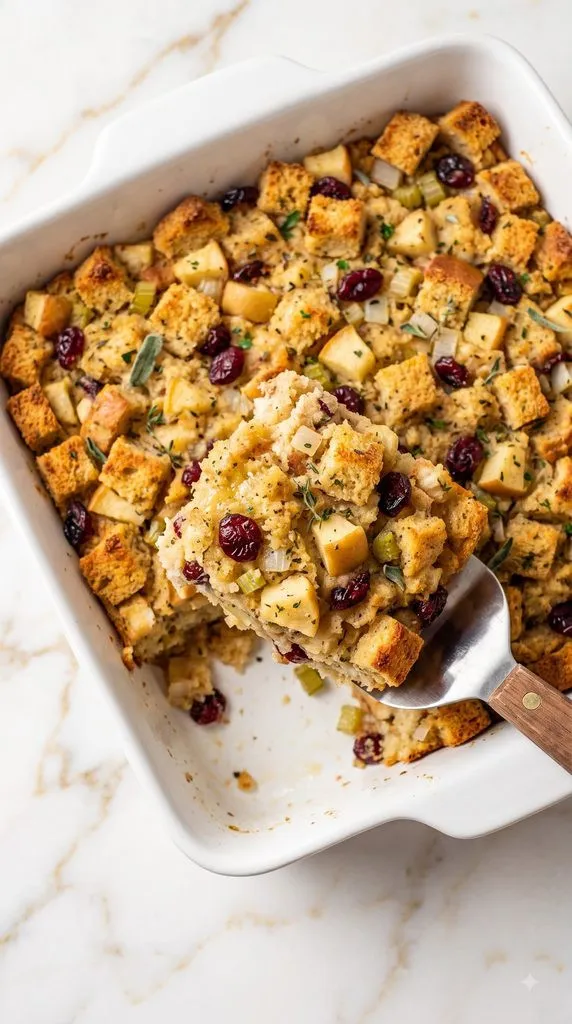
Apple cranberry stuffing is one of those cozy side dishes that makes the whole kitchen smell like fall. You get buttery bread, soft apples, tart cranberries, onion, celery, and warm herbs in every bite. It is simple enough for a family dinner but feels special enough for Thanksgiving or Christmas.
Why I Love This Recipe
Stuffing was always one of those dishes I went back for before I even thought about dessert. This version has everything I want in a holiday stuffing. The bread gets golden on top but stays soft and savory underneath.
The apple was the addition that really won me over. It softens as the stuffing cooks and gives little bites of sweetness without making the dish taste like dessert. Then the cranberries add a tart, chewy bite that works so well with sage and thyme.
Here are a few more reasons I keep coming back to it:
- The sweet and savory flavors are well balanced.
- You get crisp bread on top and tender stuffing underneath.
- Apples and cranberries make a classic stuffing feel more special.
- Most of the ingredients are easy to find.
- You can prepare much of it ahead of time.
- It goes with turkey, chicken, pork, and many holiday sides.
What You’ll Need
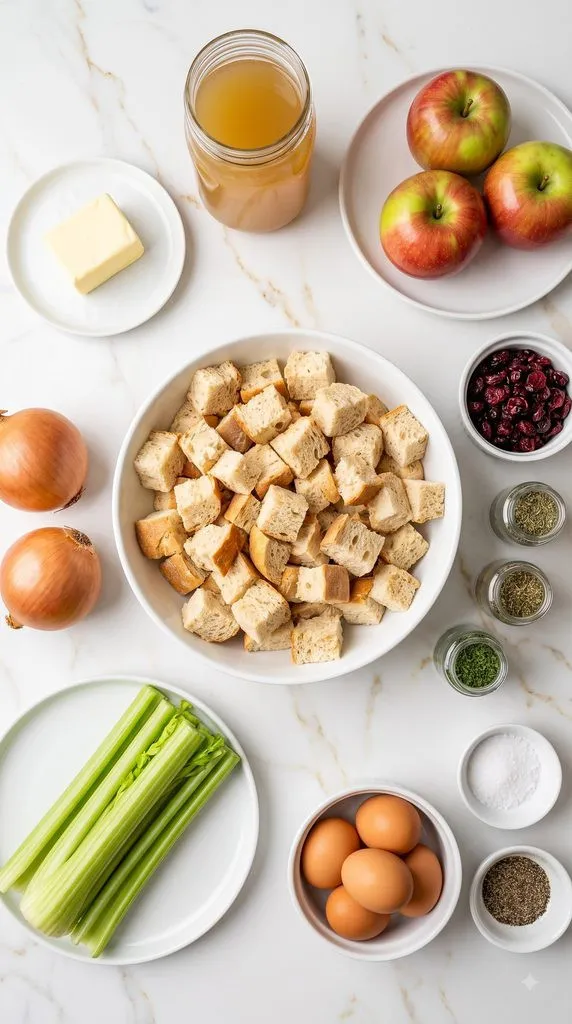
- 12 cups day-old French or Italian bread, cut into 1-inch cubes
- 6 tablespoons unsalted butter, divided
- 1 1/2 cups diced onion
- 1 1/2 cups diced celery
- 2 cups peeled and diced apples, about 2 medium apples
- 1 cup dried cranberries
- 2 teaspoons dried rubbed sage
- 1 teaspoon dried thyme
- 1 teaspoon dried parsley
- 1 teaspoon salt
- 1/2 teaspoon black pepper
- 2 large eggs, lightly beaten
- 2 1/2 cups low-sodium chicken broth, plus up to 1/2 cup more if needed
Recipe at a Glance
- Servings: 8
- Prep Time: 20 minutes
- Cook Time: 45 minutes
- Total Time: 1 hour 5 minutes
- Oven Temperature: 350°F (175°C)
How to Make Apple Cranberry Stuffing
Step 1: Dry the Bread
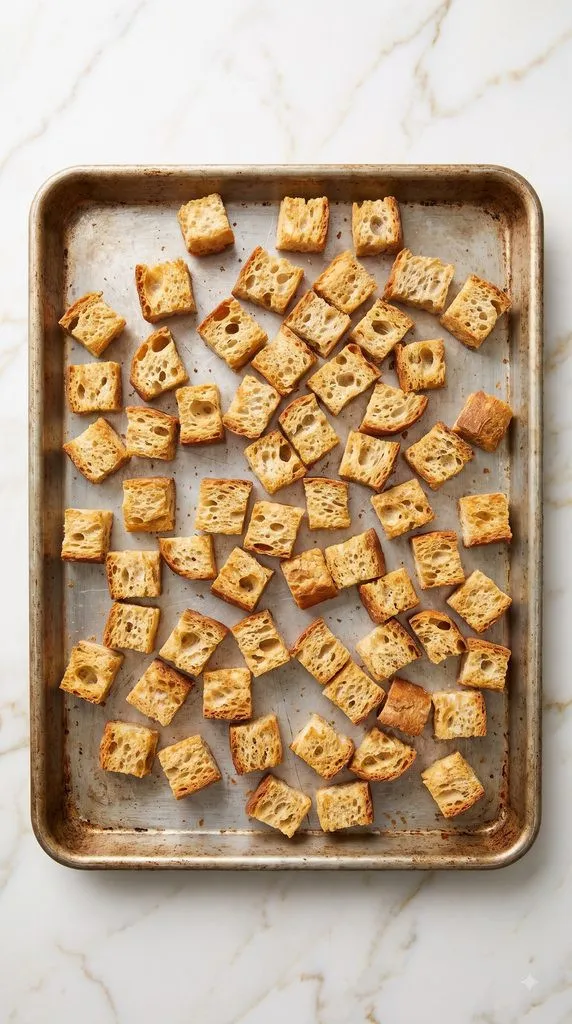
Heat the oven to 350°F (175°C). Spread 12 cups of 1-inch day-old French or Italian bread cubes in a single layer on a large baking sheet. Bake for 10 to 15 minutes, stirring once halfway through, until the cubes feel dry and the edges are just starting to turn golden. They should be dry rather than deeply toasted. Transfer the bread to a large mixing bowl.
Step 2: Cook the Onion and Celery
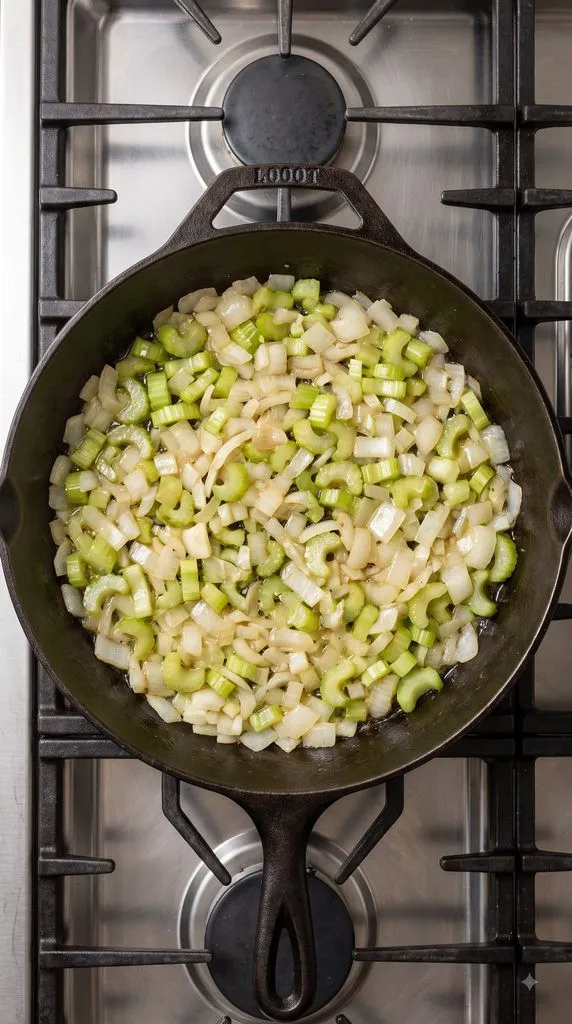
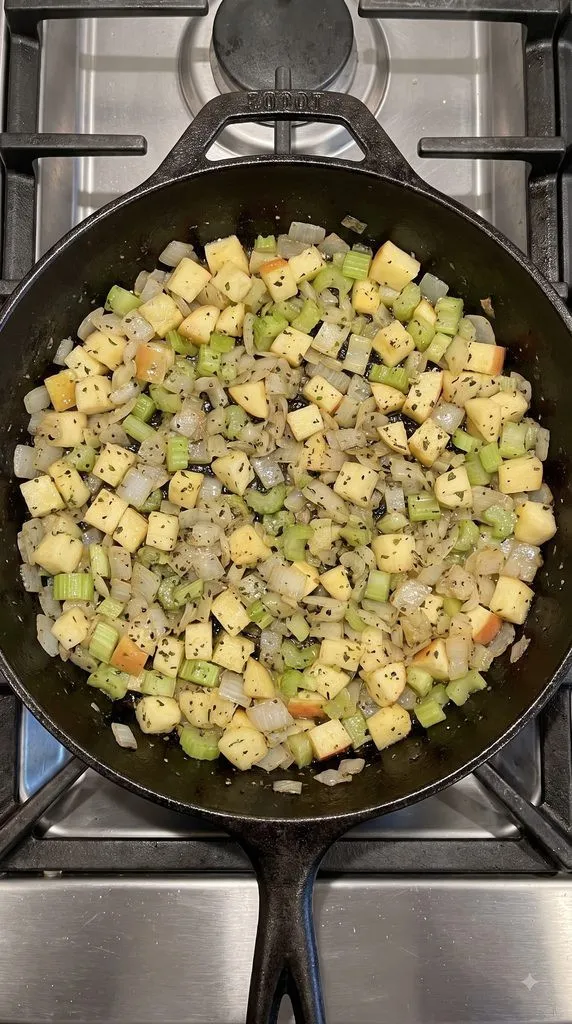
Melt 4 tablespoons unsalted butter in a large skillet over medium heat. Add 1 1/2 cups diced onion and 1 1/2 cups diced celery. Cook for 5 to 7 minutes, stirring now and then, until the onion looks soft and translucent and the celery has started to soften.
Step 3: Add the Apples and Seasonings
Add 2 cups peeled and diced apples to the skillet. Stir in 2 teaspoons dried rubbed sage, 1 teaspoon dried thyme, 1 teaspoon dried parsley, 1 teaspoon salt, and 1/2 teaspoon black pepper. Cook for another 3 to 4 minutes. The apples should begin to soften but should still hold their shape.
Step 4: Combine the Bread, Fruit, and Vegetables
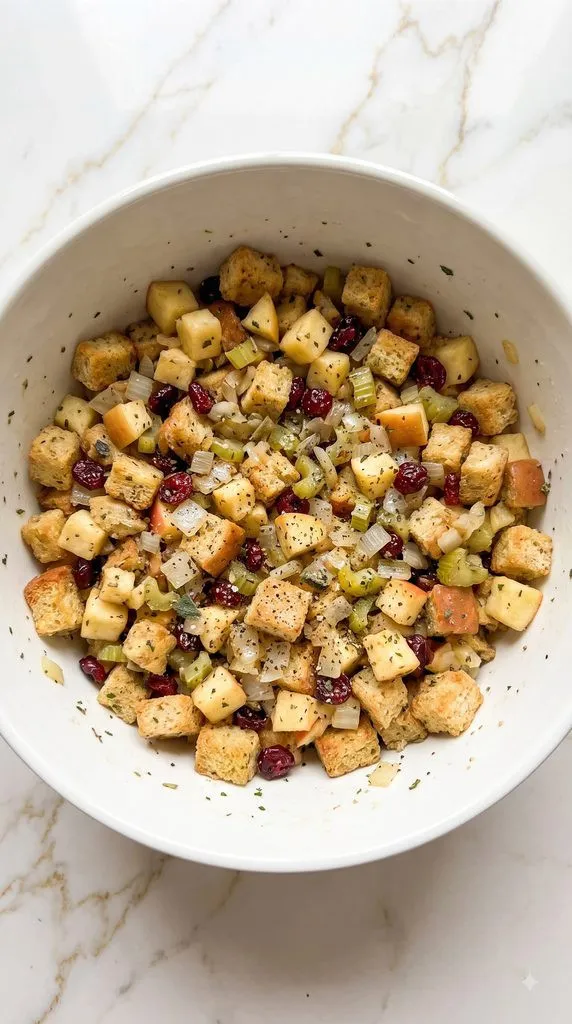
Pour the warm apple mixture over the 12 cups dried bread cubes in the large mixing bowl. Add 1 cup dried cranberries. Toss gently until the apples, cranberries, onion, celery, and herbs are spread evenly through the bread.
Step 5: Add the Eggs and Broth
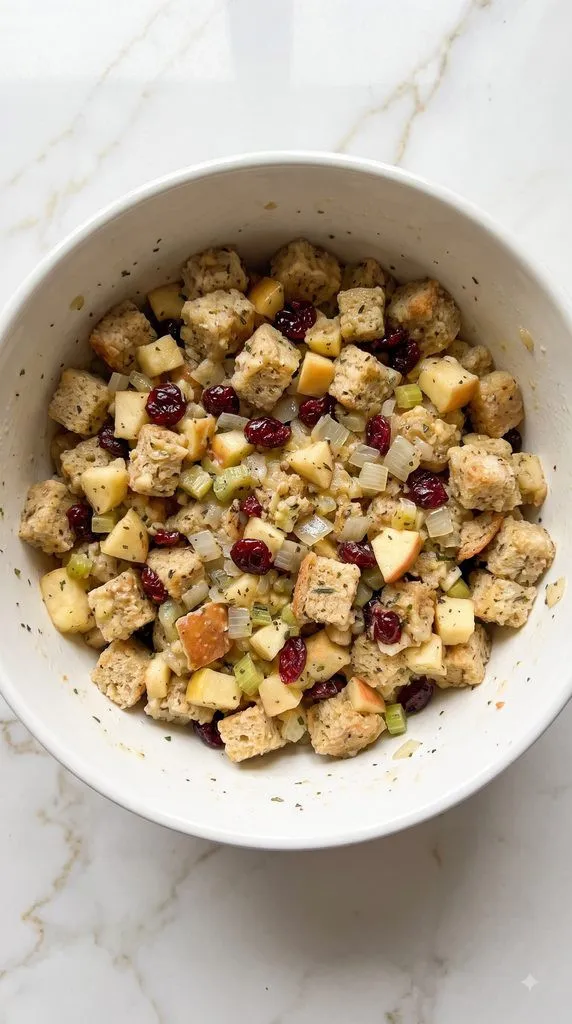
Whisk 2 large eggs with 2 1/2 cups low-sodium chicken broth in a separate bowl. Slowly pour it over the bread mixture while gently tossing. Let the bread absorb the liquid for a minute. It should feel moist but should not be swimming in liquid. If you still have very dry bread cubes, add up to 1/2 cup additional chicken broth, a little at a time.
Step 6: Fill the Baking Dish
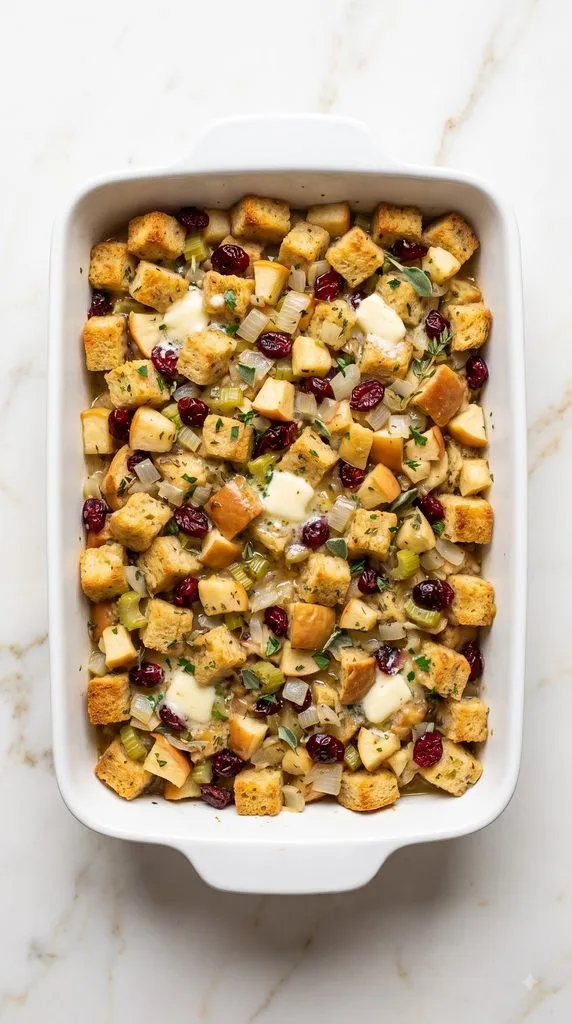
Use 1 tablespoon unsalted butter to grease a 9-by-13-inch baking dish. Spoon the stuffing mixture into the dish and spread it into an even layer. Cut the final 1 tablespoon unsalted butter into small pieces and scatter them over the top. Cover the dish with aluminum foil.
Step 7: Bake the Stuffing
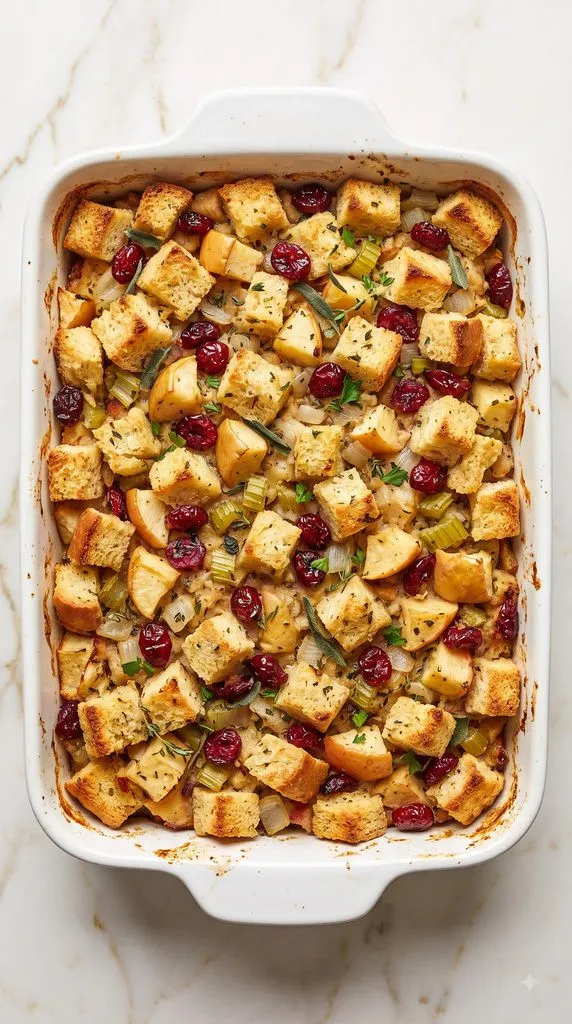
Bake the covered stuffing at 350°F (175°C) for 25 minutes. Carefully remove the foil. Bake uncovered for another 15 to 20 minutes, until the center is hot and the top is golden and lightly crisp. For food safety, the center should reach 165°F (74°C) because the stuffing contains eggs.
Step 8: Rest and Serve
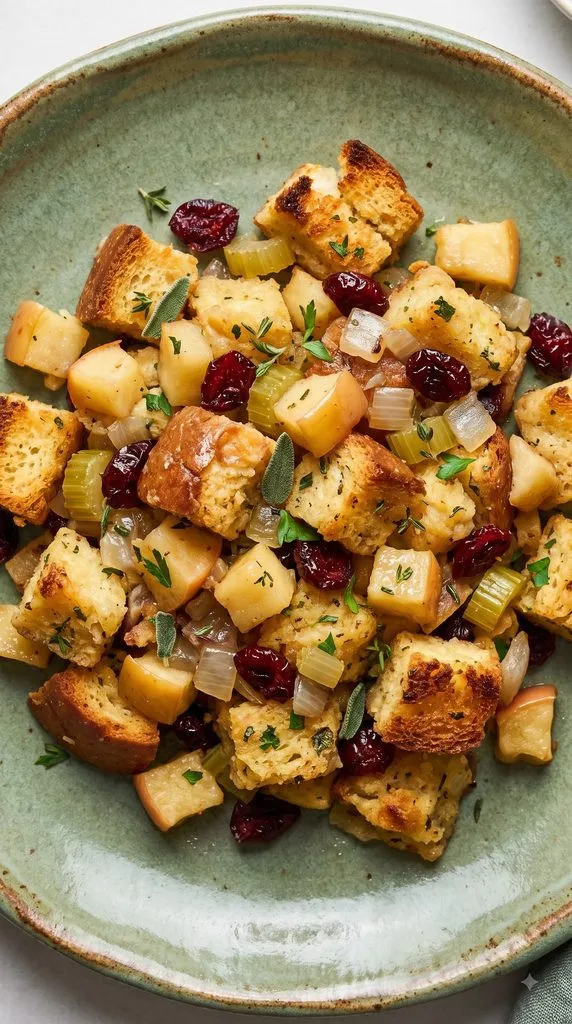
Let the stuffing rest for 5 to 10 minutes. Spoon it into a round serving bowl and serve warm. Resting gives the bread a little time to settle, so the stuffing stays moist without falling apart.
Why This Recipe Works (Quick Science)
Dry bread is important because it acts like a sponge. It can soak up broth, butter, eggs, and all those savory flavors without turning into mush.
The eggs help hold the stuffing together as they cook. Butter adds richness and also helps the top brown.
Cooking the onion and celery first makes them softer and sweeter. Giving the apples just a few minutes in the skillet keeps them from staying too firm while also stopping them from turning into applesauce.
Baking the stuffing covered first traps moisture. Removing the foil near the end lets extra moisture escape and gives you those crisp, golden pieces on top.
Pro Tips
- Use dry bread. Fresh, soft bread can make stuffing gummy. Day-old bread works much better.
- Choose a firm apple. Honeycrisp, Granny Smith, Pink Lady, or Fuji will hold their shape well.
- Add broth slowly. Different breads absorb different amounts of liquid.
- Don’t pack the dish tightly. A loose layer gives the stuffing a lighter texture.
- Keep some crispy pieces on top. Those golden bread cubes are one of the best parts.
Tools You’ll Need
- Chef’s knife
- Cutting board
- Measuring cups
- Measuring spoons
- Large baking sheet
- Large skillet
- Wooden spoon or spatula
- Large mixing bowl
- Small mixing bowl
- Whisk
- 9-by-13-inch baking dish
- Aluminum foil
- Oven mitts
- Instant-read thermometer, recommended
Substitutions and Variations
- Bread: Try sourdough, whole wheat bread, or a mix of white and whole wheat bread.
- Apples: Granny Smith gives you more tart flavor. Honeycrisp or Fuji makes the stuffing sweeter.
- Broth: Vegetable broth can replace chicken broth.
- Cranberries: Chopped dried cherries can be used instead.
- Herbs: Fresh herbs work too. As a simple rule, use about three times as much fresh herb as dried.
- Extra crunch: Add 3/4 cup chopped pecans or walnuts.
- More savory flavor: Add cooked crumbled sausage before the broth goes in.
Make-Ahead Tips
You can dry the bread cubes 1 to 2 days ahead and keep them in an airtight container at room temperature.
You can also dice the onion and celery a day ahead and refrigerate them in a sealed container.
For the easiest holiday prep, assemble the stuffing through Step 6, cover it well, and refrigerate it for up to 24 hours. Keep it cold until you are ready to bake. Because it starts cold, it may need a little extra baking time. Make sure the center reaches 165°F (74°C).
Common Mistakes
- Using very fresh bread: It absorbs liquid poorly and can become mushy.
- Pouring in too much broth at once: Start with the listed amount and only add the extra broth when the bread still seems dry.
- Overcooking the apples: They only need a short head start in the skillet.
- Packing down the stuffing: Keep it loose in the baking dish.
- Skipping the uncovered baking time: The final 15 to 20 minutes creates that crisp, golden top.
- Guessing when it’s done: Since this recipe contains eggs, checking for a 165°F (74°C) center is the safest method.
What to Serve With
Apple cranberry stuffing works especially well with:
- Roast turkey
- Roast chicken
- Glazed ham
- Pork tenderloin
- Mashed potatoes
- Green beans
- Roasted Brussels sprouts
- Sweet potato casserole
- Turkey gravy
- Cranberry sauce
Macros Information
Approximate nutrition per serving, based on 8 servings:
- Calories: 365
- Protein: 10 g
- Carbohydrates: 55 g
- Fat: 12 g
- Fiber: 4 g
- Sugar: 15 g
These numbers are estimates. The exact macros will change based on the bread, broth, apples, and other brands you use.
Leftovers and Storage
Let leftover stuffing cool, then place it in an airtight container. Refrigerate it for up to 3 to 4 days.
For reheating, place the stuffing in a baking dish and add a small splash of broth if it looks dry. Cover and warm at 350°F (175°C) until hot, then uncover it for a few minutes to bring back the crispy top. Leftovers should be reheated to 165°F (74°C).
You can also freeze cooked stuffing in an airtight freezer-safe container for about 2 to 3 months. Thaw it overnight in the refrigerator before reheating.
FAQ
Q: What are the best apples for stuffing?
A: Firm apples are best because they stay in pieces as they cook. Granny Smith, Honeycrisp, Pink Lady, and Fuji are all good choices.
Q: Can I use fresh bread?
A: Yes, but dry it in the oven first. Dry bread absorbs the flavorful broth without becoming as mushy.
Q: Can I make this stuffing vegetarian?
A: Yes. Replace the chicken broth with low-sodium vegetable broth.
Q: How do I know if I added enough broth?
A: The bread should feel evenly moist when gently squeezed, but you should not see liquid pooling in the bottom of the bowl.
Q: Why did my stuffing turn mushy?
A: The bread may have been too fresh, or too much broth may have been added. Dry bread and gradual additions of liquid help prevent this.
Q: Can I put the stuffing inside a turkey?
A: You can, but baking it separately is easier to control and gives you more crispy bread on top. Stuffing cooked inside poultry also needs careful temperature checks for food safety.
Q: Can I leave out the cranberries?
A: Yes. The stuffing will still work. You can leave them out or replace them with dried cherries.
Final Thoughts
Apple cranberry stuffing brings sweet, savory, buttery, and herby flavors together in one cozy dish. The apples give it freshness, the cranberries add little tart bites, and the golden bread on top gives you that classic stuffing texture.
Make it for Thanksgiving, Christmas, or your next roast dinner, and don’t be surprised if people reach for seconds. If you make it, leave a comment and share how it turned out, what you served with it, or any questions you have.