
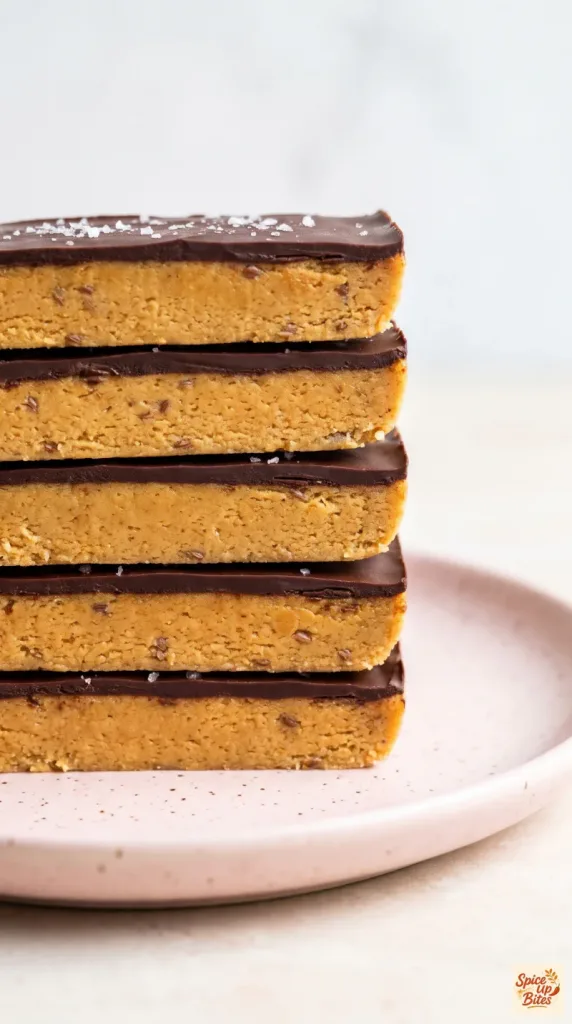
Protein Chocolate Peanut Butter Bars bring together a soft peanut butter center and a thin chocolate top that gives a gentle snap. They need no oven and come together with a bowl and a loaf pan. Honey adds sweetness, while protein powder and ground flax help turn the peanut butter into a sliceable dough. Keep a batch chilled for a simple snack or a small dessert.
Why I Love This Recipe
There is plenty to like about a recipe with a short ingredient list and no baking. The peanut butter stays front and center, and the dark chocolate balances the sweet base. These bars feel rich, so a small piece goes a long way.
- No oven needed: Mix, press, top, and chill.
- Two clear layers: A tender base sits beneath a thin chocolate cap.
- Easy portions: Slice the slab into ten bars for the week.
- Simple cleanup: Parchment makes lifting the slab out easy.
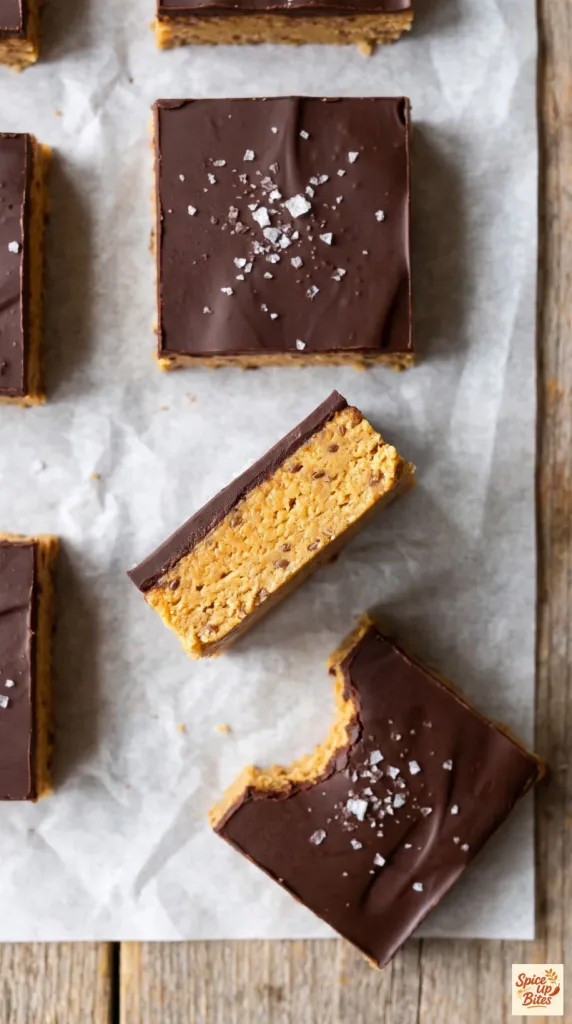
What You’ll Need
- Servings: 10 bars
- Prep Time: 15 minutes
- Cook Time: 2 minutes, for melting chocolate
- Chill Time: 1 hour
- Total Time: 1 hour 17 minutes
- Pan Size: 8 x 4-inch metal loaf pan
- Oven: Not needed
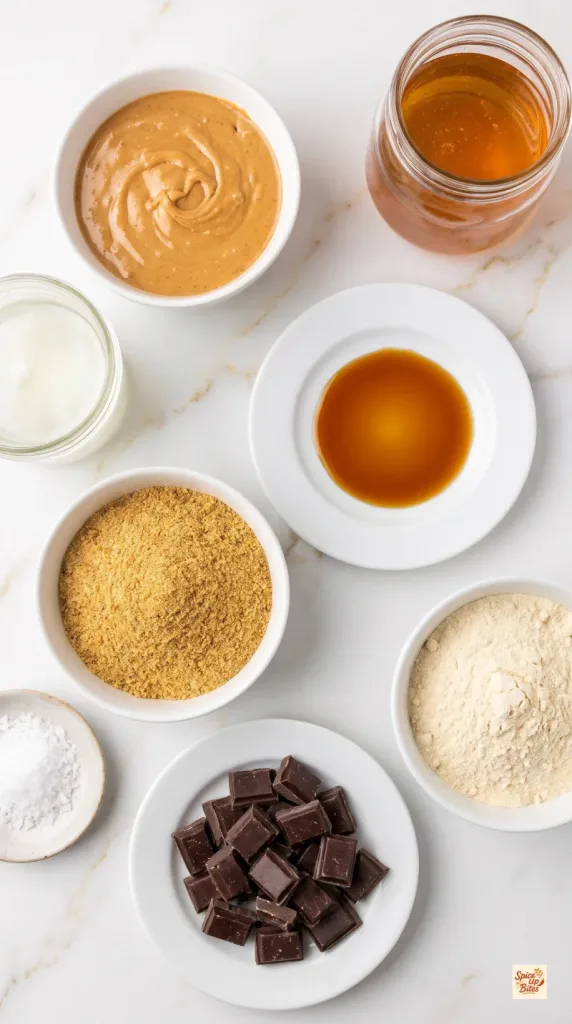
Ingredients
- 3/4 cup (192 g) natural creamy salted peanut butter, stirred well and at room temperature
- 1/4 cup (84 g) honey
- 1 tablespoon (14 g) coconut oil, melted and cooled slightly
- 1 teaspoon vanilla extract
- 1/3 cup (40 g) finely ground golden flaxseed meal
- 1/2 cup (40 g) vanilla whey protein powder
- 2.5 ounces (71 g) dark chocolate, about 85% cacao, finely chopped
- 1/8 teaspoon flaky sea salt, for the chocolate top
Choose peanut butter made with peanuts and salt. Stir any separated oil back into the jar before measuring. Weigh the protein powder if possible; scoop sizes vary, and too much powder makes the bars dry.
Tools You Need
- 8 x 4-inch metal loaf pan
- Parchment paper
- Glass mixing bowl
- Small microwave-safe glass bowl
- Silicone spatula
- Kitchen scale and measuring spoons
- Sharp knife and cutting board
How to Make Protein Chocolate Peanut Butter Bars
Get the pan ready first, then build the base and chocolate layer.
Step 1: Mix the Peanut Butter Base
Line an 8 x 4-inch metal loaf pan with parchment, leaving overhang on the long sides. Set it aside.
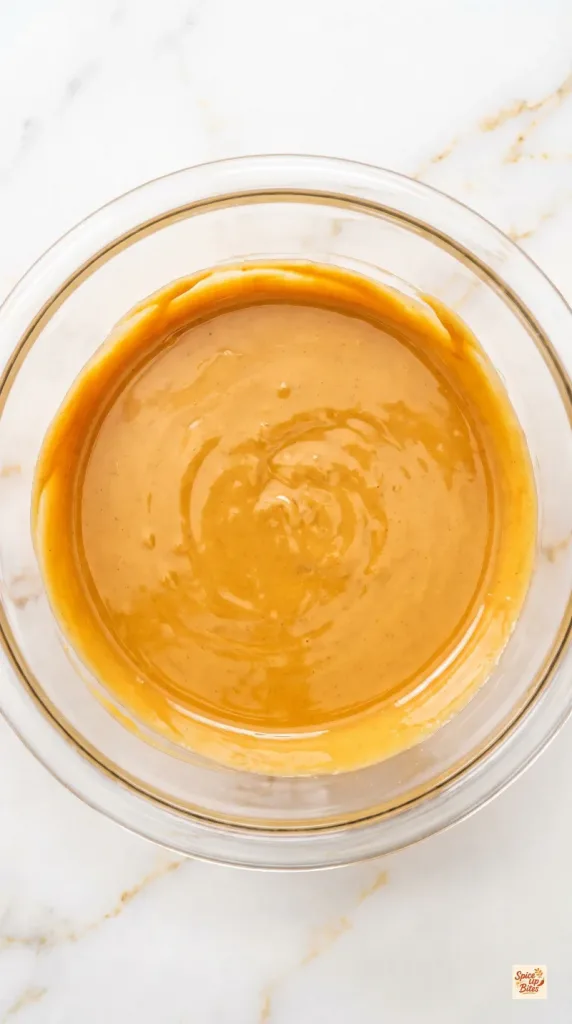
Stir 3/4 cup (192 g) peanut butter, 1/4 cup (84 g) honey, 1 tablespoon (14 g) melted coconut oil, and 1 teaspoon vanilla extract together in a glass mixing bowl until smooth and evenly blended.
Step 2: Make the Dough
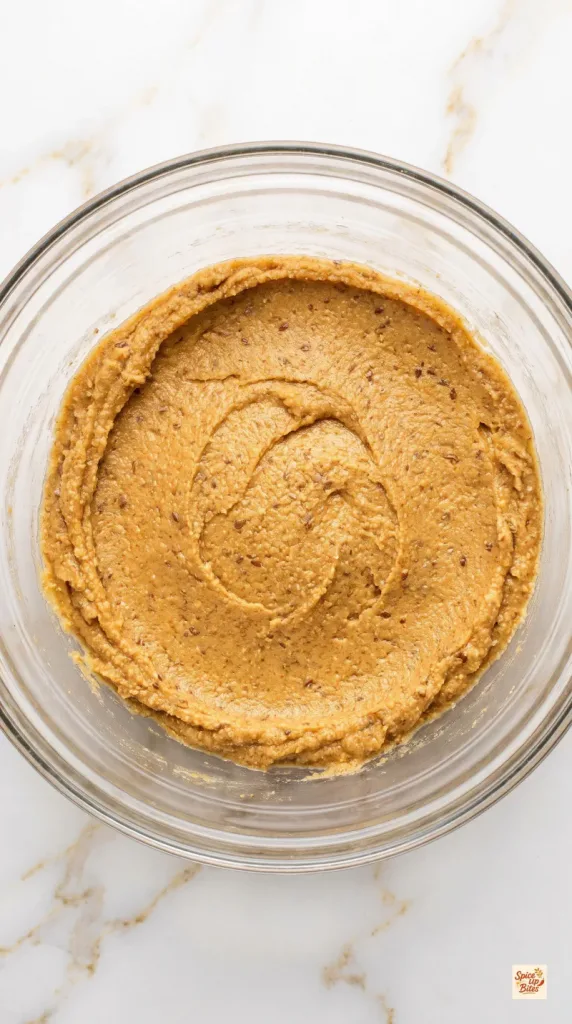
Add 1/3 cup (40 g) finely ground golden flaxseed meal and 1/2 cup (40 g) vanilla whey protein powder to the peanut butter mixture.
Stir, then press the mixture together with the spatula until no dry pockets remain. It should feel like soft cookie dough and hold together when pressed.
Let it stand for 2 minutes so the dry ingredients can take up moisture. These minutes are included in the prep time.
Step 3: Press the Base
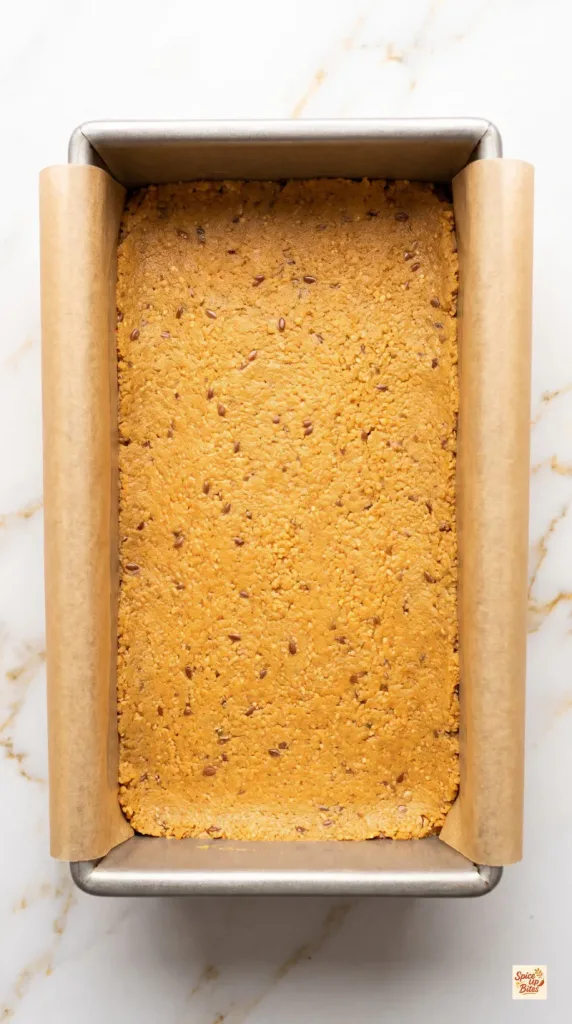
Transfer all the dough to the lined pan.
Press it firmly into the corners and smooth the top into one even layer. A loose base can crumble when sliced, so pack it down with the flat side of the spatula.
Step 4: Melt the Chocolate
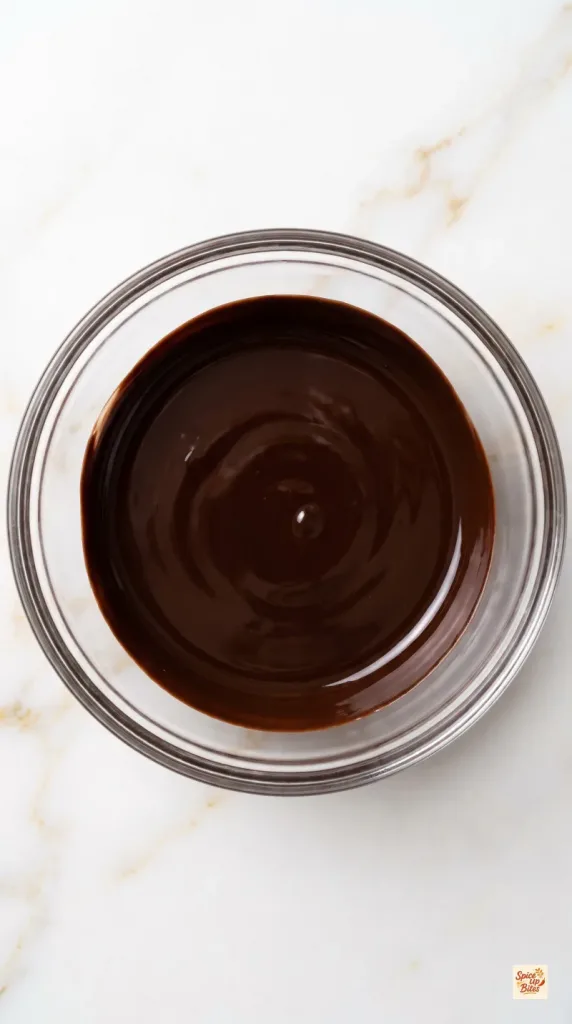
Place 2.5 ounces (71 g) chopped dark chocolate in a dry microwave-safe glass bowl.
Microwave for 20 seconds, stir, and repeat in 15-second bursts until almost melted. Stir until the last small pieces dissolve and the chocolate is smooth and glossy. Allow about 2 minutes for heating and stirring; microwave power varies.
Step 5: Add the Chocolate Top
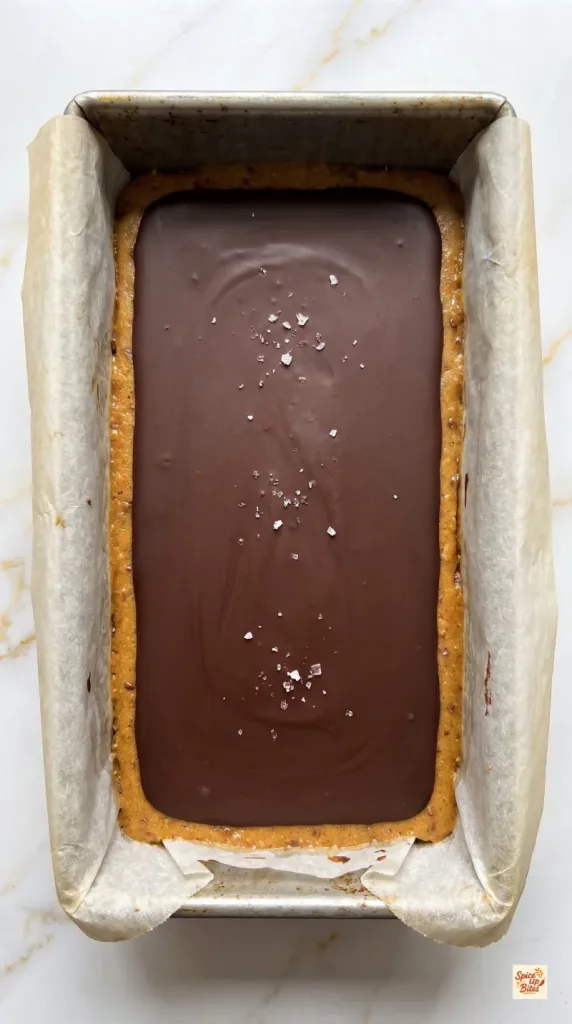
Spread all the melted chocolate over the pressed base, reaching each corner in a thin, even layer.
Sprinkle 1/8 teaspoon flaky sea salt lightly over the chocolate while it is still soft.
Refrigerate for 1 hour, or until the base feels firm and the chocolate is set. A warm fridge may need a little longer.
Step 6: Slice and Serve
Lift the firm slab out by the parchment and move it to a cutting board.
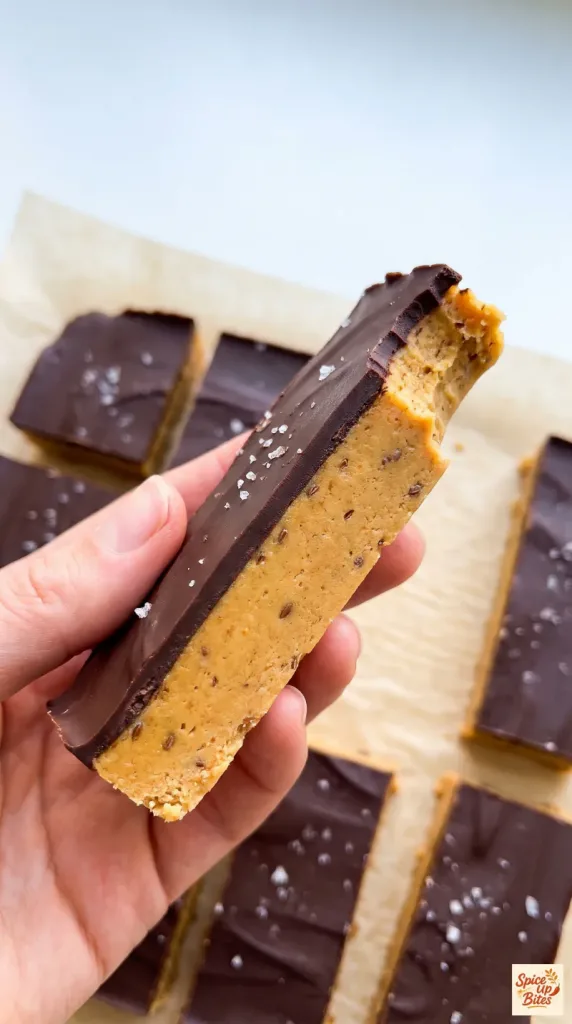
If the chocolate feels brittle, let it stand for 5 minutes. Cut lengthwise into two strips, then cut each strip into five pieces to make 10 bars. Use a warm, dry knife and press straight down rather than sawing.
Serve the bars on their own. Return the remaining bars to the refrigerator so the peanut butter base stays firm.
Why This Recipe Works (Quick Science)
Peanut butter supplies fat and helps bind the dry ingredients. Honey adds sticky sweetness, while finely ground flax and protein powder thicken the mixture. Packing the dough firmly removes loose pockets that could break apart later.
Chilling firms the coconut oil and chocolate. That gives the base a tender bite beneath a thin, crisp top. These are chilled bars, so they soften as they warm up; they do not set like baked cookies.
Common Mistakes to Avoid
- Using separated peanut butter: Stir the jar thoroughly so the measured portion has an even balance of oil and solids.
- Packing protein powder into the cup: Extra powder can make the base chalky. Use the gram amount.
- Leaving loose corners: Press the dough firmly across the whole pan.
- Overheating the chocolate: Short bursts and frequent stirring help keep it smooth.
- Cutting ice-cold chocolate: A short rest and a warm, dry knife reduce cracking.
Pro Tips
- Measure sticky peanut butter and honey by weight to save on cleanup.
- Use finely ground flax rather than whole seeds for a cohesive base.
- Taste the protein powder before using it. Its flavor will be noticeable here.
- Keep the chocolate layer thin so it is easier to slice and bite through.
Substitutions and Variations
Smooth almond butter can replace the peanut butter by weight, though the flavor changes. Choose a similarly runny, well-stirred nut butter.
Plain whey protein powder works in place of vanilla whey, but the bars will taste less sweet. Plant-based powders often absorb more liquid, so they are not a reliable straight swap in this formula.
For less bitter chocolate, use dark chocolate with a lower cacao percentage. This changes the sugar and nutrition estimates. Keep the same chocolate weight so the layer stays thin.
Leftovers and Storage
Store in an airtight container in the refrigerator for up to 1 week, with parchment between layers. Keep them chilled until shortly before serving.
Freeze in a sealed freezer-safe container for up to 1 month. Thaw a portion in the refrigerator before eating. The chocolate may lose a little shine after freezing, but the bars should still taste good.
Macros Information
Estimated per bar, based on 10 bars and vanilla whey protein powder. Brands and portion sizes will change these numbers.
- Calories: 230
- Protein: 9 g
- Carbohydrates: 15 g
- Fat: 16 g
- Saturated Fat: 5 g
- Fiber: 3 g
- Sugar: 10 g
- Sodium: 85 mg
Frequently Asked Questions (FAQ)
Q: Do these bars need baking?
A: No. The base firms as it chills, and the chocolate sets on top.
Q: Can I leave out the protein powder?
A: It helps form the dough as well as adding protein. Leaving it out changes the texture, so use a recipe designed without it instead.
Q: Why is my dough crumbly?
A: Too much powder or peanut butter with too little oil can cause this. Check the weights, stir thoroughly, and press a small piece together before filling the pan.
Q: Can I use crunchy peanut butter?
A: Creamy peanut butter gives the most even base. Crunchy peanut butter adds pieces and makes neat slicing harder.
Q: Are these gluten-free?
A: The listed ingredients do not require wheat, but check every label, especially the protein powder, for gluten and cross-contact information.
Q: Are they dairy-free or vegan?
A: This version contains whey and honey. It is neither dairy-free nor vegan, and changing both calls for a revised formula.
Q: Can I use a square pan?
A: An 8 x 8-inch pan has twice the base area of the loaf pan. Double the recipe to keep a similar thickness and cut it into 20 bars.
Q: Can I take them on the go?
A: Yes, but use a chilled container or ice pack. The base and chocolate soften in warm conditions.
Q: Why did the chocolate crack?
A: A thick or very cold chocolate layer can shatter under a knife. Spread it thinly, allow a short rest after chilling, and cut with a warm, dry blade.
Final Thoughts
Protein Chocolate Peanut Butter Bars are a simple way to enjoy peanut butter and chocolate in a portion you can keep ready in the fridge. Pay attention to the dough texture, pack the base firmly, and let both layers set before slicing. Leave a comment with your favorite chocolate choice or how you served your batch. Happy cooking!