
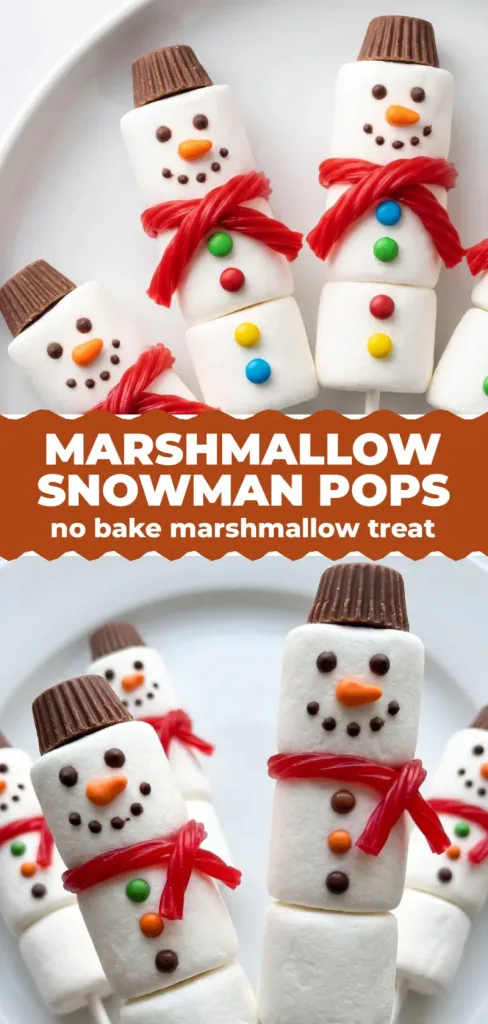
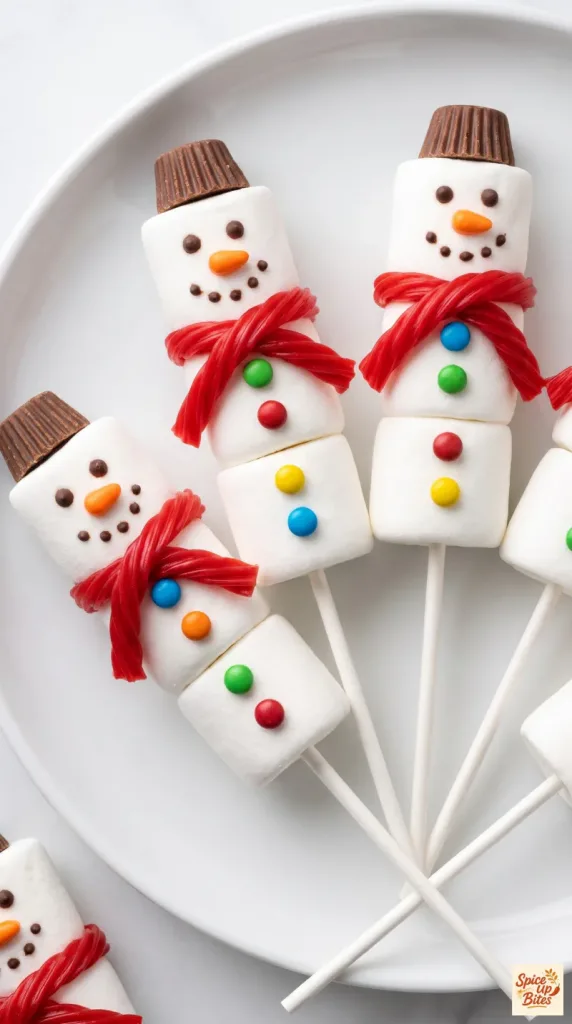
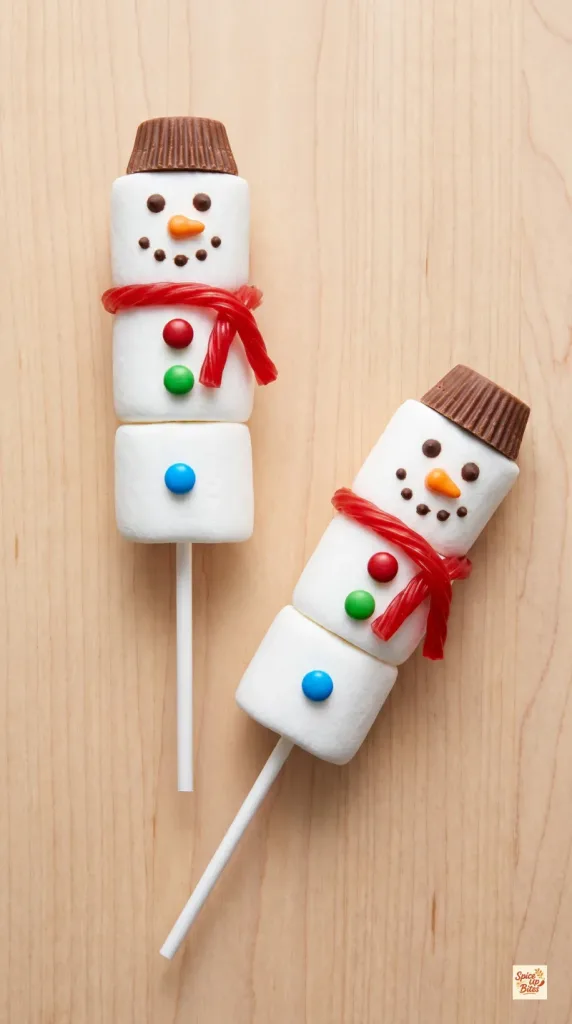
Marshmallow Snowman Pops turn soft marshmallows and colorful candy into cheerful Christmas treats. Each one has a tiny chocolate face, a red scarf, and a peanut butter cup hat. There is no baking, and the decorating is easy to do in small batches. Let the details set before you move or wrap the pops.
Why I Love This Recipe
A few little details give these simple sweets plenty of character. The soft marshmallow body pairs with crisp candy shells and a small bite of chocolate and peanut butter.
- No oven needed: Only the decorating chocolate needs melting.
- Easy to portion: Each stick holds one complete treat.
- Simple ingredients: Ready-made candy does most of the work.
- Festive finish: Scarves and little hats make each pop feel special.
What You’ll Need
- Servings: 12 pops, 1 pop per serving
- Prep Time: 30 minutes
- Cook Time: 2 minutes, for melting
- Setting Time: 15 minutes
- Total Time: 47 minutes
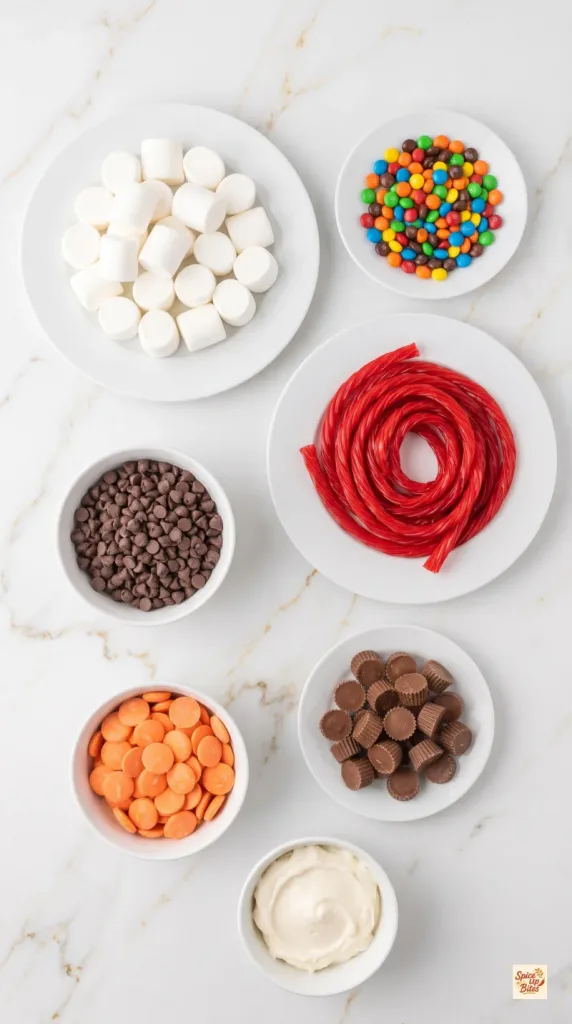
- 36 regular large white marshmallows, about 9 ounces total; not jumbo or mini
- 36 mini candy-coated chocolates, about 2 tablespoons
- 12 red pull-apart candy strands, about 6 inches long each
- 12 unwrapped mini peanut butter cups, about 2 ounces total
- 2 tablespoons semisweet chocolate chips
- 2 tablespoons orange candy melts
- 2 tablespoons thick ready-to-use white vanilla frosting, divided
Tools You Need
- 12 food-safe 8-inch lollipop sticks
- Microwave
- Small microwave-safe glass bowls
- Teaspoon and silicone spatula
- Food-safe decorating picks
- Parchment paper
- Large plate and airtight container
How to Make Marshmallow Snowman Pops
Set everything out first so the melted candy is ready when you need it.
Step 1: Melt the Decorating Candy
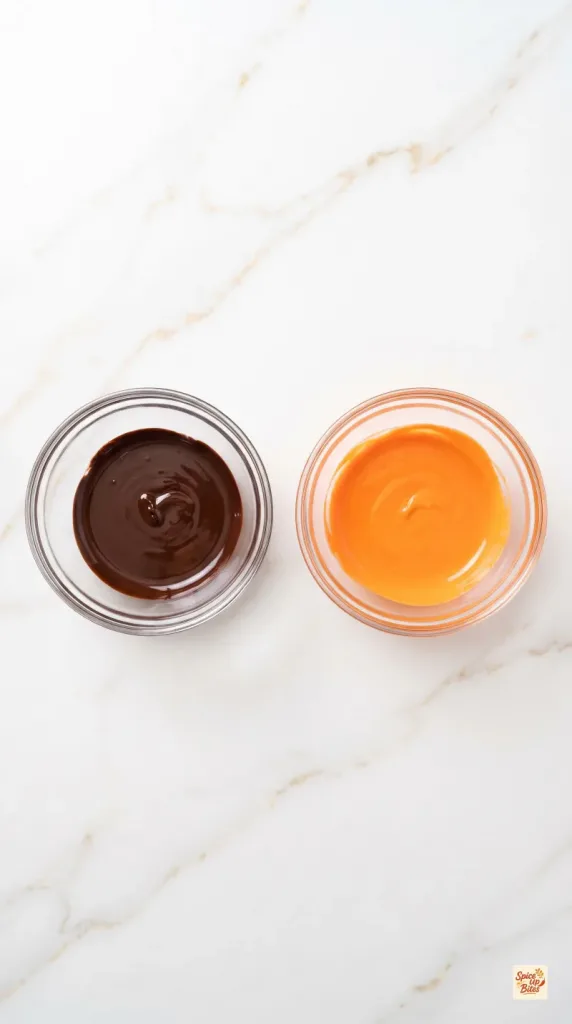
Place 2 tablespoons semisweet chocolate chips in a small, completely dry microwave-safe bowl.
Heat at half power for 30 seconds, stir, then heat in 10-second bursts, stirring each time, until smooth.
Melt 2 tablespoons orange candy melts in a separate dry bowl using the same gentle method, or follow the package directions. Allow both to cool until thick enough to hold a small dot.
Step 2: Build the Marshmallow Bodies
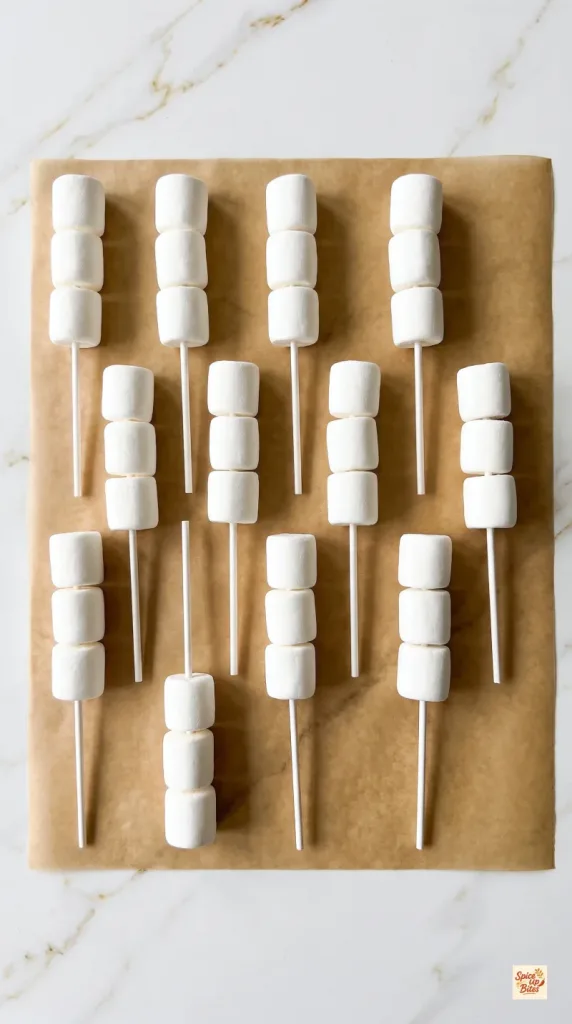
Thread 36 large white marshmallows onto 12 food-safe 8-inch lollipop sticks, using 3 marshmallows per stick.
Push them together gently without squashing them. Stop the stick inside the top marshmallow so no tip pokes out above the head.
Lay the pops flat on parchment with enough space to decorate each one.
Step 3: Add the Scarves and Buttons
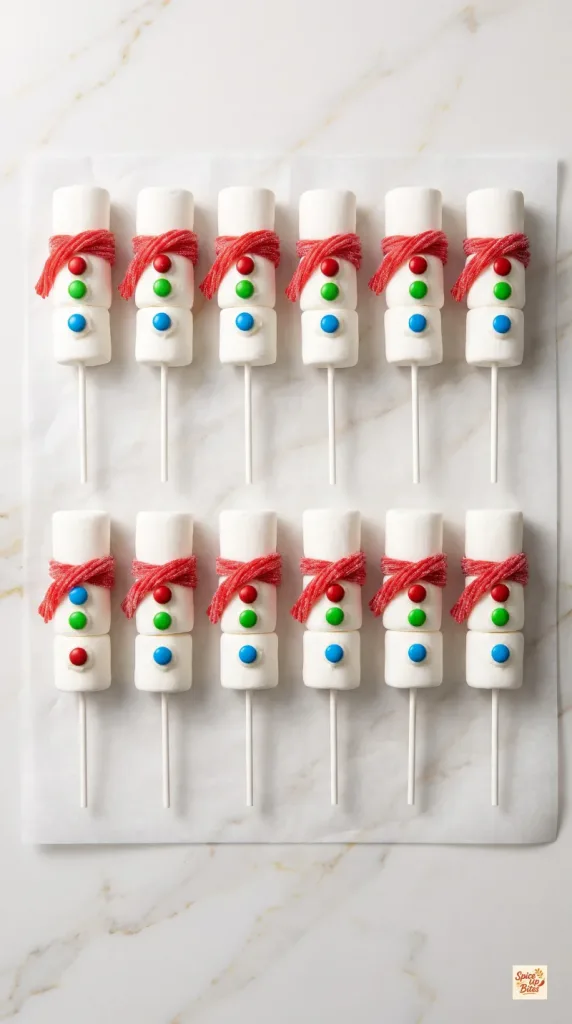
Wrap 12 red pull-apart candy strands, each about 6 inches long, around the joins between the top and middle marshmallows, using one strand per pop.
Cross the ends and press gently to secure them without pulling tightly enough to cut into the marshmallows.
Use 1 tablespoon white vanilla frosting to attach 36 mini candy-coated chocolates. Place 2 buttons on each middle marshmallow and 1 on each lower marshmallow.
Step 4: Finish the Faces and Hats
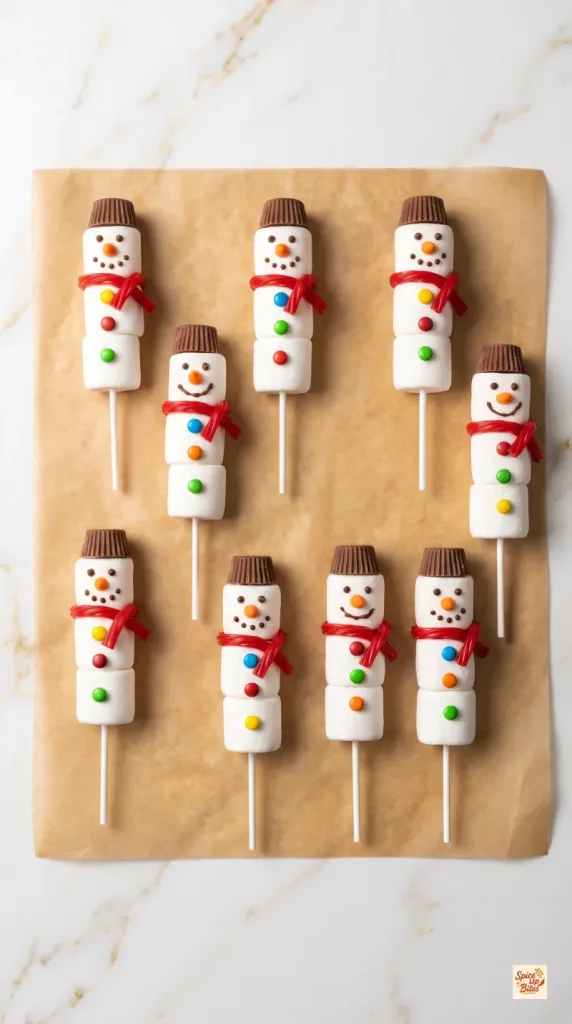
Use a food-safe decorating pick to apply the melted semisweet chocolate from Step 1 as 2 small eyes and a dotted smile on each head. Keep the dots small so they hold their shape.
Use a separate pick to add a small carrot-shaped nose with the melted orange candy from Step 1. If either mixture firms up, reheat it for 5 seconds and stir.
Use the remaining 1 tablespoon white vanilla frosting to secure 12 mini peanut butter cups, broad end down, on the heads as hats.
Step 5: Let Set and Serve
Leave the pops flat for 15 minutes, or until the chocolate details are firm and the hats stay in place.
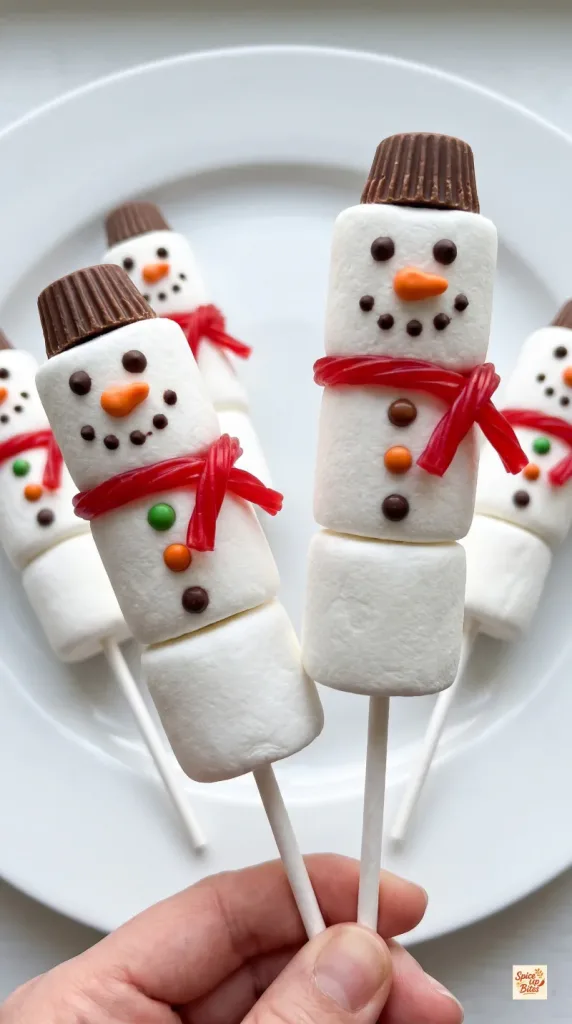
Lift gently by the sticks and serve the pops on their own. For a platter, lay them in a loose fan with the handles easy to reach; lift only after the decorations have set.
Why This Recipe Works (Quick Science)
Marshmallows have a springy structure that grips the stick while staying soft enough to bite. Small dots of chocolate firm as they cool, which helps the faces stay neat. Thick frosting acts as glue behind the buttons and hats. The candy scarf sits around the join rather than carrying the weight of the pop.
Common Mistakes to Avoid
- Using stale marshmallows: They can crack or resist the stick. Start with a fresh, soft bag.
- Overheating the chocolate: Short bursts and frequent stirring keep it smooth.
- Adding water-based coloring to chocolate: Ready-colored orange candy melts avoid this problem.
- Using too much frosting: Large blobs slide and squeeze out. Use small dabs.
- Moving the pops too soon: Let the decorations firm before lifting or wrapping.
- Pulling the scarf too tight: A loose crossing keeps the marshmallow shape intact.
Pro Tips
Set the marshmallows with their broadest curved sides facing forward. That gives you a smooth space for the face and buttons. Use a fresh decorating pick for each color so the orange stays clean. A small dab of frosting is enough for a light mini hat; full-size peanut butter cups are too heavy.
Make-Ahead and Storage
Make the pops up to 1 day ahead for the best texture. Store flat in a single layer in an airtight container at cool room temperature for up to 2 days, provided the frosting label allows room-temperature storage. Keep them away from heat, sunlight, and moisture.
If your frosting requires refrigeration, follow its label and expect condensation to soften the decorations. Freezing is not recommended because thawing can leave the marshmallows sticky and loosen the candy.
Macros Information
Estimated per pop, based on 12 servings and the listed decorating ingredients. Brands and unused decorating chocolate will change these values.
- Calories: 165
- Protein: 2 g
- Carbohydrates: 33 g
- Fat: 4 g
- Saturated Fat: 2 g
- Fiber: 0 g
- Sugar: 25 g
- Sodium: 55 mg
Frequently Asked Questions (FAQ)
Q: What size marshmallows should I use?
A: Use regular large marshmallows, the usual roasting size. Mini marshmallows leave too little space for a face, while jumbo ones make a heavy pop.
Q: Do I need to coat the marshmallows in white chocolate?
A: No. These pops keep their soft, uncoated marshmallow surface. Melted candy is used only for the small facial details.
Q: Can I use wooden skewers?
A: Food-safe blunt-ended skewers can work. Keep the top end buried inside the head and leave a clear handle below the body.
Q: How do I stop the hats from sliding?
A: Use light mini peanut butter cups, a small dab of thick frosting, and let the pops set flat before lifting.
Q: Can I make them without peanut butter cups?
A: You can omit the hats or use a similarly small, lightweight peanut-free chocolate candy. Check all ingredient labels when serving anyone with an allergy.
Q: Can I use a different scarf candy?
A: A thin strip of soft fruit leather works well. Keep it flexible and avoid tightening it around the marshmallow.
Q: Why is my melted chocolate thick and grainy?
A: Water or excess heat can make it seize. Start again in a dry bowl and heat gently. Keep wet spoons away from the chocolate.
Q: Can I wrap the pops as gifts?
A: Yes. Once the details are firm, slide each pop into a food-safe treat bag without rubbing the face. Keep the bags roomy around the hats.
Final Thoughts
Marshmallow Snowman Pops bring a playful touch to a Christmas dessert tray with very little equipment. Give the details time to set, then enjoy the soft marshmallows and little candy crunch. Leave a comment with your favorite button colors. Happy cooking!