
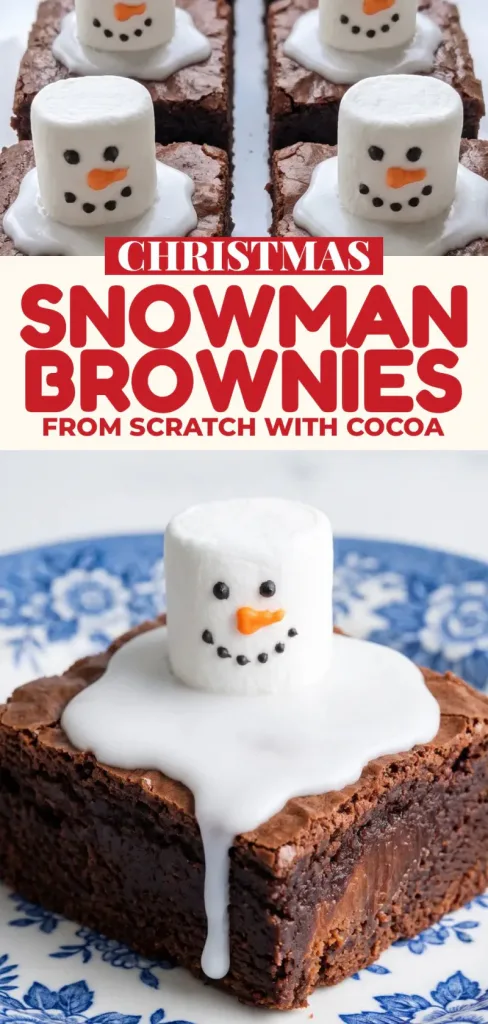
Christmas Snowman Brownies bring a little winter fun to a rich chocolate treat. Each fudgy square gets a puddle of white icing and a marshmallow head with a tiny carrot nose. The brownie batter comes together in a bowl, and the faces need only two colors of decorating icing. Let the brownies cool fully so the snowmen stay neat when you add them.
Why I Love This Recipe
A homemade brownie gives these little snowmen a rich base that balances the sweet topping. The white icing can spread into uneven shapes, so there is no need for perfect piping or matching faces.
- Simple shape: Square brownies need no special cutters.
- Fudgy centers: A small amount of flour keeps the crumb dense and soft.
- Easy decorating: Ready-to-use black and orange icing makes the faces quick.
- Make-ahead friendly: Bake the brownies first and decorate when you need them.
What You’ll Need
- Servings: 16 brownies; 1 brownie per serving
- Prep Time: 35 minutes, including decorating
- Cook Time: 25–30 minutes
- Cooling Time: About 1 hour 30 minutes
- Setting Time: About 30 minutes
- Total Time: About 3 hours 5 minutes, using the longer bake time
- Oven Temperature: 350°F (175°C), conventional oven
- Baking Dish: 8×8-inch square ceramic baking dish
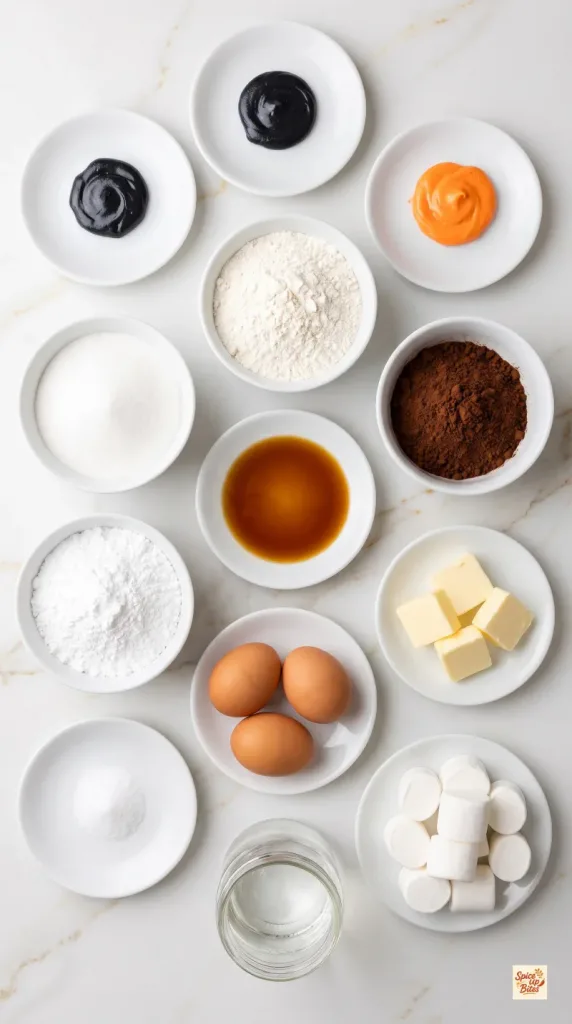
For the brownies:
- 1/2 cup (113 g) unsalted butter, melted and cooled until lukewarm
- 1 cup (200 g) granulated sugar
- 2 large eggs, at room temperature
- 1 teaspoon vanilla extract
- 1/2 cup (65 g) all-purpose flour
- 1/2 cup (45 g) unsweetened natural cocoa powder
- 1/4 teaspoon fine salt
For the snowmen:
- 1 1/2 cups (180 g) powdered sugar, sifted
- 2 tablespoons (30 ml) water
- 16 large cylindrical white marshmallows, about 100 g total
- 2 teaspoons black ready-to-use decorating icing
- 1 teaspoon orange ready-to-use decorating icing
Use thick writing icing for the faces. Thin decorating gel can slide down the marshmallows. You may have a little face icing left in the bags.
Tools You Need
- White 8×8-inch square ceramic baking dish with two built-in side handles
- Baking parchment
- Glass mixing bowls
- Whisk and silicone spatula
- Fine-mesh sieve
- Kitchen scale or measuring cups and spoons
- Cooling rack
- Wooden cutting board and sharp knife
- Small piping bags or food-safe bags with tiny corner openings
How to Make Christmas Snowman Brownies
Bake and cool the brownies before you make their snowy tops.
Step 1: Prepare the Baking Dish
Heat the oven to 350°F (175°C) and place a rack in the center.
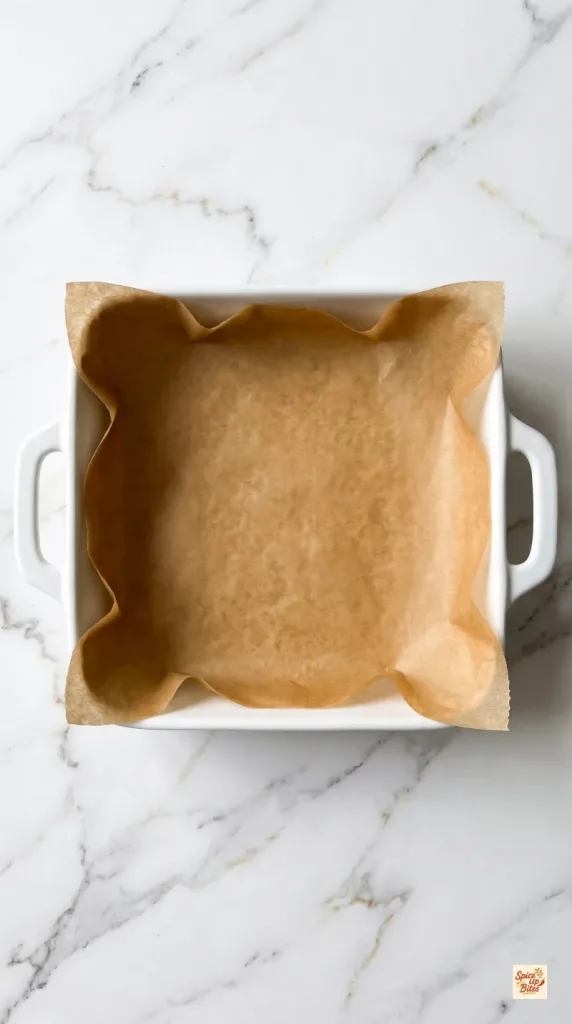
Line an 8×8-inch square ceramic baking dish with parchment, leaving overhang on opposite sides for lifting.
Step 2: Mix the Butter and Sugar
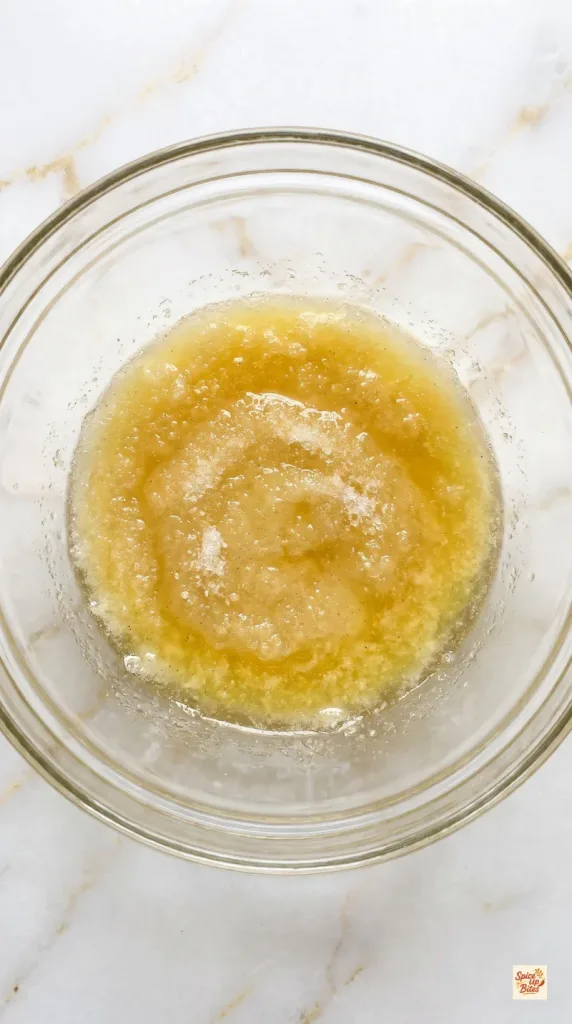
Whisk 1/2 cup (113 g) melted unsalted butter, 1 cup (200 g) granulated sugar, and 1 teaspoon vanilla extract in a glass bowl until evenly blended.
The mixture may still feel grainy. Make sure it is lukewarm rather than hot before adding the eggs.
Step 3: Add the Eggs
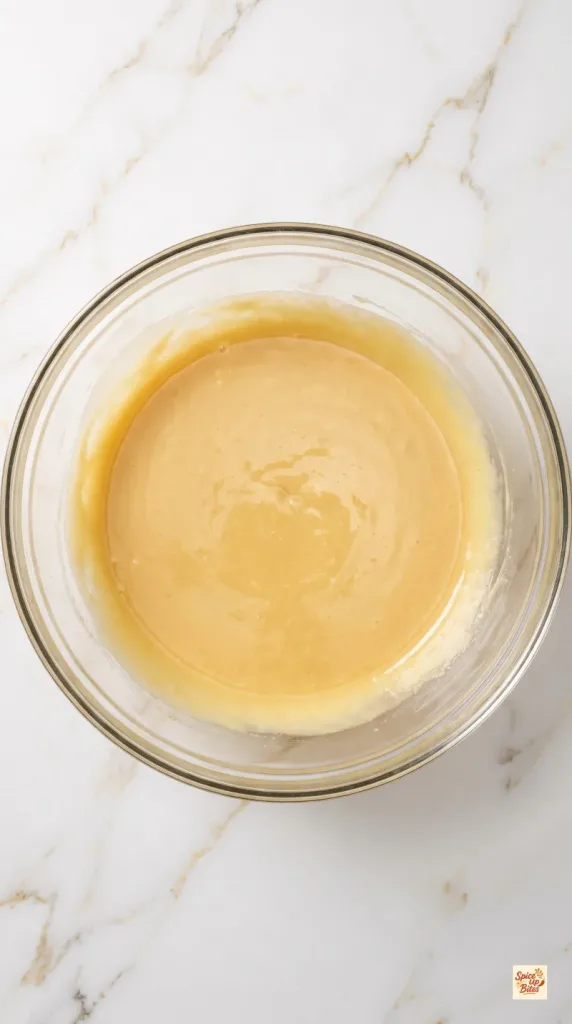
Whisk in 2 large eggs, one at a time, until the mixture looks smooth and slightly thicker, about 1 minute in total.
Scrape the sides and bottom of the bowl so no butter mixture remains unmixed.
Step 4: Fold in the Dry Ingredients
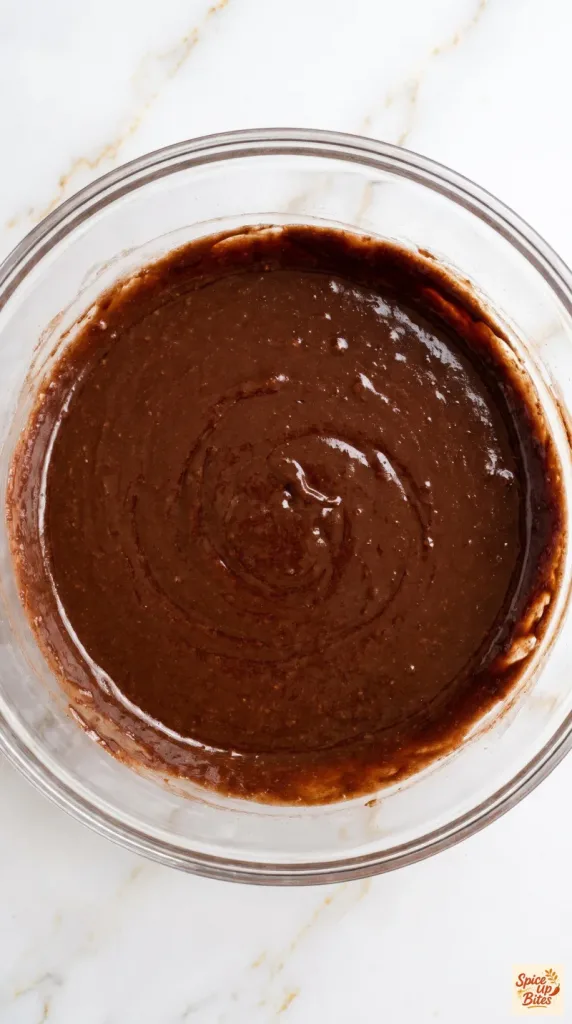
Sift 1/2 cup (65 g) all-purpose flour, 1/2 cup (45 g) unsweetened natural cocoa powder, and 1/4 teaspoon fine salt over the wet mixture.
Fold gently with a spatula until no dry streaks remain. Stop as soon as the batter is evenly mixed.
Step 5: Bake and Cool
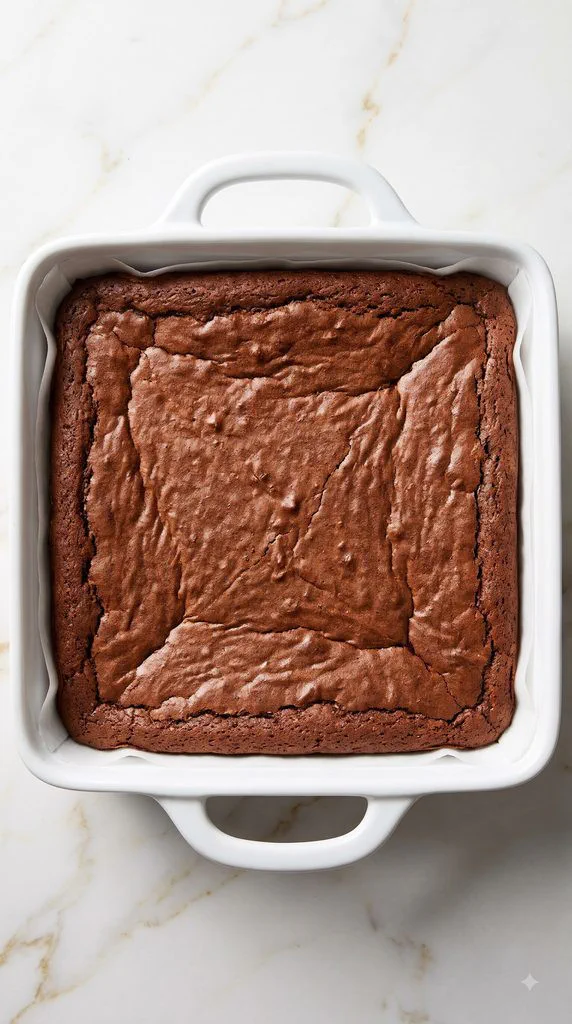
Spread the batter evenly in the prepared baking dish, reaching the corners.
Bake for 25–30 minutes, checking at 25 minutes. The edges should be set, the center should not wobble, and a toothpick should show moist crumbs but no liquid batter.
Set the dish on a cooling rack and cool completely, about 1 hour 30 minutes. A thick ceramic dish may need longer; the bottom should no longer feel warm.
Step 6: Make the White Icing
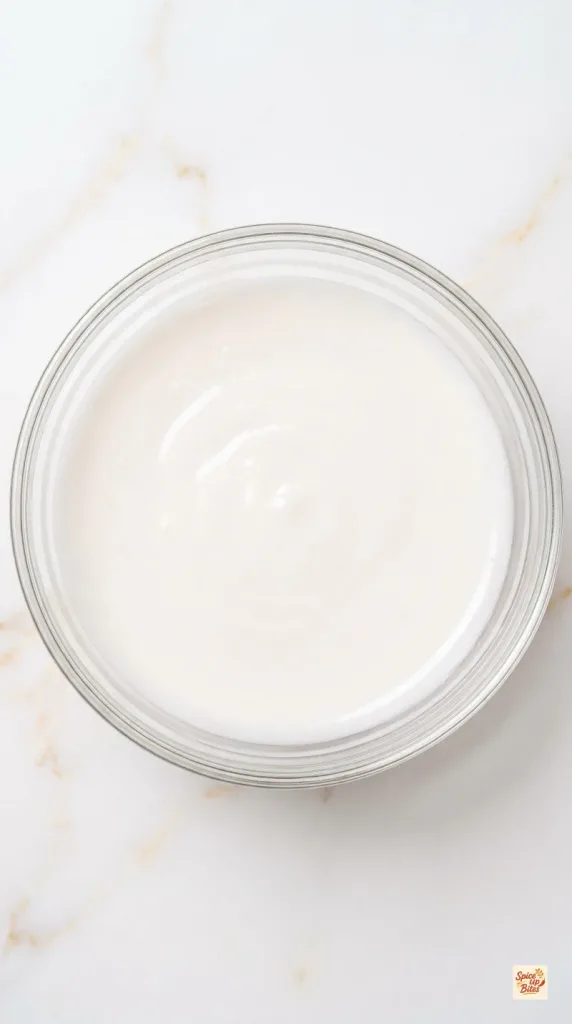
Stir 1 1/2 cups (180 g) sifted powdered sugar with 2 tablespoons (30 ml) water in a small glass bowl until smooth.
The icing should fall in a thick ribbon that slowly settles into itself. Let it rest for 2 minutes so the sugar hydrates before judging the texture.
Keep the bowl covered while you cut the brownies to prevent a dry skin from forming.
Step 7: Build the Snowmen
Lift the cooled brownie slab out with the parchment and place it on a wooden cutting board.
Cut into 16 squares, making four rows in each direction. Wipe the knife between cuts for cleaner edges.
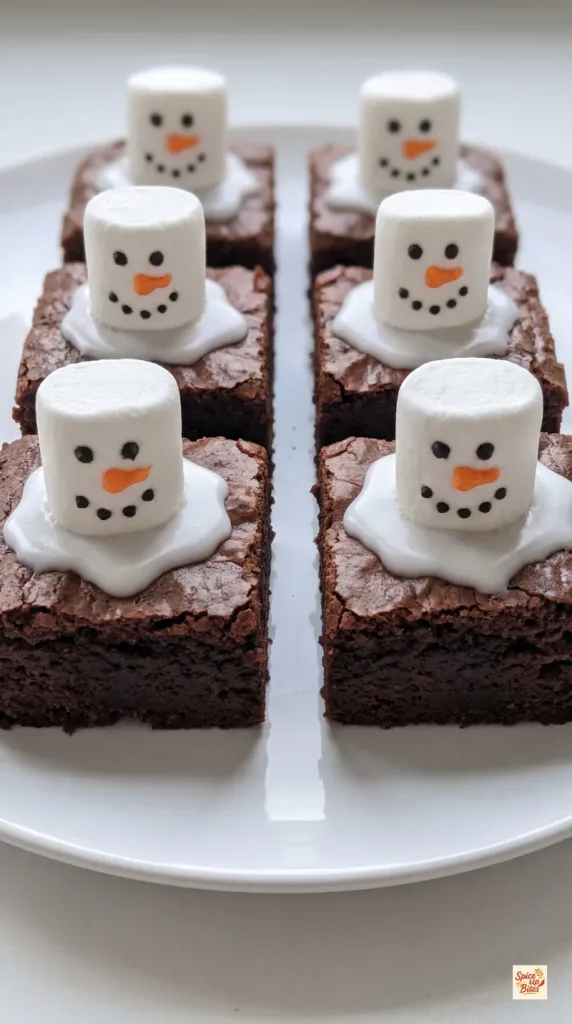
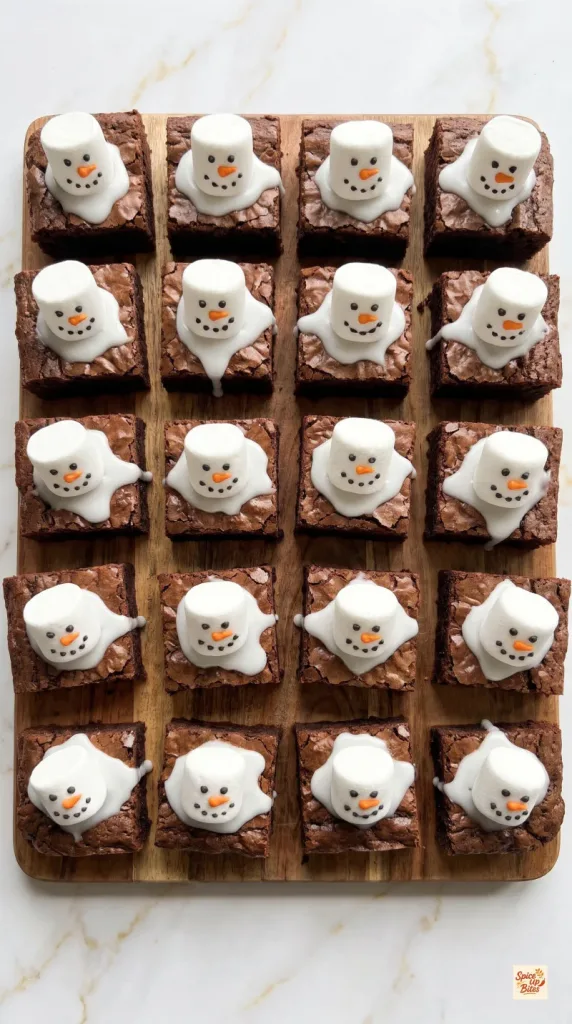
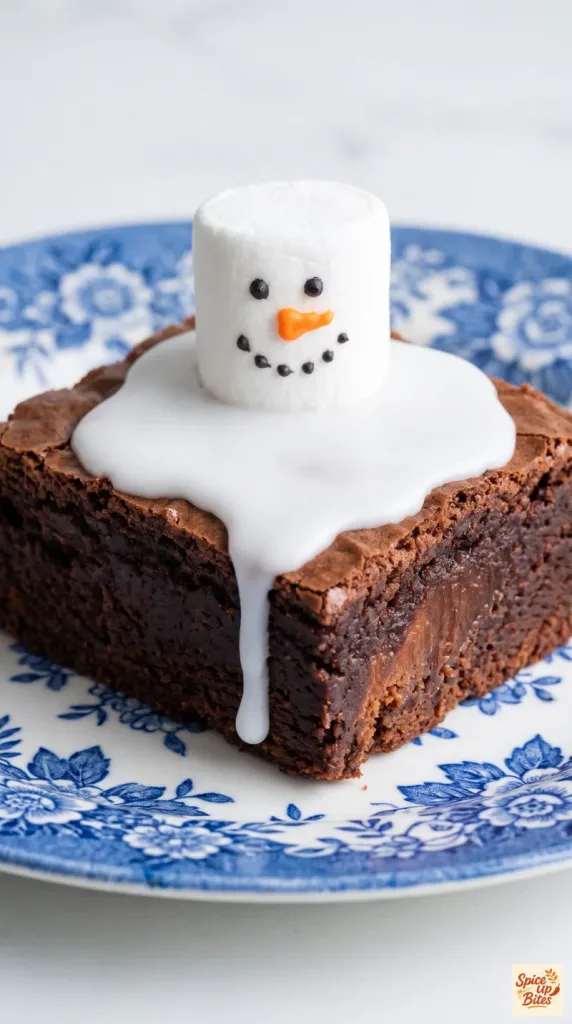
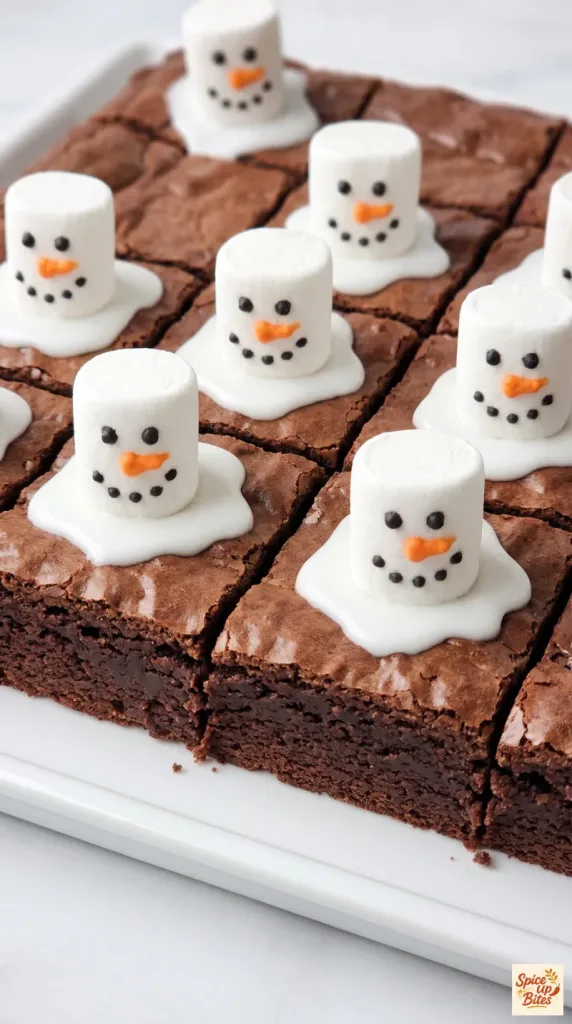
Divide the white icing among the squares, using about 2 teaspoons per brownie. Spread it into a small uneven puddle, leaving some brown edges visible.
Press 16 large white marshmallows, one per brownie, upright into the wet icing. Each marshmallow sits directly on the icing, with the brownie supporting the whole snowman.
Use 2 teaspoons black decorating icing to pipe eyes and dotted smiles, then 1 teaspoon orange decorating icing to pipe small carrot noses on the marshmallows. Divide the icing among the faces; stop piping when each face is clear and neat.
For smaller gatherings, decorate only the brownies you plan to serve and keep the remaining squares plain. Keep unused icing covered and save the remaining marshmallows for the next batch of faces.
Step 8: Set and Serve
Let the decorated brownies stand for about 30 minutes, until the icing surface feels dry and the heads stay in place. Humid rooms may need longer.
Move the brownies carefully onto a plate and serve them on their own. Keep them in a single layer so the faces and heads stay intact.
Why This Recipe Works (Quick Science)
Butter adds richness, while eggs help the brownie set as it bakes. The small amount of flour provides enough structure for clean squares without making the crumb bread-like. Stopping the bake when moist crumbs remain helps keep the centers fudgy.
Cooling lets that soft crumb firm up before slicing. The sugar icing holds each marshmallow in place while its surface dries. Decorating cool brownies also keeps the icing from soaking into a warm top or sliding down the sides too quickly.
Common Mistakes to Avoid
- Packing the flour: Weigh it or spoon it into the cup and level it off. Too much makes dry brownies.
- Overmixing the batter: Fold only until the flour disappears.
- Waiting for a dry toothpick: Moist crumbs are the goal. A completely clean tester can mean an overbaked center.
- Decorating warm brownies: The icing spreads too far and the marshmallows can slip.
- Making large facial dots: Tiny dots stay clearer on the curved marshmallow surface.
- Stacking decorated pieces: Store them in one layer to protect the heads.
Pro Tips
- Sift both the cocoa and powdered sugar to avoid lumps in the batter and icing.
- Choose marshmallows with flat ends so they stand upright.
- Pipe faces on the marshmallows before setting them in the icing if that feels easier. Let the writing icing set before handling the faces.
- Let cold eggs sit in a bowl of lukewarm water briefly, then dry them before cracking.
Make-Ahead Tips and Storage
Bake the plain brownies up to 2 days ahead and keep them tightly covered at cool room temperature. Decorate on the day of serving for the freshest marshmallow texture.
Store decorated brownies in an airtight container in a single layer at cool room temperature for up to 2 days. Follow any stricter storage directions on the decorating icing package.
Freeze undecorated brownies, well wrapped, for up to 2 months. Thaw them while wrapped, then decorate once they reach room temperature. Freezing the finished snowmen can make the icing sticky and the marshmallows chewy.
Macros Information
Estimated per brownie, based on 16 fully decorated brownies and the listed topping amounts:
- Calories: 210 kcal
- Protein: 2 g
- Carbohydrates: 36 g
- Fat: 7 g
- Saturated Fat: 4 g
- Fiber: 1 g
- Sugar: 29 g
- Sodium: 65 mg
These values are estimates and vary with ingredient brands and the amount of decorating icing used.
Frequently Asked Questions (FAQ)
Q: Can I use a boxed brownie mix?
A: Yes. Choose a mix intended for an 8-inch square pan and follow its ingredient amounts and baking directions. Cool and cut it into 16 squares before adding the listed snowman topping.
Q: Can I use a metal baking pan?
A: Yes. Use an 8×8-inch light-colored metal pan lined with parchment. Start checking a few minutes earlier because it heats differently from ceramic.
Q: Why are my brownies crumbly?
A: Too much flour or a long bake can dry them out. Measure the flour carefully and remove the dish when a tester has moist crumbs rather than liquid batter.
Q: Does the white icing contain raw egg?
A: No. This topping uses powdered sugar and water. It sets on the surface but stays softer underneath than royal icing.
Q: Why does my icing look runny?
A: Check that you used tablespoons for the water and the full weight of powdered sugar. Let it rest before using it. If a measuring error made it too thin, stir in sifted powdered sugar a teaspoon at a time until it falls in a thick ribbon.
Q: Can I use mini marshmallows?
A: Large cylindrical marshmallows give enough room for the faces. Mini marshmallows make much smaller heads and are harder to decorate neatly.
Q: Can I decorate only part of the batch?
A: Yes. Finish the pieces you need and leave the rest plain for storage or freezing. Keep leftover topping ingredients sealed and follow their package storage directions.
Q: How do I pack these for a party?
A: Let the icing set first, then place the brownies in a shallow container in a single layer. Leave enough space above the marshmallows so the lid does not touch them.
Q: Do I need to bake the marshmallows?
A: No. Add them after baking and cooling. The icing holds them upright without melting their shape.
Final Thoughts
Christmas Snowman Brownies turn a simple chocolate bake into a cheerful holiday dessert. Give the brownies time to cool, keep the faces small, and let each icing puddle take its own shape. Leave a comment and share how your snowmen turned out. Happy cooking!