This sausage and rice skillet is one of those easy dinners that just works. It’s warm, filling, and full of flavor, all in one pan. I’ve made this on busy nights when I wanted something simple but still really good—and it never disappoints.

Why I Love This Recipe
I started making this when I needed something quick but still comforting. Once I switched to kielbasa, it became even better. The smoky flavor blends right into the rice and makes every bite taste like it cooked for hours.
- One pan means less cleanup
- Kielbasa adds deep, smoky flavor fast
- Easy to adjust with what you have
- Great for leftovers the next day
- Comes together fast but feels like a full meal

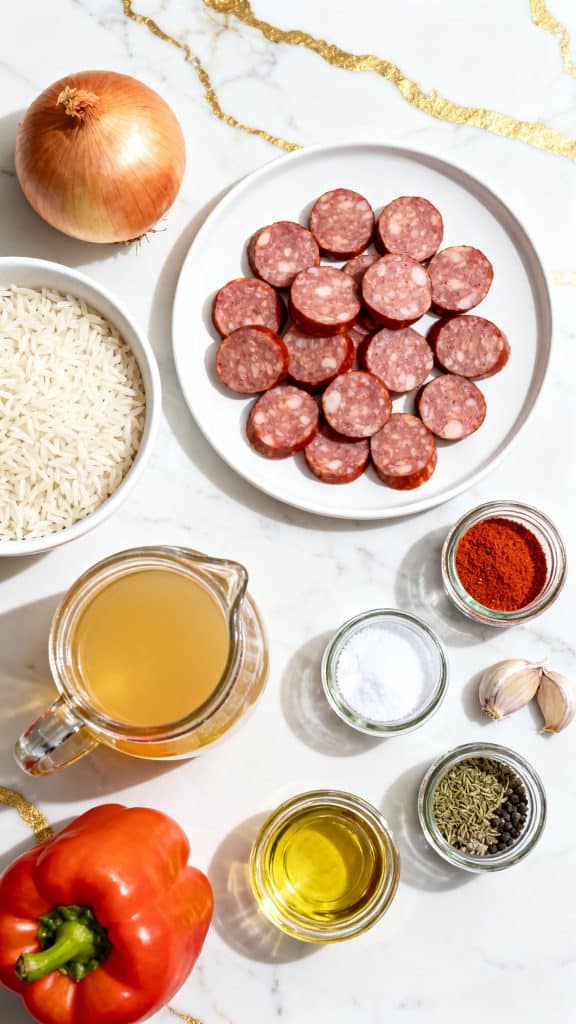
What You’ll Need
- 1 lb kielbasa, sliced into rounds
- 1 cup long grain white rice (uncooked)
- 2 cups chicken broth
- 1 tablespoon olive oil
- 1 small onion, diced
- 1 bell pepper, diced
- 2 cloves garlic, minced
- 1 teaspoon paprika
- 1/2 teaspoon dried oregano
- 1/2 teaspoon salt
- 1/4 teaspoon black pepper
Tools You’ll Need
- Large skillet with lid
- Cutting board
- Knife
- Measuring cups and spoons
- Wooden spoon
Recipe Details
Servings: 4
Cook Time: 30 minutes
Instructions
Step 1: Prep Ingredients
Slice 1 lb kielbasa into rounds, dice 1 onion and 1 bell pepper, and mince 2 cloves garlic.
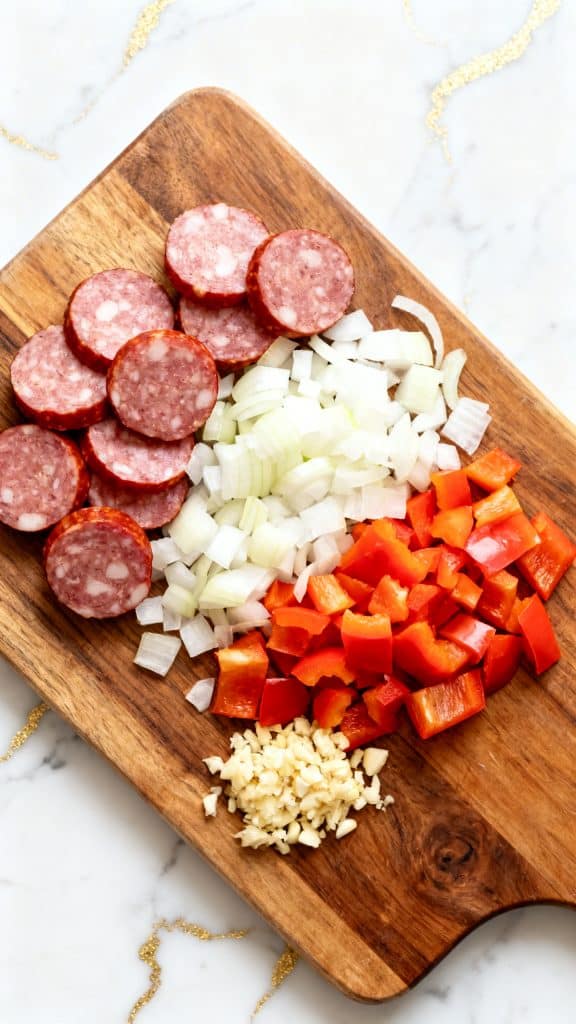
Image Prompt: Ultra close-up of sliced kielbasa rounds, diced onion, diced bell pepper, and minced garlic grouped neatly, fresh and raw textures visible, a straight 90-degree top-down shot with no tilt, captured directly overhead, on a white marble surface with hints of gold, natural lighting
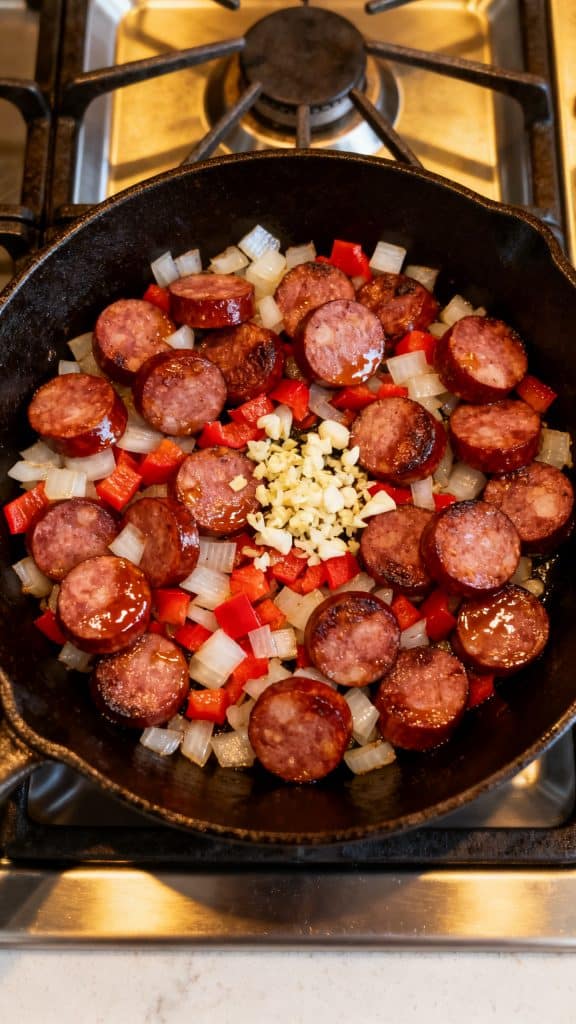
Step 2: Brown the Kielbasa
Heat 1 tablespoon olive oil in a skillet over medium heat. Add the sliced kielbasa and cook for 5–6 minutes until browned.

Step 3: Cook the Veggies
Add diced onion and diced bell pepper to the skillet. Cook for 4–5 minutes until soft. Stir in minced garlic and cook for 30 seconds.
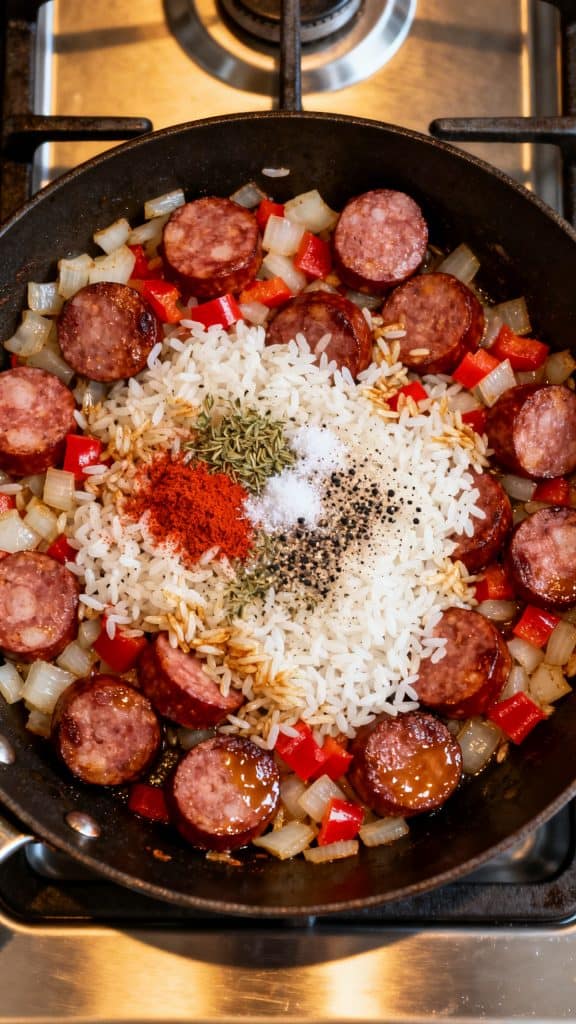
Step 4: Add Rice and Seasoning
Stir in 1 cup uncooked rice, 1 teaspoon paprika, 1/2 teaspoon oregano, 1/2 teaspoon salt, and 1/4 teaspoon black pepper.
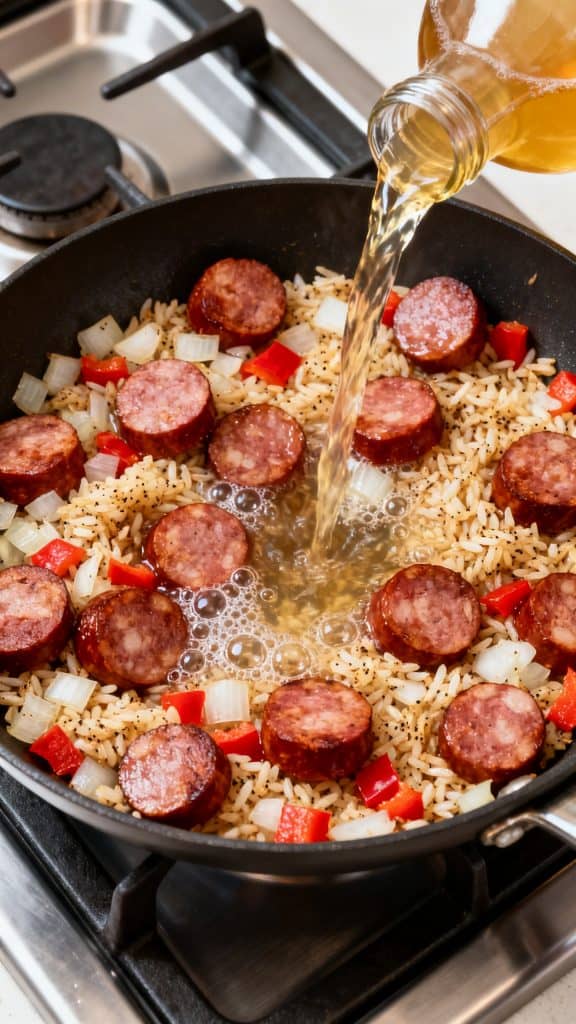
Step 5: Add Broth and Simmer
Pour in 2 cups chicken broth. Stir well, bring to a simmer, then cover and cook on low for 18–20 minutes until rice is tender.
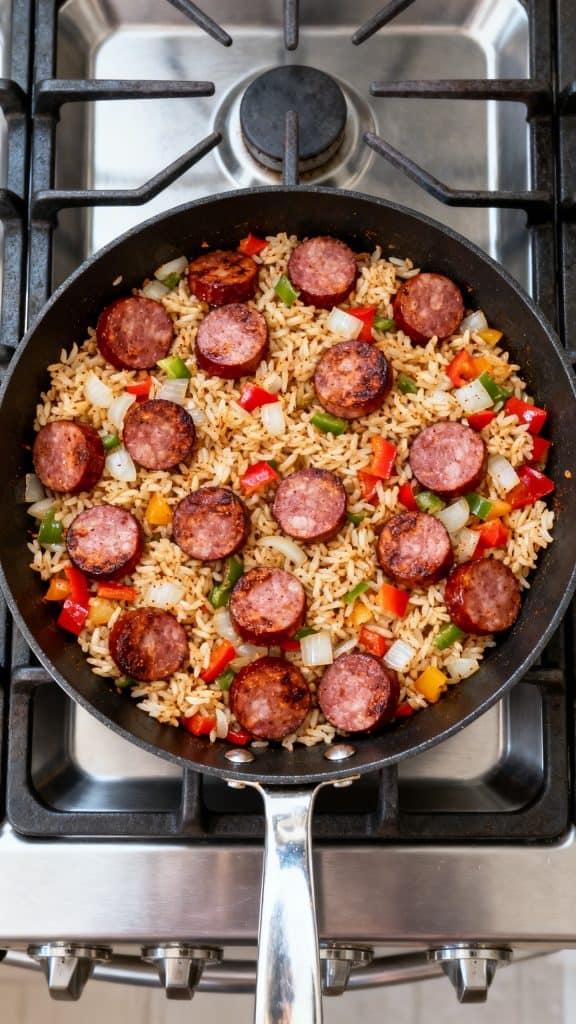
Step 6: Fluff and Serve
Remove lid, fluff the rice, and mix everything together before serving.
Pro Tips
- Let the kielbasa really brown—it builds a smoky, rich base
- Stir the rice into the pan for a minute before adding broth
- Keep heat low while simmering so the rice cooks evenly
- Don’t lift the lid too often or steam will escape
Substitutions and Variations
- Use brown rice (increase cook time and broth)
- Add frozen peas or corn at the end
- Try spicy kielbasa for more heat
- Swap bell pepper for diced tomatoes
Make Ahead Tips
Slice the kielbasa and chop the vegetables ahead of time. Store in the fridge for up to 2 days so dinner comes together faster.
Why This Recipe Works (Quick Science)
Kielbasa releases flavorful oils as it cooks, which coat the rice and boost taste. Toasting the rice helps it stay fluffy instead of mushy. Cooking covered traps steam so the rice absorbs liquid evenly.
Common Mistakes
- Too much liquid (rice turns mushy)
- Cooking on high heat while covered (bottom burns)
- Not browning kielbasa enough (less flavor)
- Skipping the stir before covering (uneven cooking)
What to Serve With
- Simple green salad
- Garlic bread
- Roasted vegetables
- Steamed broccoli
Macros Information (Approx per serving)
- Calories: 480
- Protein: 17g
- Carbs: 40g
- Fat: 26g
FAQ
Can I use pre-cooked kielbasa?
Yes—that’s actually what this recipe uses.
Can I freeze it?
Yes, store in an airtight container for up to 2 months.
Can I make it spicy?
Add red pepper flakes or use spicy kielbasa.
Can I use instant rice?
Yes, reduce the liquid and cooking time.
Leftovers and Storage
Store in an airtight container in the fridge for up to 4 days. Reheat with a splash of broth or water to keep it from drying out.
Final Thoughts
This kielbasa version brings big flavor with very little effort. It’s the kind of meal you can count on when you want something easy but still really satisfying. Give it a try—you’ll see how quickly it becomes a regular in your kitchen.