
Peppermint Chocolate Blossom Cookies have chewy cocoa centers, crackly sugar tops, and a striped peppermint candy pressed into each one. The cool mint is especially good against the dark chocolate. Chill the dough ahead, then bake and top the cookies when you’re ready to fill a holiday cookie tin.

Why I Love This Recipe
The sugar crystals catch the light, and the red stripes make these cookies easy to spot in a crowded cookie tin. The little candy tip is also a good cue for when they’re ready to pack. Once the candy is firm and the cookie is cool underneath, the batch can go into a tin.
- Chewy centers stay soft when you pull the cookies as soon as the edges are set.
- A crisp sugar crust gives each bite a little crunch before you reach the soft middle.
- Make-ahead dough can stay in the fridge overnight, leaving just the rolling, baking, and topping for the next day.

What You’ll Need
- Servings — 24 cookies
- Prep time — 30 minutes
- Cook time — 24 minutes for two batches
- Chill time — 4 hours
- Final cooling time — about 30 minutes
- Total time — about 5 hours 24 minutes
- Oven and pan — 350°F (175°C), two 13 × 18-inch rimmed baking sheets
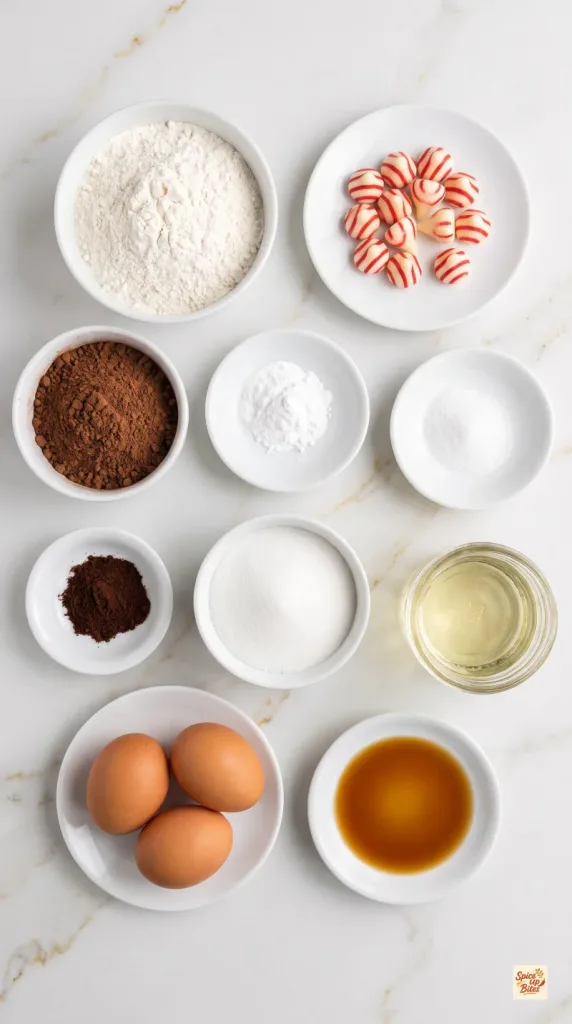
- 1 cup (120 g) all-purpose flour
- ½ cup (42 g) unsweetened dark Dutch-process cocoa powder
- 1 teaspoon baking powder
- ¼ teaspoon fine salt
- ¼ teaspoon instant espresso powder
- 1½ cups (300 g) granulated sugar, divided
- ¼ cup (60 ml) neutral vegetable oil
- 2 large eggs
- 1 teaspoon vanilla extract
- 24 red-and-white candy cane peppermint Kisses, unwrapped
Tools You Need
- Mixing bowls and a whisk
- Stand mixer with paddle attachment
- Flexible spatula and small cookie scoop
- Two matching 13 × 18-inch rimmed baking sheets and parchment paper
- Thin cookie spatula and wire cooling rack
How to Make Peppermint Chocolate Blossom Cookies
Mix the dough first so it has time to firm up before you roll it.
Step 1: Mix the Dry Ingredients
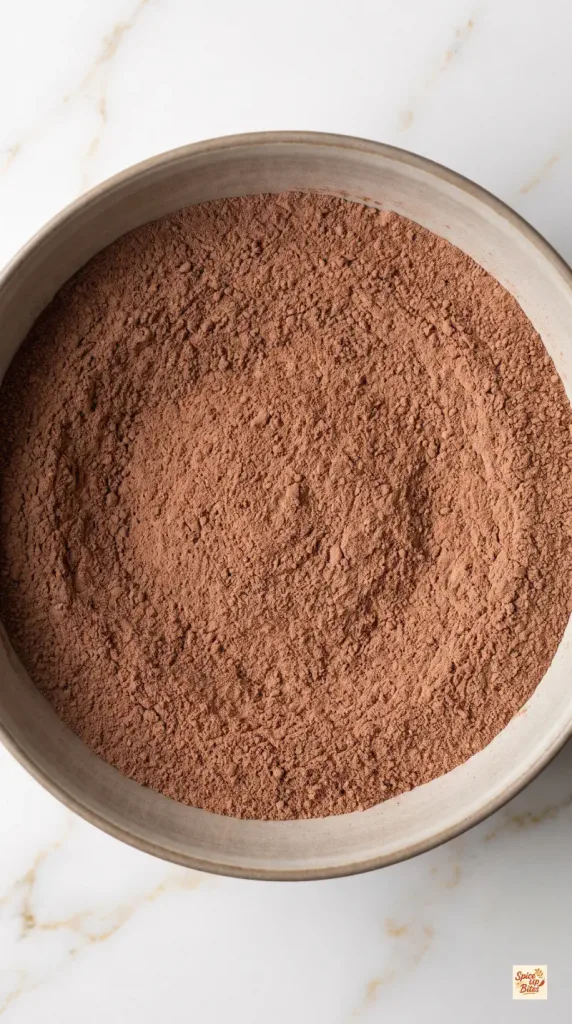
Whisk 1 cup all-purpose flour, ½ cup dark Dutch-process cocoa powder, 1 teaspoon baking powder, ¼ teaspoon fine salt, and ¼ teaspoon instant espresso powder in a medium bowl until the cocoa is evenly spread through the flour.
Step 2: Mix and Chill the Dough
Beat 1 cup granulated sugar and ¼ cup vegetable oil with the paddle on medium speed for about 2 minutes. The mixture will look like wet sand.
Beat in 2 large eggs, one at a time.
Mix in 1 teaspoon vanilla extract.
Add the entire flour and cocoa mixture from Step 1 on low speed. Stop as soon as the last dry streaks disappear.
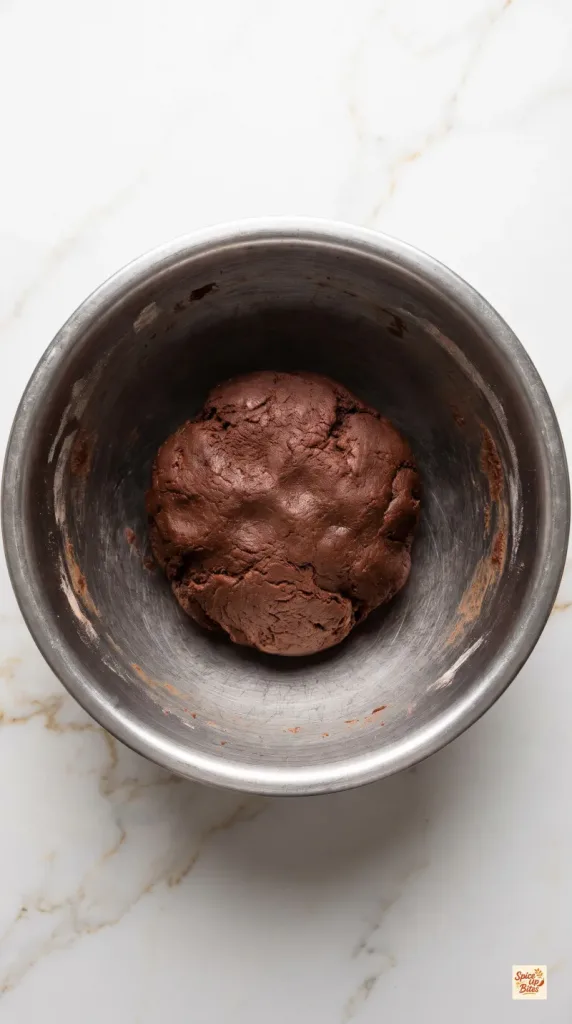
Cover and refrigerate the sticky dough for at least 4 hours or up to 24 hours.
Freeze the 24 unwrapped peppermint Kisses for at least 1 hour before baking. Keep them frozen until you need them.
Step 3: Roll in Sugar
Heat the oven to 350°F (175°C) with a rack in the middle. Line two matching 13 × 18-inch rimmed baking sheets with parchment.
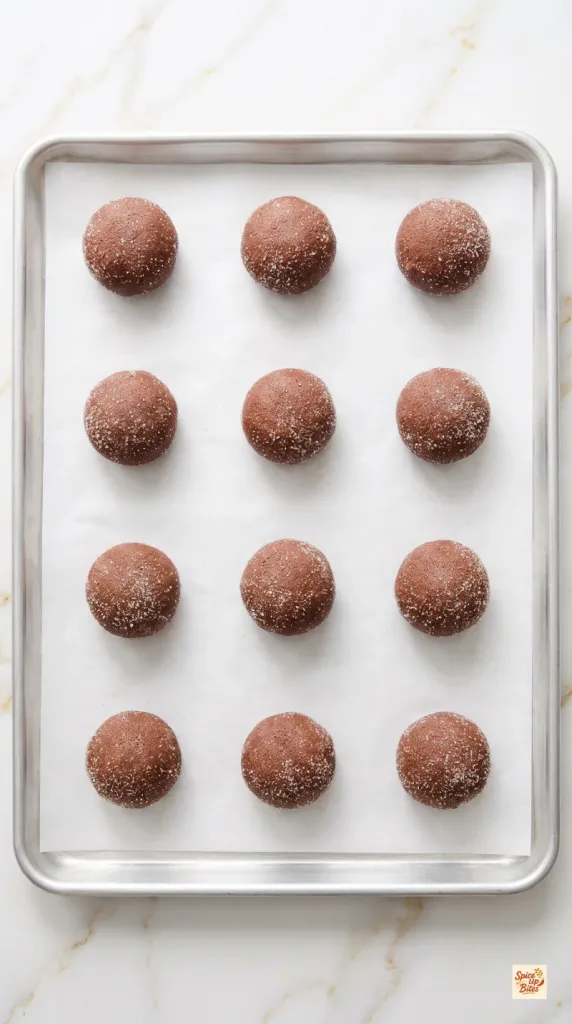
Divide the chilled dough into 24 equal portions and roll each into a ball about 1¼ inches across.
Roll the balls in the remaining ½ cup granulated sugar until coated all over. Discard the sugar left in the rolling bowl.
Set 12 dough balls per sheet, about 2 inches apart, and keep the second sheet in the fridge while the first bakes.
Step 4: Bake the Cookies
Bake one sheet at a time for 10–12 minutes, until the edges are set and the tops show small cracks. The centers should still look soft.
Top each batch as soon as it reaches the short resting time in Step 5 while the second sheet bakes.
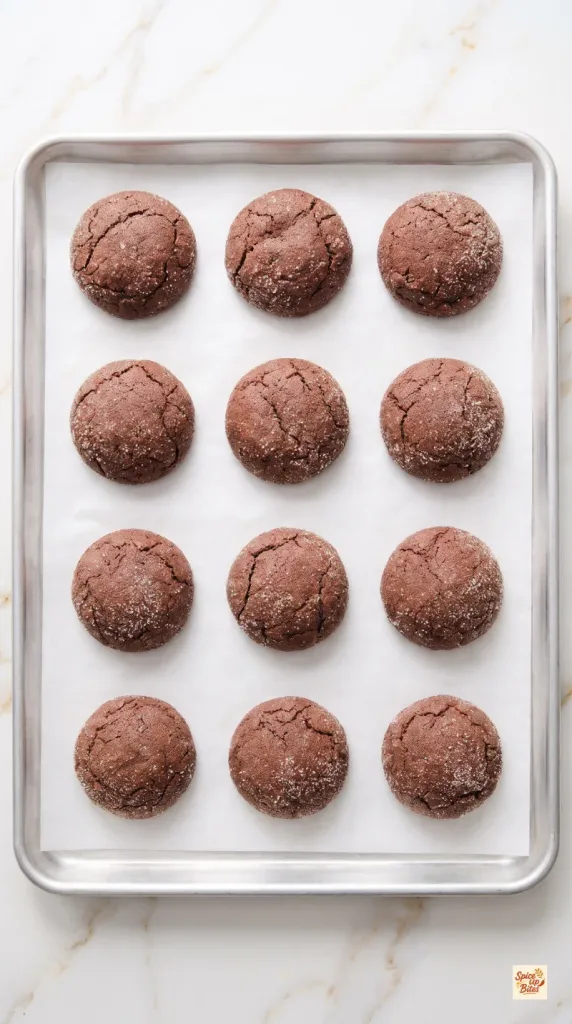
Step 5: Press in the Peppermint Candies
Let each sheet rest for 3 minutes after it comes out of the oven.
Press 12 frozen peppermint Kisses into the warm cookies on each sheet, one in the center of each cookie and 24 total. Press just far enough for the base to grip the cookie.
Move the cookies carefully to a wire rack with a thin spatula. Leave the candy tips untouched while they set.
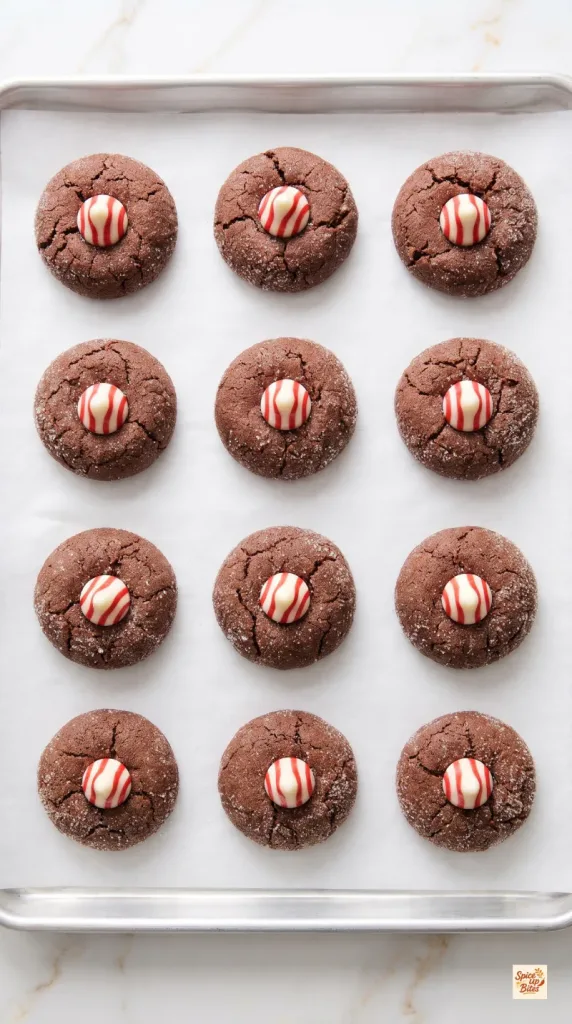
Step 6: Cool and Serve
Let the cookies cool on the rack for about 30 minutes, until the bases are cool and the candy centers feel firm.
Pick up a cooled cookie from the rack to serve, or leave the batch on the rack until you’re ready to pack it.
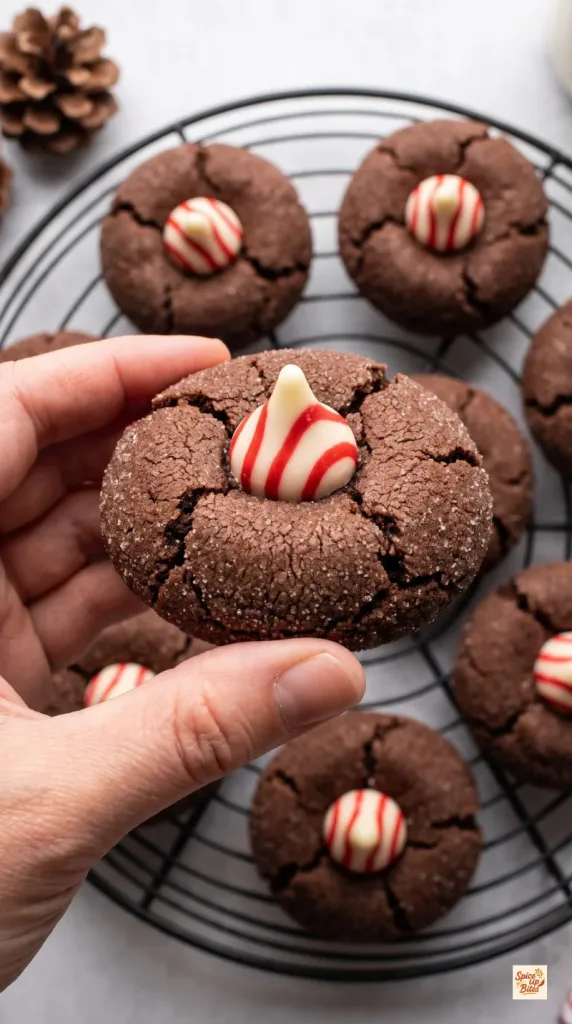
Why This Recipe Works (Quick Science)
Chilling gives the flour and cocoa time to absorb moisture from the eggs. The dough firms up enough to roll without adding flour, which would make the cookies drier. In the oven the tops start to set as the dough spreads, opening little cracks between the sugar crystals. A short rest lets the cookies lose some heat while the centers are still soft enough to hold the candy. The frozen Kisses have a little extra time before their tips soften.

Common Mistakes to Avoid
- Scooping flour straight from the bag. Spoon it into the measuring cup and level it, or weigh 120 g. Packed flour makes the dough stiff and the cookies dry.
- Baking until the centers feel firm. Pull the sheet when you see cracks on top and the edges hold their shape. The middles keep setting on the hot pan.
- Adding the candies at the wrong time. Straight from the oven, the cookies can melt the tips. After the cookies cool completely, the tops can break when you press the candies in. Use the three-minute rest.
- Packing the cookies while warm. Even when the edges feel cool, the candy can still be soft. Wait until it has set before putting the cookies in a tin.
Leftovers and Storage
Store the fully cooled cookies in an airtight container at room temperature for up to 5 days. A shallow container gives the candy tips more room. If you stack the cookies, put parchment between layers and leave enough space so the top layer doesn’t press on the candies.
Macros Information
Estimated per cookie, assuming most of the rolling sugar is used.
- Calories — 110 kcal
- Protein — 2 g
- Carbohydrates — 18 g
- Fat — 4 g
- Saturated fat — 1 g
- Fiber — 1 g
- Sugar — 13 g
- Sodium — 40 mg
Frequently Asked Questions (FAQ)
Q: Do I need peppermint extract?
A: The candy provides the mint flavor. The vanilla in the dough rounds out the cocoa.
Q: Can I leave out the espresso powder?
A: Yes. That small amount deepens the chocolate flavor, and the cookies will still bake without it.
Q: What if my dough is too sticky to roll?
A: Give it more time in the fridge. If it warms up while you work, chill the remaining dough for 15 minutes before scooping again.
Q: Why did my peppermint candies slump?
A: The cookie may have been too hot or the candy too warm. Freeze the candies before baking and give each sheet the full three minutes to rest.
Q: Can I mix the dough the night before?
A: Yes. Cover it well and refrigerate it for up to 24 hours before rolling.
Q: Can I roll the dough in powdered sugar?
A: Use granulated sugar for the fine, crisp crystals in this recipe. Powdered sugar gives a softer, white crinkle finish.
Q: Can I bake both sheets together?
A: Baking one sheet at a time on the center rack makes it easier to check doneness and top each batch while it’s still warm.
Q: Can I freeze the finished cookies?
A: Yes. Freeze the fully set cookies in a rigid airtight container for up to 2 months. Thaw them at room temperature before serving.
Final Thoughts
These cookies bring a little crunch, a chewy chocolate middle, and a cool peppermint finish to a Christmas cookie tin. If you bake a batch, leave a comment and tell me how the peppermint centers turned out. Happy cooking!