
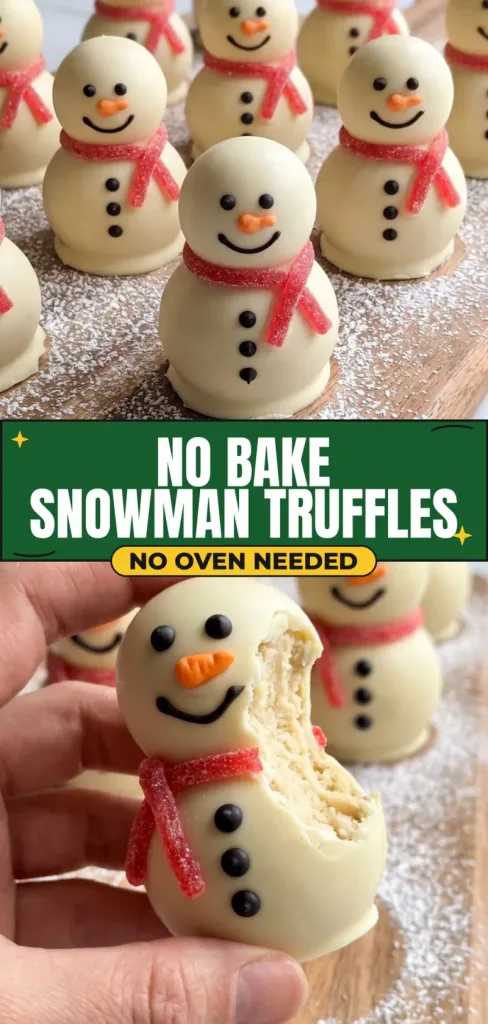
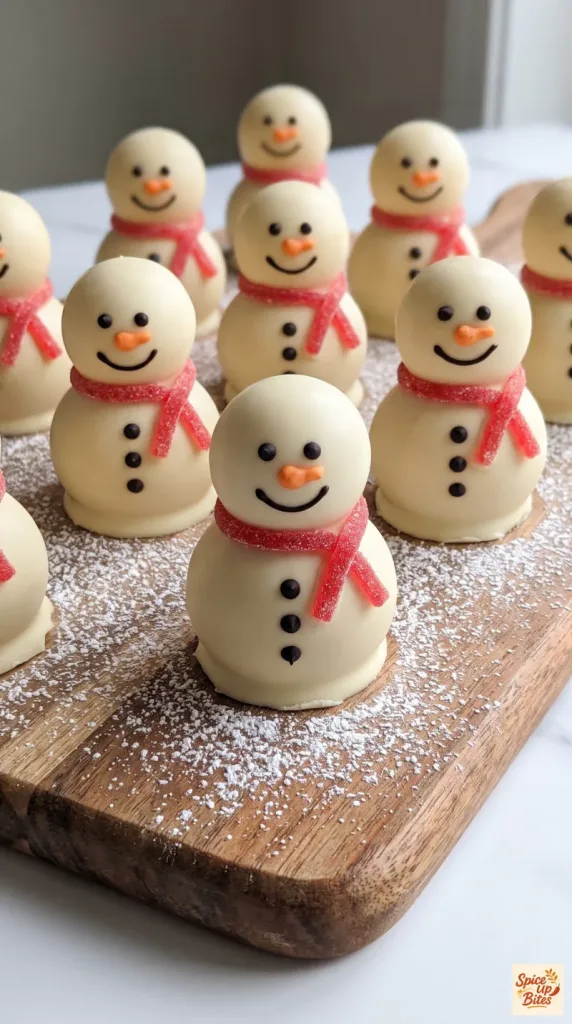
No Bake Snowman Truffles turn vanilla sandwich cookies into sweet little holiday treats. A creamy cookie center sits under a thin white chocolate shell. Candy scarves and simple chocolate faces give each one its own charm. There is no oven to heat, just a little rolling, chilling, and decorating.
Why I Love This Recipe
These truffles make a cheerful Christmas dessert without a long baking session. The cookie mixture is easy to portion, and a small piping bag keeps the decorations simple. Give yourself time to chill the shapes so coating them feels calm and manageable.
- No baking: The refrigerator and freezer do the setting.
- Simple filling: Whole vanilla sandwich cookies and cream cheese make a rich center.
- Easy portions: A kitchen scale keeps the heads and bodies even.
- Make-ahead friendly: Keep the finished truffles chilled until needed.
What You’ll Need
- Servings: 10, one snowman per serving
- Prep Time: 40 minutes
- Cook Time: 0 minutes
- Chilling Time: 40 minutes
- Total Time: 1 hour 20 minutes
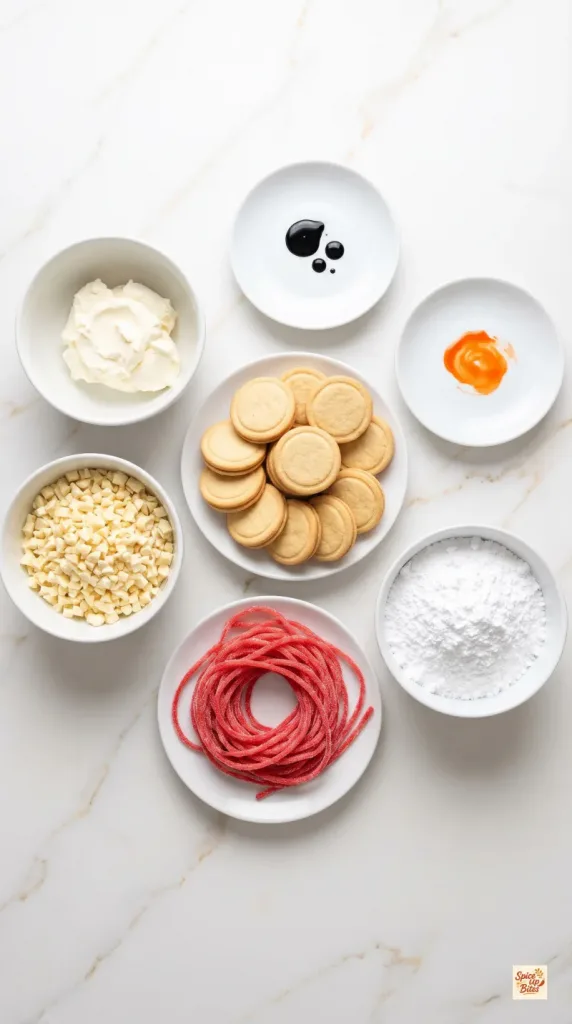
- 200 g vanilla sandwich cookies, including their cream filling
- 80 g full-fat block cream cheese, softened just enough to mix
- 250 g white chocolate, finely chopped, divided into 220 g for coating, 20 g for black details, and 10 g for orange noses
- 1/8 teaspoon black oil-based candy coloring
- 1/16 teaspoon orange oil-based candy coloring
- 30 g red sugar-coated strawberry candy laces, cut into thin scarf strips
- 1 teaspoon powdered sugar, for the serving board
Tools You Need
- Food processor
- Digital kitchen scale
- Glass mixing bowl and spatula
- Parchment-lined baking sheet
- Microwave-safe glass bowls
- Fork and spoon for coating
- Small piping bags
- Small scissors and a fine sieve
How to Make No Bake Snowman Truffles
Read through the decorating step before you begin, and clear a level space in the freezer.
Step 1: Make the Cookie Mixture
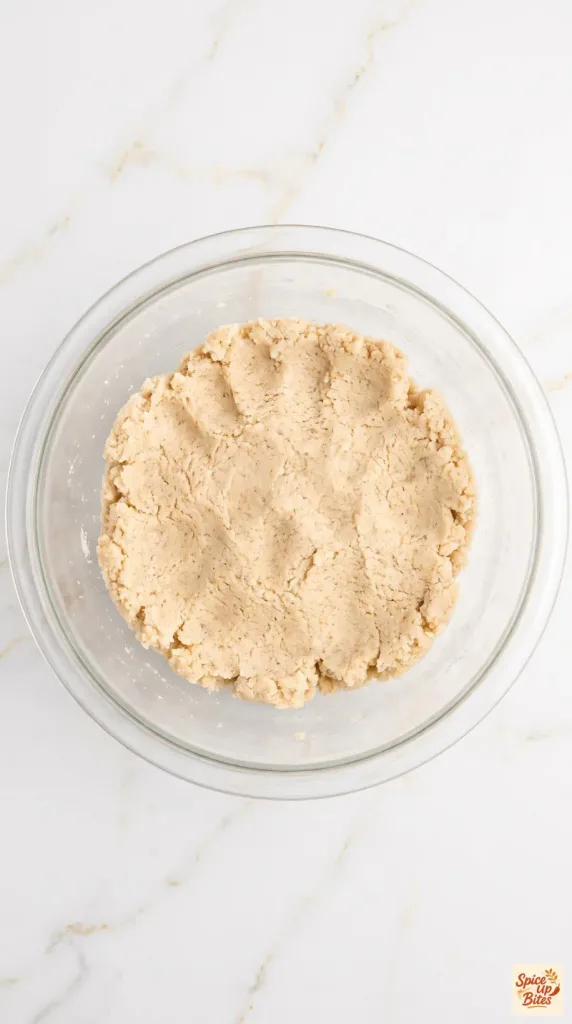
Process 200 g vanilla sandwich cookies, including their filling, into very fine crumbs.
Transfer the crumbs to a glass bowl and mix in 80 g full-fat block cream cheese until evenly combined. The mixture should be dense and hold together when squeezed.
Step 2: Shape and Chill
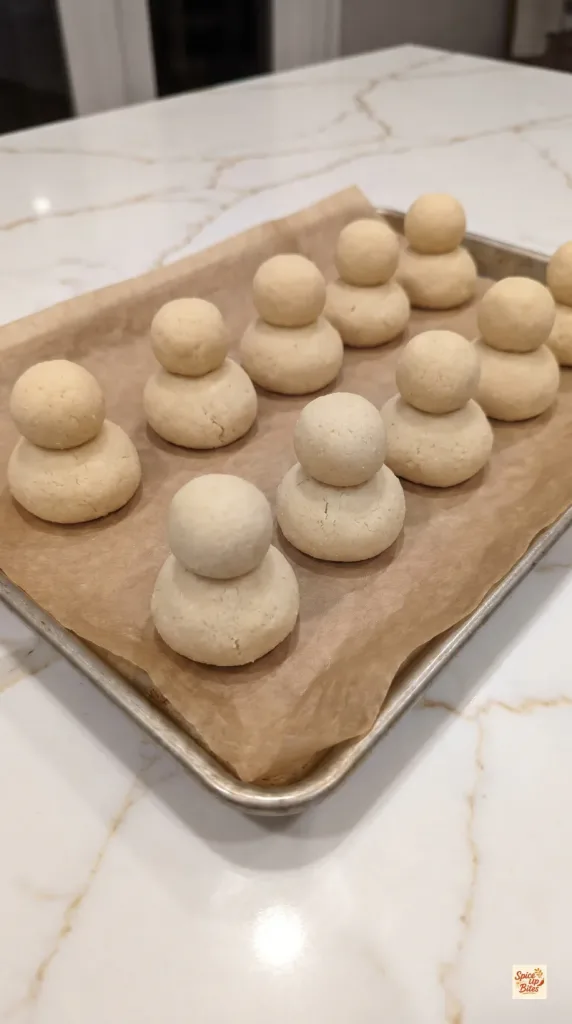
Divide the 280 g cookie mixture into ten 20 g body portions and ten 8 g head portions. Scrape the bowl well so each snowman gets its full portion.
Roll the 20 g portions into balls and gently flatten their undersides on the lined baking sheet. Roll the 8 g portions into smaller balls and press a head directly onto each body, keeping a clear neck indentation.
Freeze the ten joined shapes for 20 minutes, until firm. Keep them upright on their flattened body bases.
Step 3: Coat the Snowmen
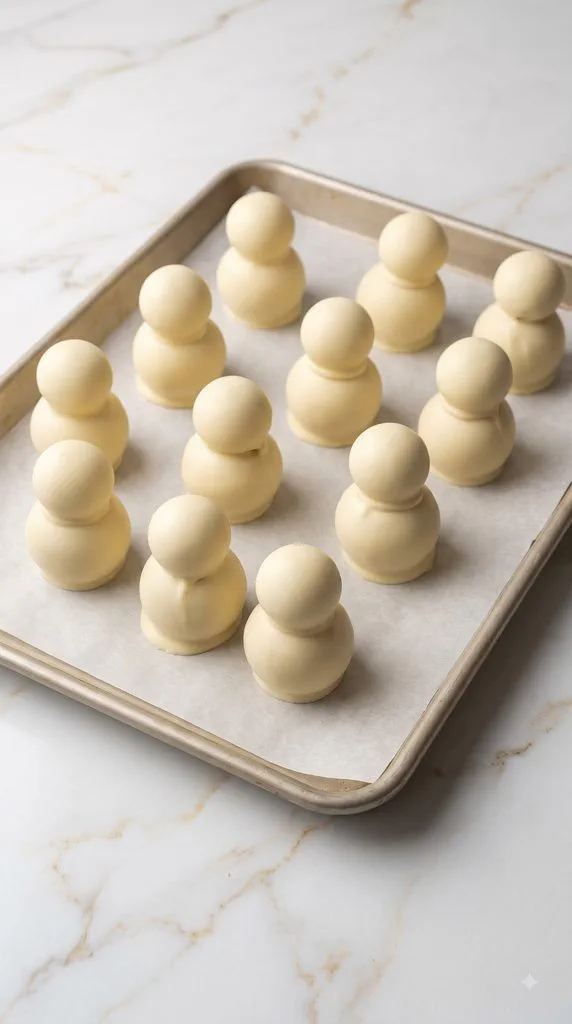
Melt 220 g white chocolate in a dry microwave-safe glass bowl in short bursts, stirring between each, until smooth. Let it cool slightly so it is fluid but not hot.
Working with a few chilled shapes at a time, support each snowman on a fork and spoon chocolate over it. Let excess chocolate drain back into the bowl, then slide it onto the lined sheet.
Keep the coating thin and leave the neck visible. Refrigerate for 10 minutes, until set. Carefully trim any pooled chocolate flush with the body’s base so the snowman stands directly on its body.
Step 4: Add Faces and Scarves
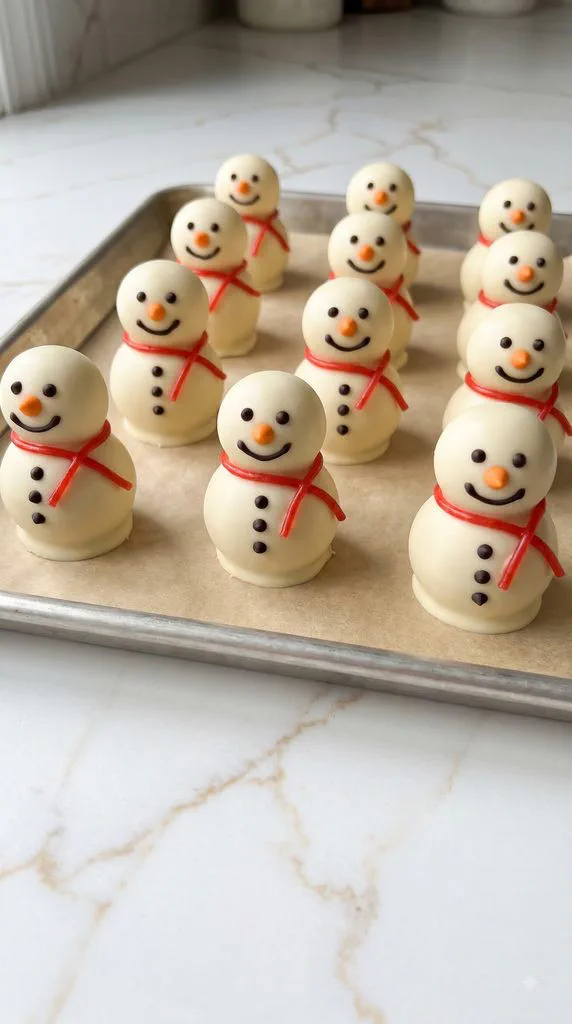
Melt the remaining 20 g white chocolate and stir in 1/8 teaspoon black oil-based candy coloring. In a separate dry bowl, melt 10 g white chocolate and stir in 1/16 teaspoon orange oil-based candy coloring. Use coloring labeled for chocolate; water-based coloring can make it seize.
Transfer the colored chocolate to small piping bags. Pipe two black eyes and a curved smile on each head, three black buttons down each body, and a small orange carrot nose on each face.
Wrap 30 g red sugar-coated strawberry candy laces, divided among the ten snowmen, around their necks. Secure the ends with a tiny dab of the remaining colored chocolate if needed.
Step 5: Set and Serve
Refrigerate the decorated truffles for 10 minutes, until the details are firm.
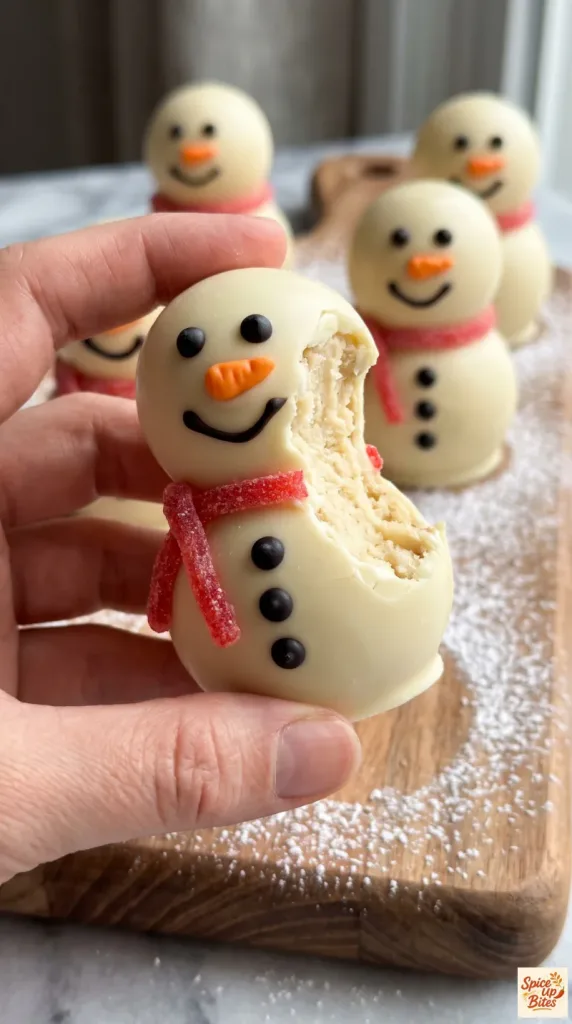
Sift 1 teaspoon powdered sugar lightly over a serving board, then arrange the truffles on it. Serve the truffles alone, keeping the remaining batch refrigerated until needed.
Why This Recipe Works (Quick Science)
Fine cookie crumbs absorb moisture from the cream cheese and form a dense mixture that can hold its shape. Chilling firms the fat before coating, helping the small heads stay attached. The thin chocolate shell sets around the joined shapes and adds a gentle snap against the creamy center. Oil-based coloring blends into melted chocolate without adding the water that can make it clump.

Common Mistakes to Avoid
- Leaving coarse crumbs: Large cookie bits make the small heads harder to shape.
- Using whipped cream cheese: Its extra air and softer texture can weaken the mixture.
- Skipping the chill: Soft snowmen may slump or break during coating.
- Using hot chocolate: Let melted chocolate cool slightly before coating.
- Leaving a chocolate puddle: Drain well and trim pooled edges once set.
- Adding liquid food coloring: Choose oil-based candy coloring made for chocolate.
Pro Tips
- Keep the head centered over the body to help each truffle stand.
- Snip the piping bag tips very small. You can always make the opening larger.
- If the candy laces are wide, cut narrow strips before wrapping them.
- Work in small batches so the uncoated shapes stay cold.
Leftovers and Storage
Store in a sealed container in the refrigerator for up to 4 days. Separate layers with parchment so the faces stay neat. For the best appearance, add the candy scarves close to serving if they tend to soften in the fridge.
Freeze the undecorated, coated truffles in a sealed container for up to 1 month. Thaw overnight in the refrigerator before decorating. Avoid leaving cream-cheese truffles at room temperature for more than 2 hours.
Macros Information
Estimated per snowman, based on 10 servings and all listed chocolate and decorations. Some coating may remain in the bowl, so actual values can be lower. Brands also vary.
- Calories: 278
- Protein: 3 g
- Carbohydrates: 35 g
- Fat: 14 g
- Saturated Fat: 8 g
- Fiber: 0.3 g
- Sugar: 27 g
- Sodium: 150 mg
Frequently Asked Questions (FAQ)
Q: Do I remove the cookie filling?
A: No. Crush the whole sandwich cookies with their filling.
Q: Can I use regular chocolate sandwich cookies?
A: Yes, though the centers will be dark instead of pale. Keep the same cookie weight and check that the mixture holds together.
Q: Can I make these dairy-free?
A: Use firm dairy-free cream cheese, dairy-free white chocolate, and suitable cookies and candy. Different brands can change the firmness, so chill the mixture well.
Q: Why is my mixture too soft?
A: The cream cheese may be too warm or very soft. Refrigerate the mixture before shaping rather than adding more cream cheese.
Q: Why does the head fall off?
A: Press it gently into the body before chilling. Support the entire snowman during coating rather than lifting it by the head.
Q: Can I use candy melts?
A: White candy coating can work in place of white chocolate. Follow the package melting directions; its flavor and nutrition will differ.
Q: Can I make them ahead?
A: Yes. Make them a day ahead and keep them refrigerated in a sealed container.
Q: Do they need to stay cold?
A: Yes. The cream cheese filling needs refrigeration. Bring out only the portion you plan to serve.
Final Thoughts
No Bake Snowman Truffles bring a little holiday cheer with a creamy center and a crisp chocolate shell. Take your time with the faces and enjoy giving each one a different smile. Leave a comment and share how your snowmen turned out. Happy cooking!