
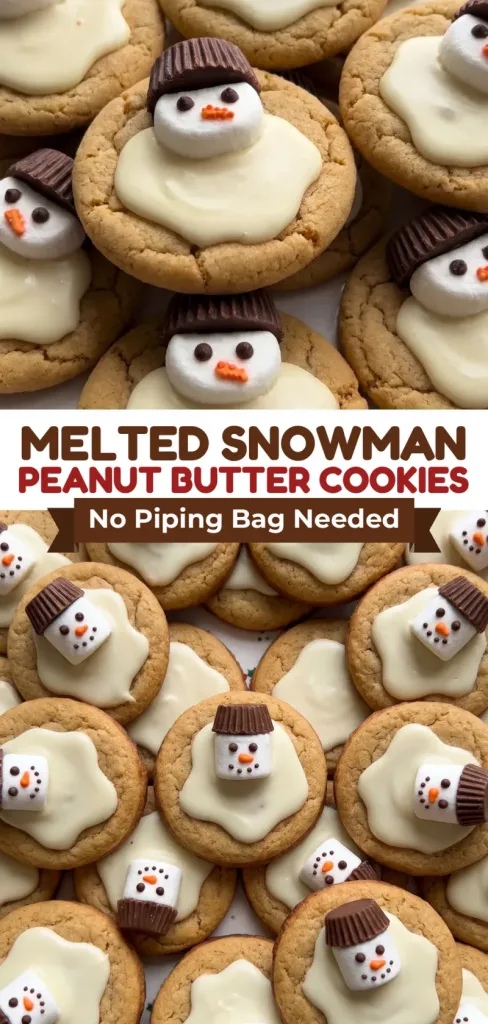
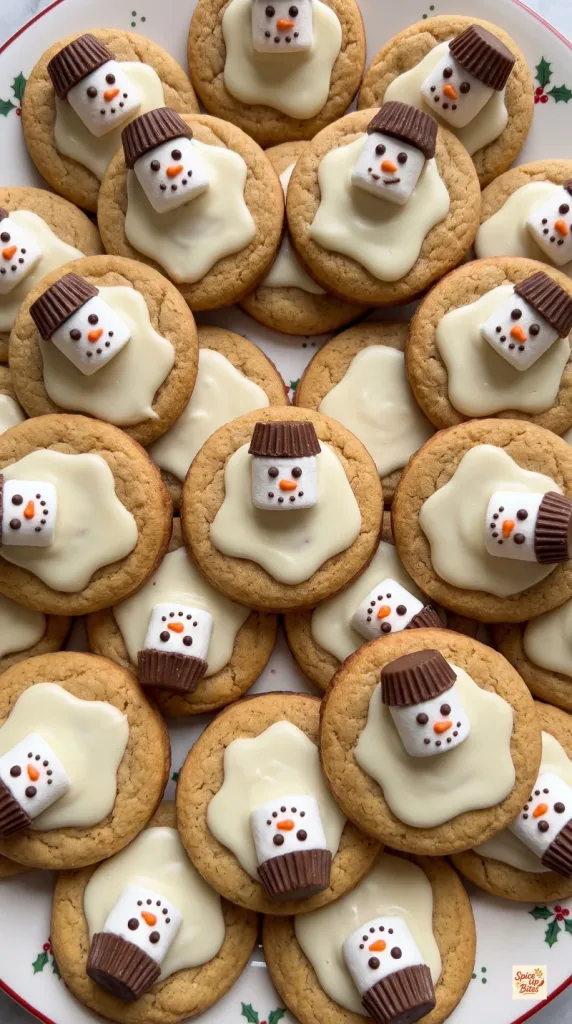
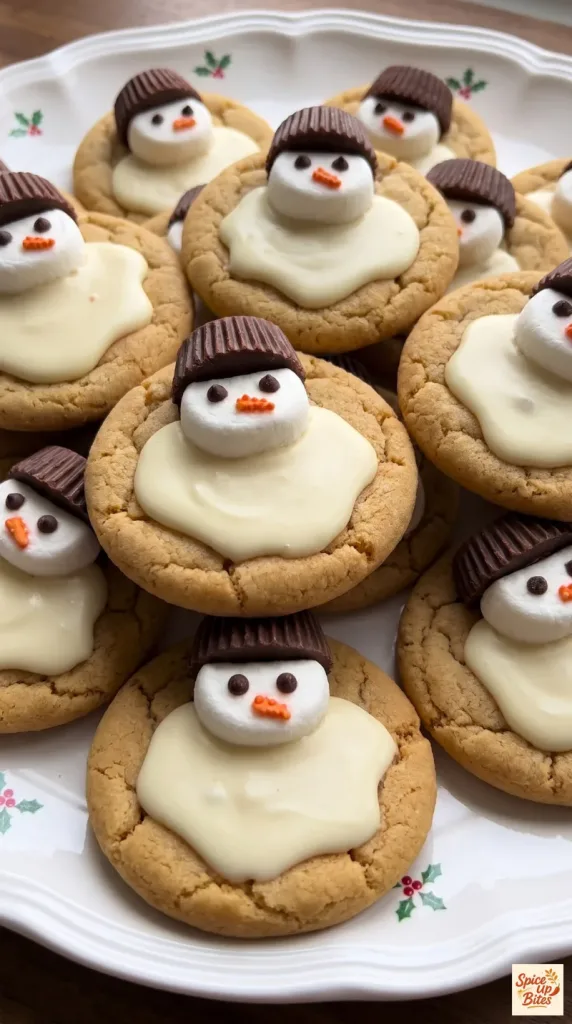
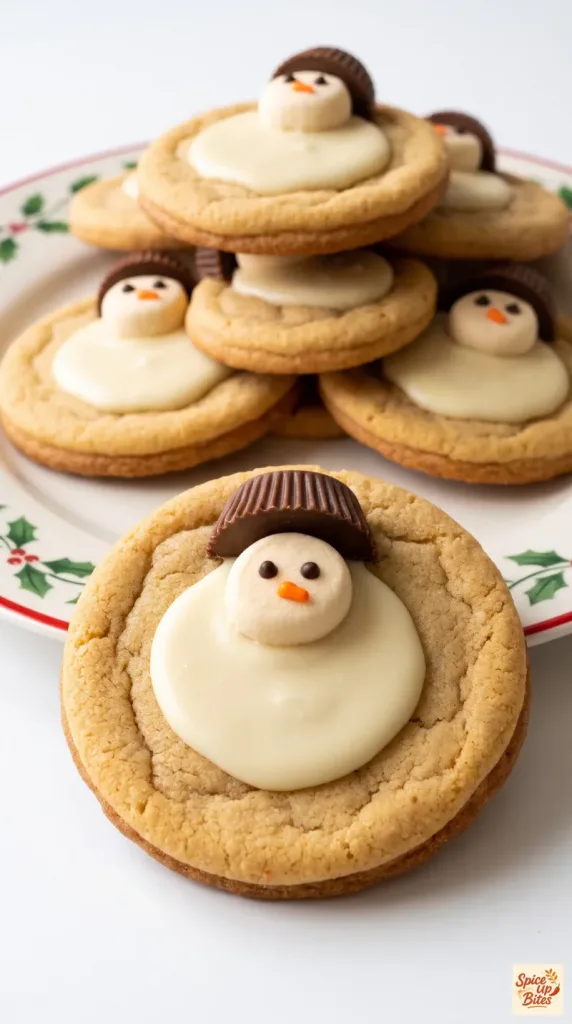
Melted Snowman Peanut Butter Cookies bring a little winter fun to a Christmas cookie tray. Each soft peanut butter cookie gets a snowy candy puddle, a small marshmallow head and a chocolate peanut butter cup hat. The decorations are simple, and slightly crooked faces add to their charm. Let the coating set before you pack them for sharing.
Why I Love This Recipe
The peanut butter base gives these cookies plenty of flavor beneath the sweet coating. You do not need a piping bag or neat icing skills. An uneven puddle is exactly the look you want.
- Simple decorating: Chocolate chips and orange sprinkles make the faces.
- Soft cookie centers: A short bake keeps the base tender.
- Easy portions: The batch makes a dozen generous cookies.
- Holiday-ready: Little chocolate hats finish the snowman look.
What You’ll Need
- Servings: 12, one cookie each
- Prep Time: 28 minutes, including decorating
- Chill Time: 20 minutes
- Cook Time: 12 minutes per batch
- Cooling Time: 20 minutes
- Setting Time: 15 minutes
- Total Time: 1 hour 35 minutes for one oven batch; allow extra time for additional batches
- Oven Temperature: 350°F (175°C)
- Pan: Large rimmed metal baking sheet; use two sheets if needed to maintain spacing
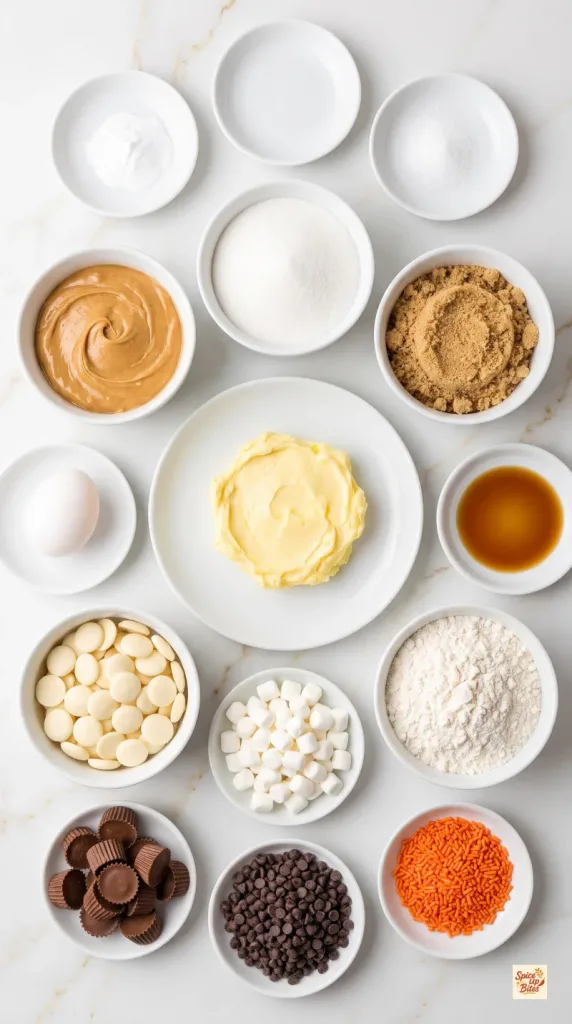
Cookie Ingredients
- 1/4 cup (57 g) unsalted butter, softened
- 1/2 cup (128 g) creamy no-stir peanut butter
- 1/4 cup (50 g) granulated sugar
- 1/4 cup (50 g) packed light brown sugar
- 1 large egg
- 1 teaspoon vanilla extract
- 3/4 cup (90 g) all-purpose flour, spooned and leveled
- 1/2 teaspoon baking soda
- 1/4 teaspoon fine salt
Snowman Decorations
- 8 ounces (227 g) white vanilla candy melting wafers
- 4 regular marshmallows
- 6 miniature chocolate peanut butter cups, unwrapped
- 24 mini chocolate chips
- 12 orange jimmies sprinkles
Tools You Need
- Electric hand mixer
- Large mixing bowl and microwave-safe bowl
- Measuring cups and spoons or a kitchen scale
- Silicone spatula and small spoon
- Large rimmed metal baking sheets
- Parchment paper
- Cookie scoop
- Cooling rack
- Kitchen shears
How to Make Melted Snowman Peanut Butter Cookies
Bake and cool the cookies first, then add the snowman decorations.
Step 1: Mix the Cookie Dough
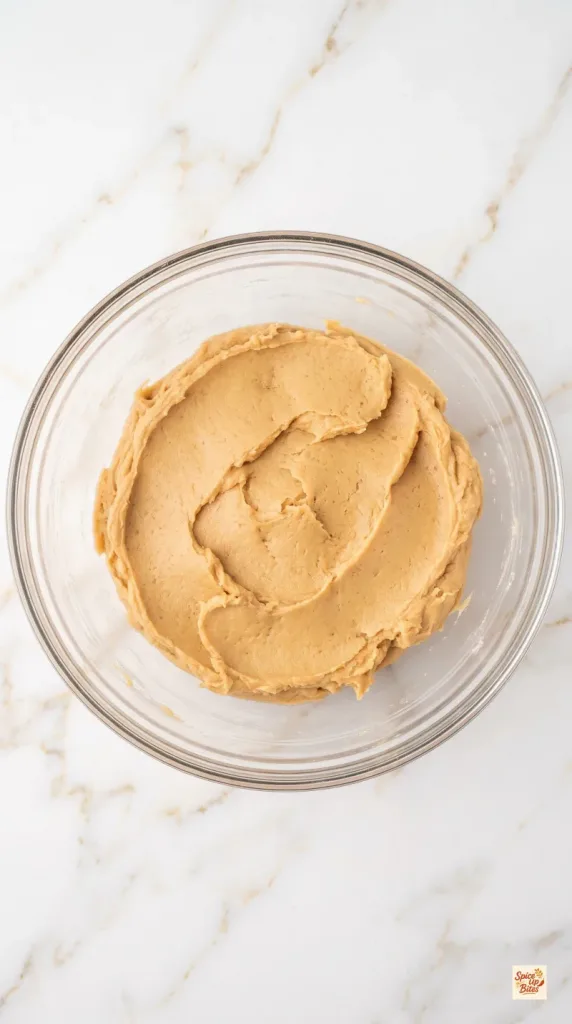
Beat 1/4 cup (57 g) softened unsalted butter, 1/2 cup (128 g) creamy peanut butter, 1/4 cup (50 g) granulated sugar and 1/4 cup (50 g) packed light brown sugar in a large bowl for 2 minutes, until creamy.
Beat in 1 large egg and 1 teaspoon vanilla extract until smooth.
Add 3/4 cup (90 g) all-purpose flour, 1/2 teaspoon baking soda and 1/4 teaspoon fine salt. Mix on low just until no dry flour remains. The dough will be soft.
Step 2: Chill and Shape
Cover the dough and chill for 20 minutes. Meanwhile, heat the oven to 350°F (175°C) and line a large rimmed metal baking sheet with parchment.
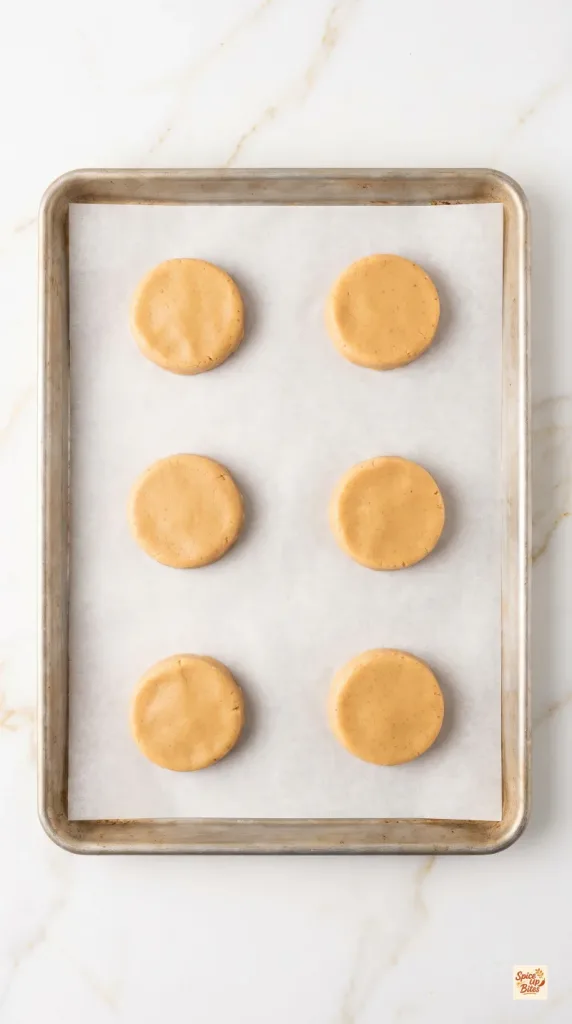
Divide the dough into 12 equal portions, about 35 g each. Roll into balls and space them 3 inches apart on the sheet. Bake in batches if needed.
Press each ball into a disc about 2 inches wide and 1/2 inch thick. Keep the tops fairly smooth so they are easy to decorate.
Step 3: Bake and Cool
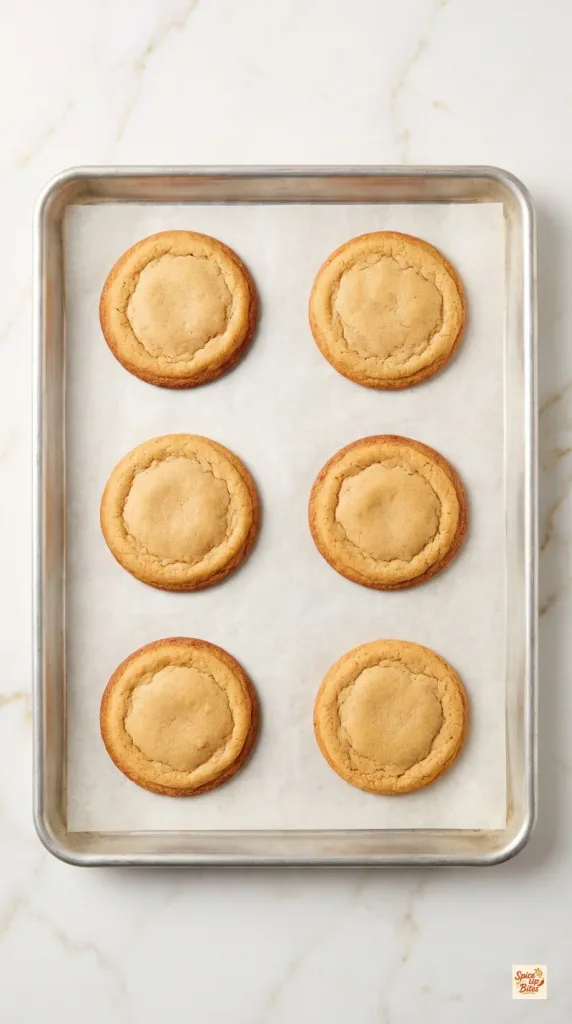
Bake for 10–12 minutes, until the edges are set and lightly golden and the centers look matte. Use the upper end only if needed; firm centers in the oven can mean dry cookies later.
Leave the cookies on the sheet for 5 minutes, then move them to a cooling rack. Allow about 15 minutes more, until completely cool. Let the baking sheet cool before using it for another batch.
Step 4: Prepare the Snowman Parts
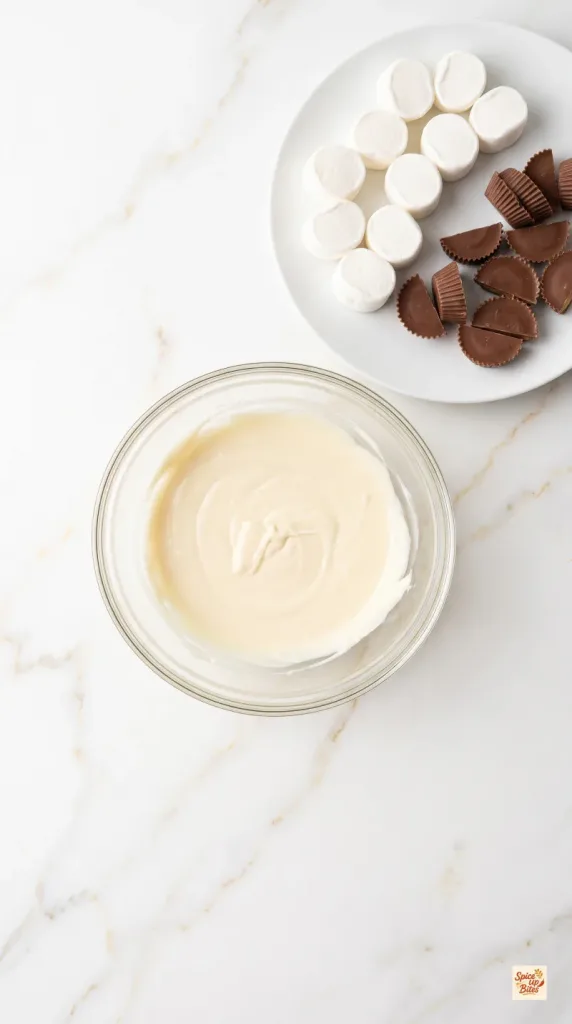
Use kitchen shears to cut 4 regular marshmallows crosswise into thirds, giving 12 short round slices.
Cut 6 miniature chocolate peanut butter cups in half to make 12 hat pieces. Keep them cool so they hold their shape.
Put 8 ounces (227 g) white vanilla candy melting wafers in a dry microwave-safe bowl. Heat according to the package directions, stirring between short bursts, until smooth and pourable. Do not add water.
Step 5: Decorate the Cookies
Set out all 12 cooled cookies, 24 mini chocolate chips and 12 orange jimmies sprinkles, along with the prepared marshmallow slices, hat pieces and melted coating.
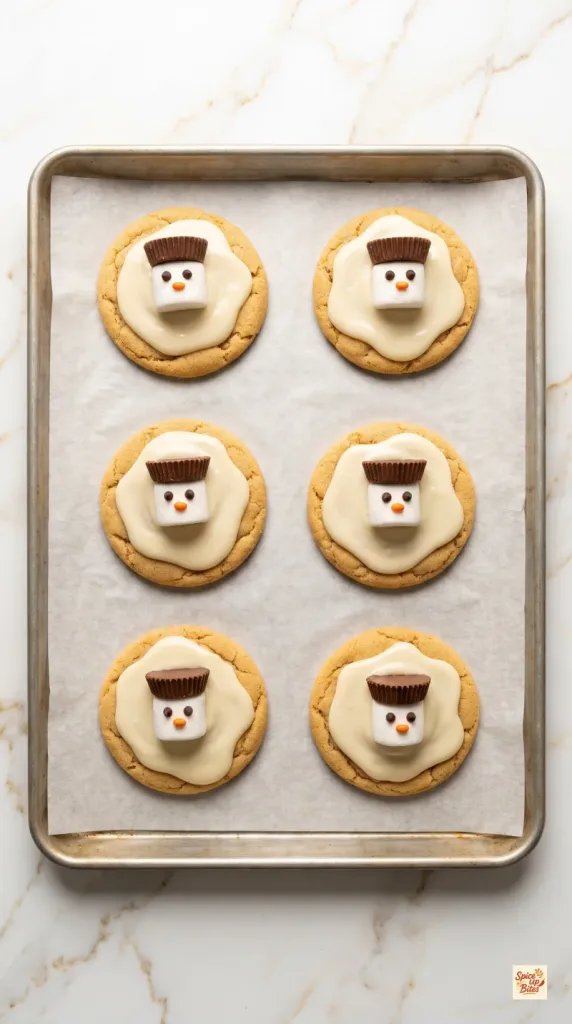
Work on one cookie at a time. Spread about 1 teaspoon melted coating over its center in an uneven puddle, leaving a little cookie visible around the edge.
Attach 1 marshmallow slice, cut side down, near the upper edge. Spoon about 1 teaspoon more coating over it, covering it and blending it into the puddle. Divide any remaining coating among the cookies.
While the coating is soft, add 2 mini chocolate chips for eyes, 1 orange sprinkle for a nose and 1 peanut butter cup half for a tilted hat. Repeat until all 12 cookies are decorated.
Step 6: Let Set and Serve
Let the decorated cookies stand for 15 minutes, or until the coating feels firm and dry to a light touch. Allow more time if your room is warm.
Arrange the cookies on a platter with their faces visible. Serve the cookies on their own, and wait until the coating is fully set before packing them.
Why This Recipe Works (Quick Science)
Peanut butter supplies fat and protein, which help give the cookies a tender bite. Brown sugar holds moisture, while flour and egg help the cookies keep their shape. Chilling firms the dough so it is easier to portion. Candy wafers set into a firm coating that holds the marshmallow and face pieces in place.
Common Mistakes to Avoid
- Using runny peanut butter: Separated natural peanut butter can change how the dough spreads. Use creamy no-stir peanut butter here.
- Packing the flour: Too much flour makes a dry base. Weigh it or spoon it into the cup and level it.
- Baking until hard: Look for set edges and matte centers. The cookies firm as they cool.
- Decorating warm cookies: The coating can slide and the chocolate hats can soften.
- Overheating the wafers: Use short bursts and stir often. Keep the bowl and spoon dry.
Pro Tips
Have all the face pieces ready before melting the coating. Decorate one cookie fully before moving to the next so the pieces stick well. If the coating starts to thicken, rewarm it briefly according to its package directions. Tilt the hats a little for a playful finish.
Make-Ahead and Storage
Keep fully set cookies in an airtight container at cool room temperature for up to 3 days. Store in a single layer when possible. If stacking is needed, use parchment between layers and avoid pressing on the heads.
Freeze undecorated, cooled cookies in an airtight container for up to 2 months. Thaw them while still covered, then uncover and let any surface moisture dry before decorating. The marshmallow decorations have the best texture when added closer to serving.
Macros Information
Estimated per cookie, based on 12 cookies and all decorations. Brands and cookie size will change these values.
- Calories: 310
- Protein: 5 g
- Carbohydrates: 36 g
- Fat: 17 g
- Saturated Fat: 8 g
- Fiber: 1 g
- Sugar: 27 g
- Sodium: 190 mg
Frequently Asked Questions (FAQ)
Q: Can I use store-bought peanut butter cookies?
A: Yes. Choose 12 sturdy round cookies about 3 inches wide and skip making the dough. Smaller cookies may need less coating.
Q: Can I use crunchy peanut butter?
A: Creamy peanut butter gives a smoother base that is easier to shape. Crunchy peanut butter will add texture and may make the edges less even.
Q: Do I have to chill the dough?
A: Yes. The short chill makes this soft dough easier to handle and helps control spreading.
Q: How do I know the cookies are baked?
A: The edges should look set and lightly golden. The centers should look matte but still feel soft. Let them firm on the baking sheet before moving them.
Q: Can I use white chocolate instead of candy wafers?
A: White chocolate can work, but it needs gentler melting and may set less firmly without tempering. Candy wafers are the simpler choice for cookies that will be packed or shared.
Q: Why did my candy coating become thick?
A: It may have cooled, overheated or touched water. Rewarm cooled coating gently. Do not add water to seized coating; start again with a dry bowl if needed.
Q: How can I keep the decorations from falling off?
A: Add them while the coating is still soft. If a piece loosens after setting, attach it with a small dab of remelted coating from the batch.
Q: Can I make these without marshmallow heads?
A: Yes. Put the eyes, nose and hat directly on the flat candy puddle. The snowman will look flatter but will still be easy to recognize.
Q: Are these suitable for someone with a peanut allergy?
A: No. The dough and the hats both contain peanuts. Simply removing the hats does not make these peanut-free.
Final Thoughts
Melted Snowman Peanut Butter Cookies turn a simple peanut butter cookie into a cheerful Christmas treat. Give the cookies time to cool, keep the coating gentle and let each snowman have its own little expression. Leave a comment with how you decorated yours. Happy cooking!