Nothing beats a giant tray of cheesy, fully-loaded nachos. This recipe is my go-to when I want something fast, filling, and seriously satisfying.
It’s the kind of meal that’s perfect for movie night, game day, or when everyone’s craving something crunchy, melty, and full of flavor.
Best part? You throw everything on a sheet pan, bake it, and boom—dinner (or a snack feast) is ready.

Why I Love This Recipe
One night, after a long week, I had random leftovers in the fridge—some cheese, beans, cooked chicken, a half bag of chips—and threw together a sheet pan of nachos. It was such a hit that it became a regular thing. Over time, I’ve learned how to layer things just right so every chip has flavor, and the mix of textures is perfect.
- You get everything crispy, cheesy, and melty in one bite
- Easy to customize with what’s in your fridge
- Feeds a group or just yourself with leftovers
- No forks, no fancy steps—just good food
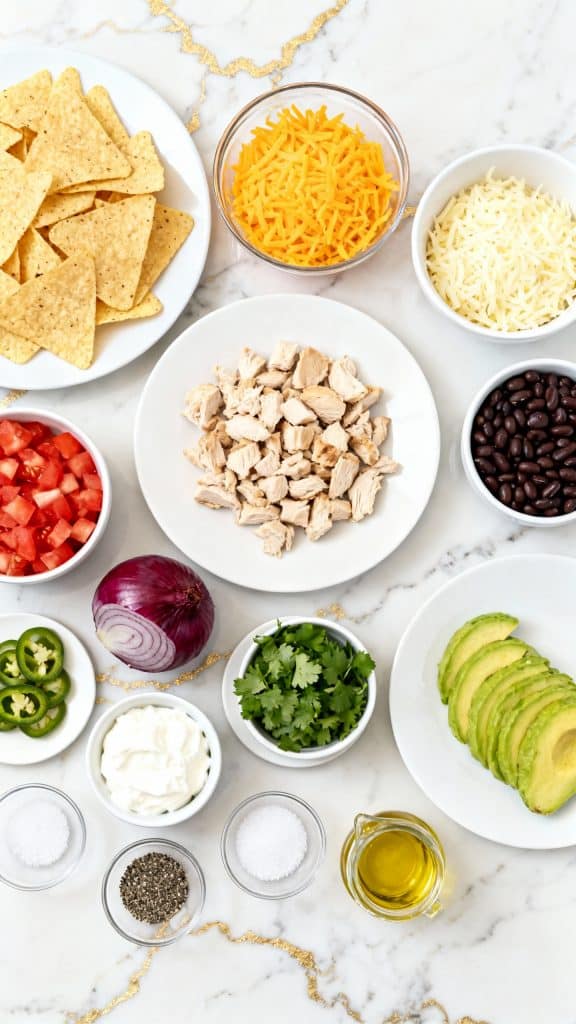
What You’ll Need
- 1 large bag (12 oz) of sturdy tortilla chips
- 2 cups shredded cheddar cheese
- 1 cup shredded Monterey Jack cheese
- 1 cup cooked chicken breast, diced
- 1/2 cup canned black beans, drained and rinsed
- 1/4 cup diced red onion
- 1/2 cup diced tomato
- 1 fresh jalapeño, thinly sliced
- 1/4 cup chopped fresh cilantro
- 1 avocado, sliced
- 1/3 cup sour cream
- 1 tablespoon olive oil
- Salt and pepper to taste
Pro Tips
- Layer the chips in two rounds: chips, toppings, cheese—repeat. It gives better flavor coverage
- Use sturdy chips so they don’t get soggy
- Preheat your oven fully to melt cheese evenly and crisp the edges
- Don’t add cold toppings like sour cream or avocado until after baking
- A little olive oil over the top before baking makes the chips golden and extra crunchy
Tools You’ll Need
- Large sheet pan
- Cheese grater (if using block cheese)
- Cutting board
- Knife
- Oven mitts
- Serving spatula or tongs
Substitutions and Variations
- Swap chicken for ground beef, pulled pork, or no meat at all
- Use pinto beans or refried beans instead of black beans
- Add corn, olives, or pickled jalapeños
- Use dairy-free cheese or plant-based meat to make it vegan
Make Ahead Tips
- Dice all toppings ahead of time and store separately in airtight containers
- Cook and season your meat earlier in the day
- Grate the cheese and keep it ready in the fridge
- Just assemble and bake when you’re ready
Servings & Time
Makes: 4–6 servings
Prep Time: 10 minutes
Cook Time: 10–12 minutes
Total Time: About 20–25 minutes
Macros (Per Serving – Est. for 6 servings)
- Calories: 430
- Protein: 19g
- Carbs: 32g
- Fat: 27g
- Fiber: 5g
- Sugar: 3g
Why This Recipe Works (Quick Science)
- Shredded cheese melts fast and covers the toppings to “glue” them to the chips
- Baking instead of microwaving keeps the chips crispy
- Using two types of cheese (cheddar for flavor, Jack for melt) gives better texture
- Drizzling oil before baking crisps up the edges for that perfect crunch
Common Mistakes
- Using thin chips—they break down and get soggy
- Adding sour cream before baking—it turns watery and weird
- Only putting toppings on the top layer—bottom chips stay boring
- Not preheating the oven—uneven melt and chewy chips
What to Serve With
- Cold sparkling drinks or lemonade
- Fresh fruit or a green salad
- Guacamole and extra salsa on the side
- Warm queso dip if you’re feeling extra cheesy
Recipe + Step-by-Step Instructions
Step 1: Preheat the oven
Preheat your oven to 400°F.
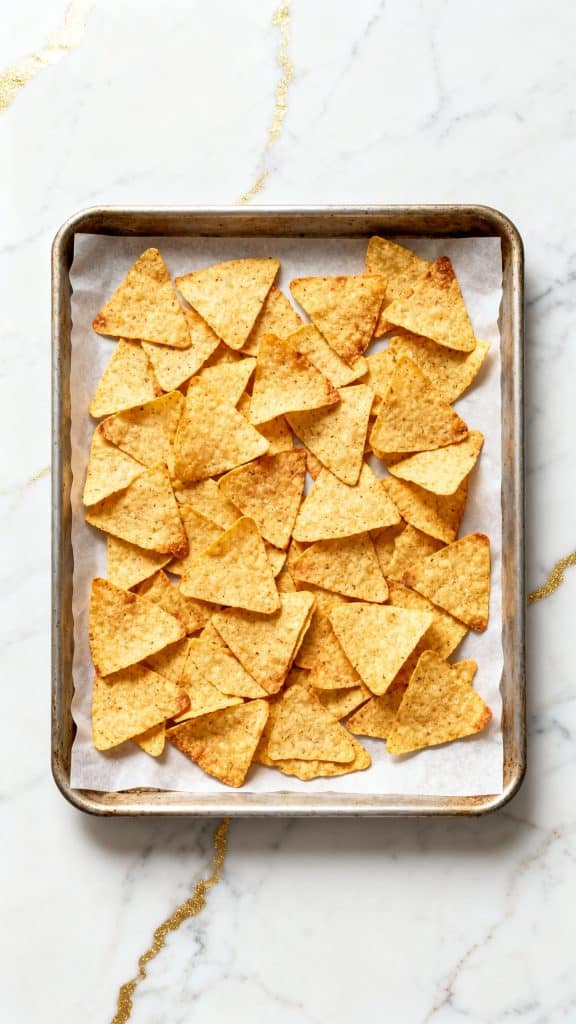
Step 2: Spread the chips
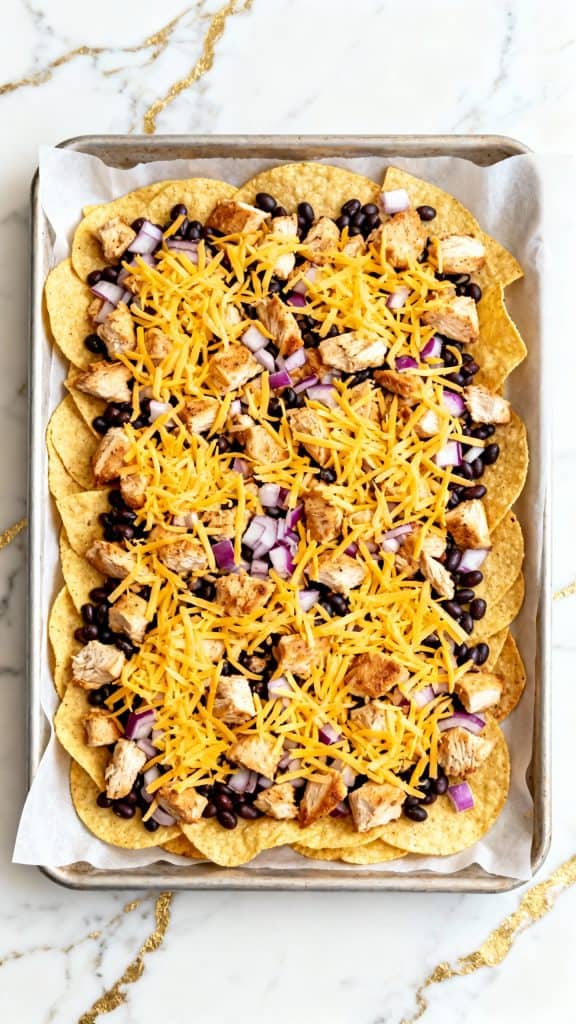
Spread half of the tortilla chips (about 6 oz) in an even layer on a large sheet pan.
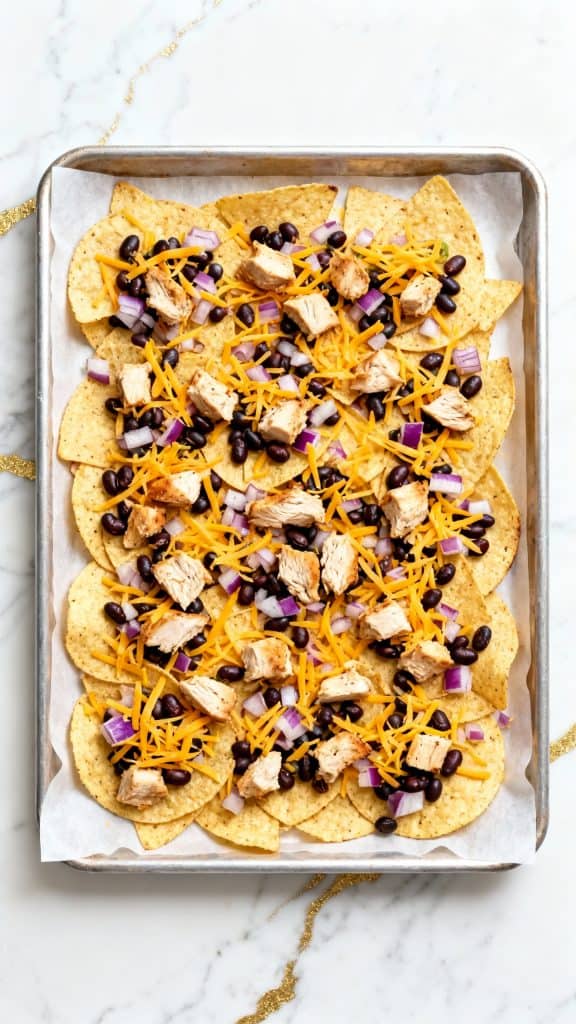
Step 3: First layer of toppings
Top the chips with 1/2 cup diced cooked chicken, 1/4 cup black beans, 1/8 cup diced red onion, and 1 cup shredded cheddar cheese.
Step 4: Add second layer
Add another layer of chips (remaining 6 oz), and repeat the toppings: 1/2 cup diced chicken, 1/4 cup black beans, 1/8 cup diced red onion, 1 cup shredded Monterey Jack cheese.
Step 5: Drizzle olive oil
Drizzle 1 tablespoon olive oil evenly over the top to help the chips crisp up.

Step 6: Bake
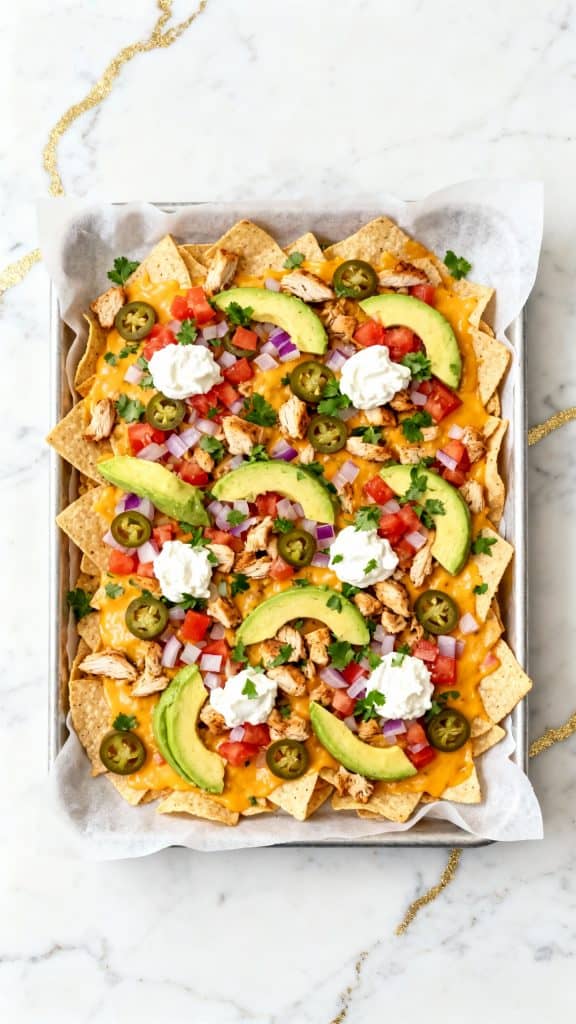
Place the sheet pan in the oven and bake for 10–12 minutes, or until the cheese is fully melted and bubbly and chips are golden on the edges.
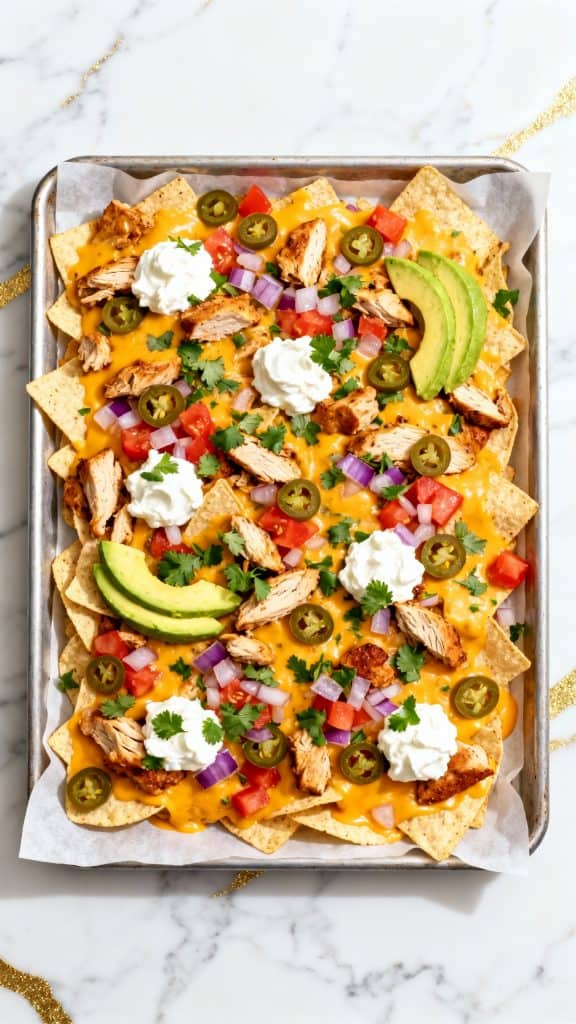
Step 7: Add fresh toppings
Remove from oven and immediately top with diced tomato (1/2 cup), sliced jalapeño, chopped cilantro (1/4 cup), sliced avocado, and sour cream (1/3 cup dolloped across).
Leftovers & Storage
- Store leftovers in an airtight container in the fridge for up to 2 days
- Reheat in the oven at 350°F for about 5–7 minutes to get the chips crisp again
- Avoid the microwave if you want to keep that crunch
FAQ
Can I make this vegetarian?
Totally—just skip the chicken and add more beans or grilled veggies.
Can I use pre-shredded cheese?
Yes, but freshly shredded melts better and gives a smoother finish.
Is there a way to keep nachos from getting soggy?
Yep! Use sturdy chips, layer well, and don’t add cold toppings until after baking.
Can I use ground beef instead of chicken?
Absolutely—just cook and season it first before layering.
Final Thoughts
These loaded sheet pan nachos are the kind of easy, crowd-pleasing meal you’ll come back to again and again.
They’re crunchy, cheesy, and packed with flavor—and the best part is, you can totally make them your own.
Try them out, make it your way, and let me know how it turns out! Drop a comment if you have questions or fun topping combos to share!