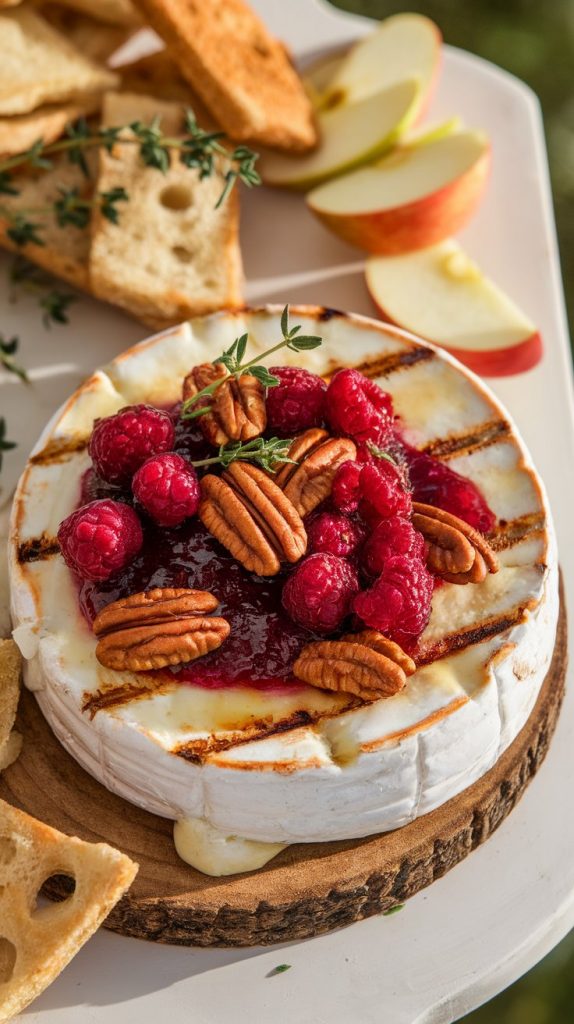
Hey there! If you’re looking for a super easy appetizer that feels kinda fancy but takes, like, barely any effort — this Grilled Cedar Plank Brie is it.
Warm, melty cheese with a little smoky flavor, topped with sweet stuff like jam or fruit — it’s the kind of snack that disappears in minutes. Perfect for BBQs, holidays, or just a chill night on the patio with friends or fam.

🧀 Why I Love This Recipe
There’s just something about hot, gooey cheese that brings people together. I’ve made this at summer BBQs and even Thanksgiving — and it always gets devoured fast. Here’s why it’s a total win:
- No fancy cooking skills needed.
- It looks way fancier than it really is.
- You can change up the toppings every time.
- Kids love it (because: cheese), and adults feel like they’re at a fancy wine bar.
- It cooks right on the grill while you hang out.
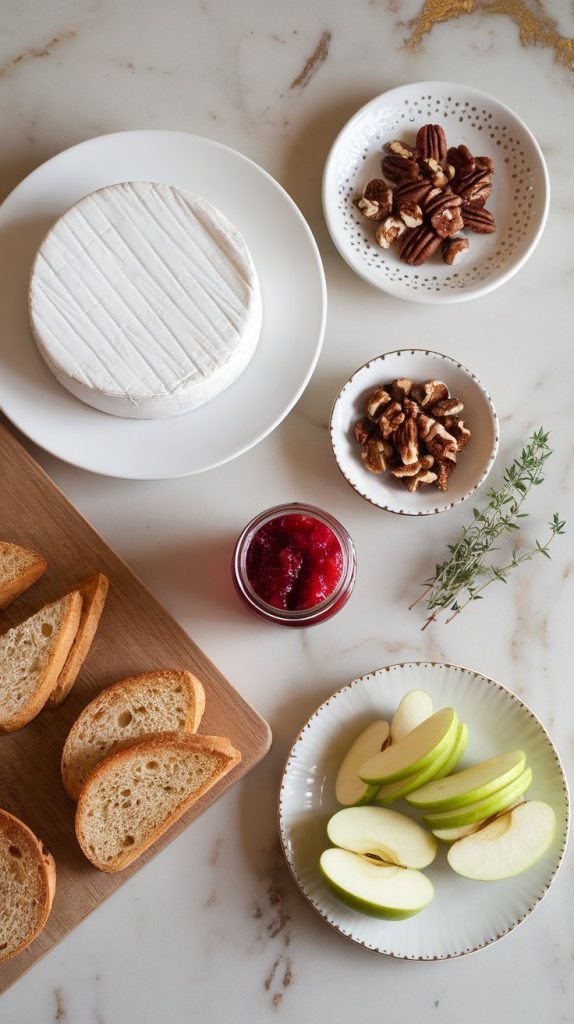
🛒 What You’ll Need
- 1 small wheel of Brie (about 8 oz)
- 1 cedar plank (soaked in water for at least 1 hour)
- 1/4 cup raspberry jam (or any jam you like)
- 1/4 cup chopped pecans (toasted)
- 1 sprig fresh thyme (optional)
- Crackers, sliced apples, or crostini for serving
👩🍳 Pro Tips
- Soak that plank! If you skip this step, the wood could catch fire on the grill.
- Use a mild jam like raspberry or apricot — too sweet can overpower the cheese.
- Toast the nuts first for extra flavor and crunch.
- Serve it fast! Brie gets melty and dreamy, but it’ll start to firm up after a while.
- Let guests scoop it themselves — less mess and everyone gets the perfect bite.
🔧 Tools You’ll Need
- Grill (gas or charcoal)
- Tongs
- Small bowl and spoon (for toppings)
- Cutting board (for serving)
- Knife (for apple slices)
- Cedar plank (food-grade)
🔁 Substitutions & Variations
- Different Jams: Try fig, apricot, or even a spicy pepper jelly.
- Nuts: Swap pecans for walnuts or sliced almonds.
- Add Fruit: Sliced strawberries or blueberries are great on top.
- Baked Instead? Yep, you can do this in the oven too!
⏱️ Make-Ahead Tips
- Soak the plank earlier in the day (or overnight).
- Toast the pecans and prep your toppings ahead of time.
- Brie can stay in the fridge until you’re ready to grill.
👩🍳 How to Make Grilled Cedar Plank Brie
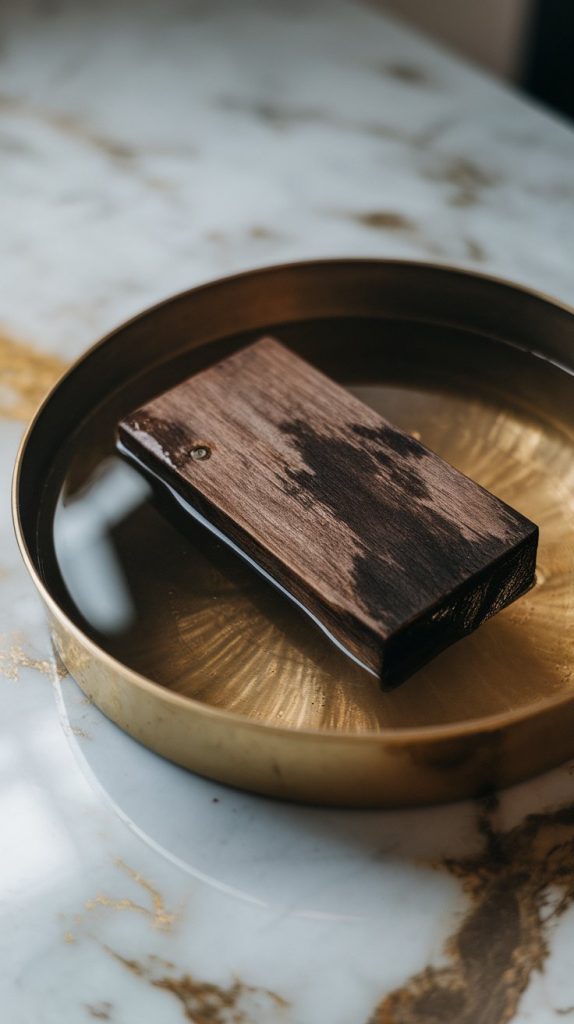
Step 1: Soak the Plank
Place the cedar plank in water and let it soak for at least 1 hour (or up to overnight). This keeps it from catching fire on the grill.
Step 2: Preheat the Grill
Get your grill going on medium heat. You want it hot, but not blazing.
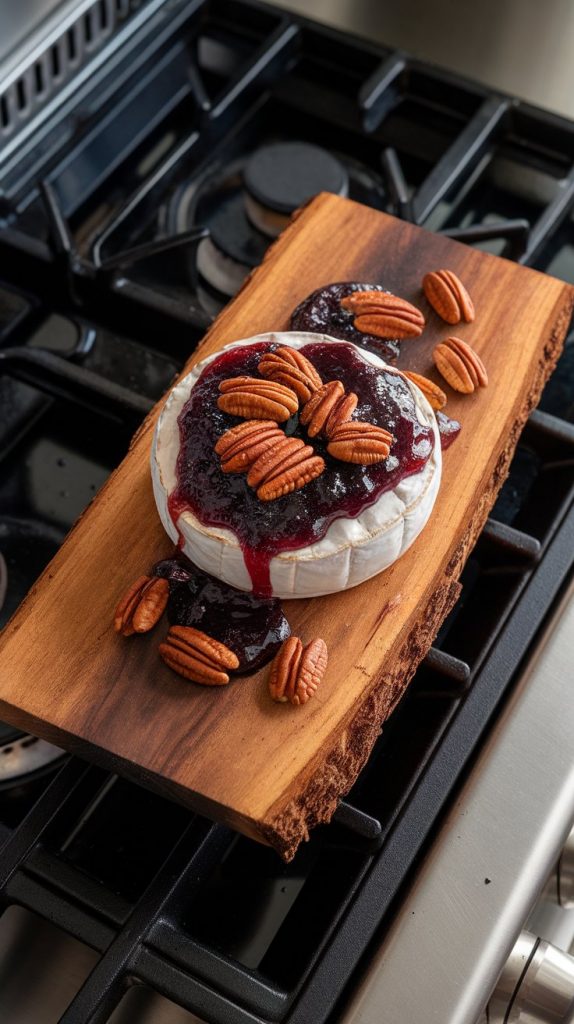
Step 3: Prep the Brie
Place the wheel of Brie right in the center of the soaked plank. Spoon the raspberry jam over the top and sprinkle with the chopped toasted pecans.

Step 4: Grill the Brie
Place the whole plank on the grill and close the lid. Let it cook for about 12–15 minutes, or until the cheese is soft and melty and the jam is bubbling.
Step 5: Add Herbs (Optional)
Sprinkle with fresh thyme right before serving. Adds a nice little herby moment.
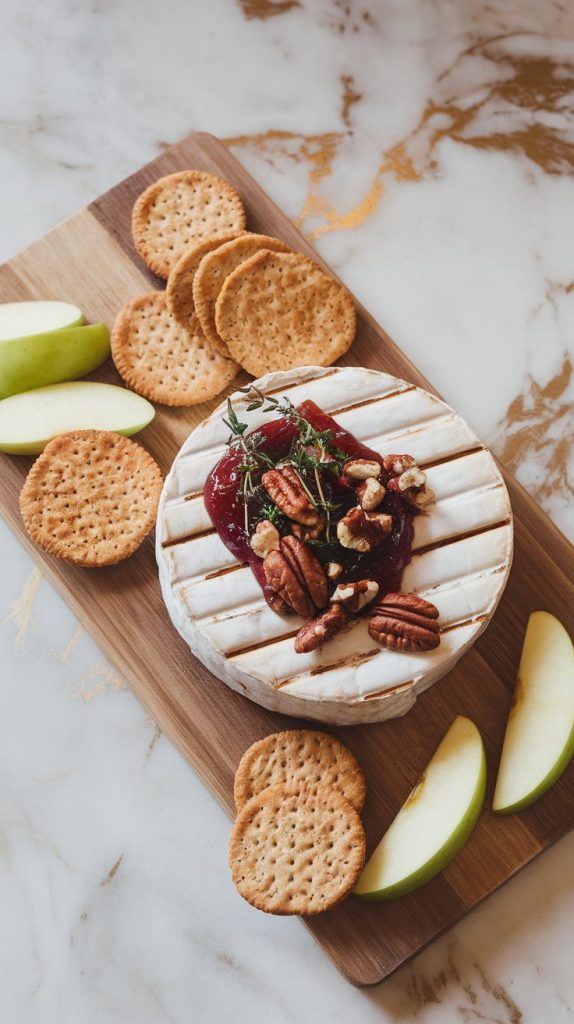
AI image prompt: Ultra close-up of a melty wheel of Brie on a cedar plank with a small sprig of fresh thyme added on top, jam still glistening and cheese soft. White marble counters with hints of gold, with all-natural lighting, taken with an iPhone 15 Pro, top-down shot used by recipe bloggers.

Step 6: Serve and Enjoy!
Carefully transfer the hot plank to a cutting board or heat-safe platter. Serve right away with crostini, crackers, or apple slices.
🍽️ What to Serve With It
- Crostini or baguette slices
- Apple or pear slices
- Grapes or berries
- Charcuterie board vibes — salami, prosciutto, etc.
- Sparkling water or wine if the adults are sipping
❄️ Leftovers & Storage
If you actually have leftovers (rare, lol):
- Store in an airtight container in the fridge.
- Reheat in the oven at 350°F for about 5–8 minutes.
- Or smear on a sandwich — trust me.
❓FAQ
Can I make this in the oven instead?
Totally! Just bake it on a parchment-lined tray at 350°F for 15 minutes.
What if I don’t have a cedar plank?
You can bake it directly on foil or in a small cast-iron skillet.
Can I remove the rind?
I wouldn’t — it helps hold the cheese in. Plus, it’s totally edible!
Is Brie safe for kids?
Yep! As long as it’s pasteurized (which most U.S. Brie is), it’s good to go.
💬 Wrap-Up
Okay, seriously — once you make this once, it’s gonna be your go-to. Simple, crowd-pleasing, and totally customizable. I hope you try it out and love it like we do! Let me know in the comments how it turned out or if you tried a fun topping twist — I’m always here for cheesy inspiration! 🧀💛