Prep Time: 5 minutes | Cook Time: 10 minutes | Servings: 4
Macros (per serving): ~220 calories | 7g fat | 35g carbs | 3g protein

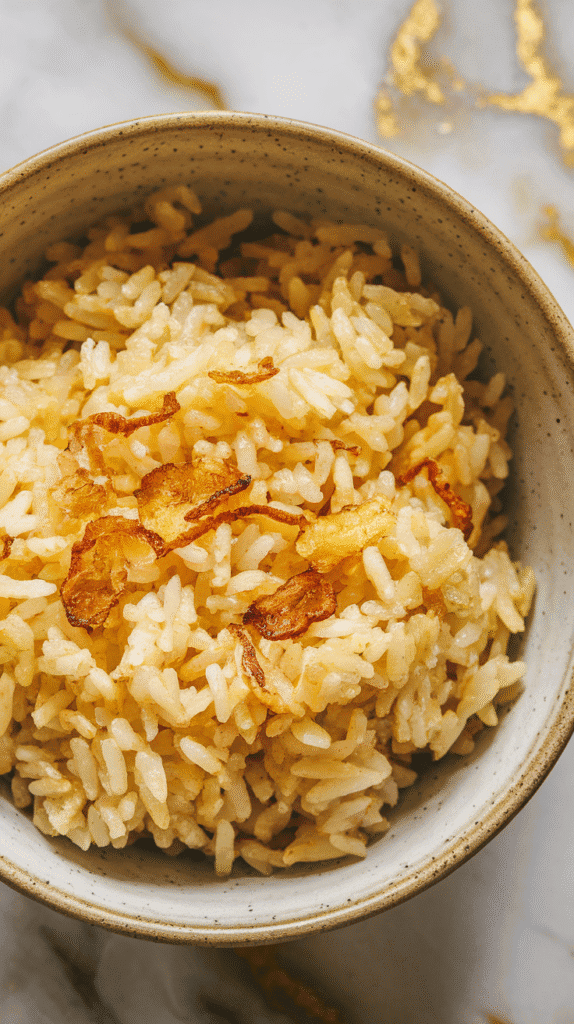
Simple, garlicky, and the perfect way to use leftover rice
Sinangag is a staple in Filipino breakfasts, and honestly, once you’ve had it, plain fried rice just doesn’t compare. It’s super simple—just garlic, oil, and day-old rice—but when done right, it’s golden, crispy, and packed with flavor. It’s usually served with eggs, tapa, tocino, or longganisa, but it’s just as good on its own or with whatever you’ve got in the fridge.
My first time having sinangag was during a trip to Manila years ago, and I couldn’t believe how something this basic could taste that good. The garlic is the star—crispy, toasty, and aromatic.
Why I Love This Recipe
- Uses ingredients you already have
- Big garlic flavor with just a few ingredients
- Perfect way to repurpose cold rice
- Crispy bits of garlic make it next-level
- Pairs with just about anything
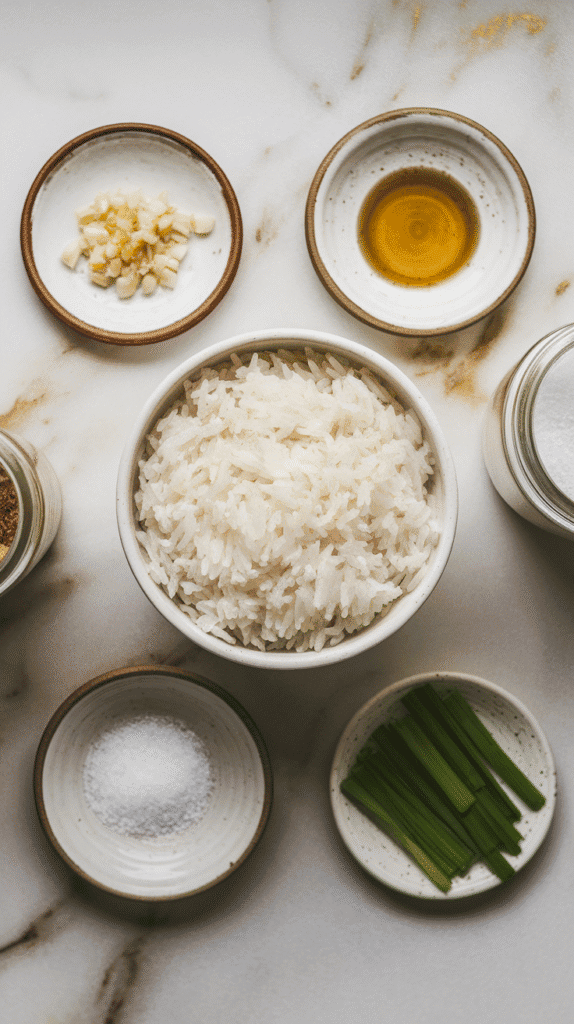
What You’ll Need
- 4 cups cold, cooked white rice (preferably jasmine)
- 6 cloves garlic, peeled and finely minced
- 2½ tbsp neutral oil (like canola or vegetable)
- ½ tsp salt, or to taste
- Optional: chopped scallions or fried garlic chips for garnish
Pro Tips
- Use cold, dry rice—fresh rice will clump and turn mushy
- Don’t rush the garlic—let it turn golden, not brown
- Use medium-low heat for garlic to avoid burning it
- Stir rice gently at first so it doesn’t break apart too much
- Save a little crispy garlic for topping—adds great texture
Tools You’ll Need
- Nonstick or cast-iron skillet
- Wooden spoon or spatula
- Knife and cutting board
- Mixing bowl (for breaking up cold rice)
Substitutions and Variations
- Add scrambled egg or a fried egg on top
- Toss in some scallions or chopped chilis
- Mix in a splash of fish sauce or soy sauce (not traditional but tasty)
- Use brown rice for a nuttier flavor
- Add leftover meat like tapa or roast chicken
Make-Ahead Tips
- Garlic can be minced and stored in an airtight container up to 2 days ahead
- Rice should be chilled and day-old for best texture
- You can fry the garlic ahead and store in a small jar
Instructions
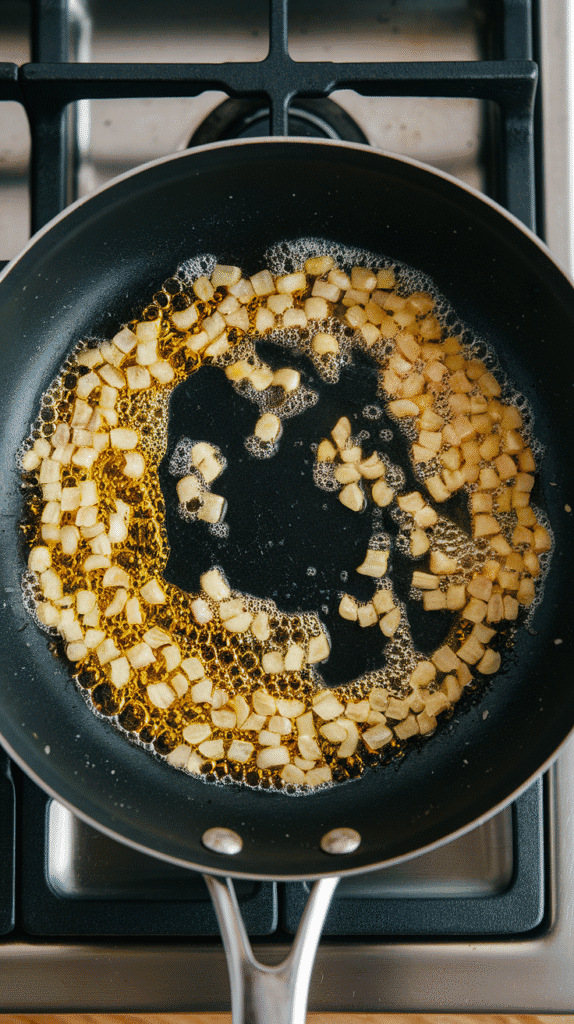
STEP 1: Fry the Garlic
In a large skillet, heat 2½ tbsp neutral oil over medium heat. Add 6 cloves minced garlic and sauté slowly, stirring often, until garlic turns golden and crispy—about 2–3 minutes. Remove half of it and set aside for garnish.
STEP 2: Add the Rice
Add 4 cups cold, cooked jasmine rice to the pan with the remaining garlic. Break up clumps gently and stir well so the rice gets coated with the garlic oil.
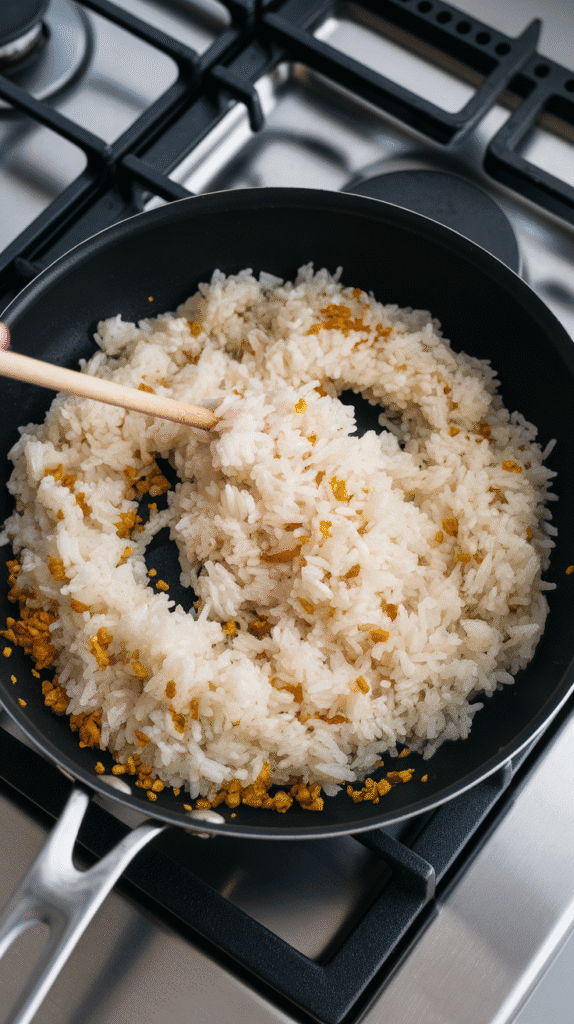
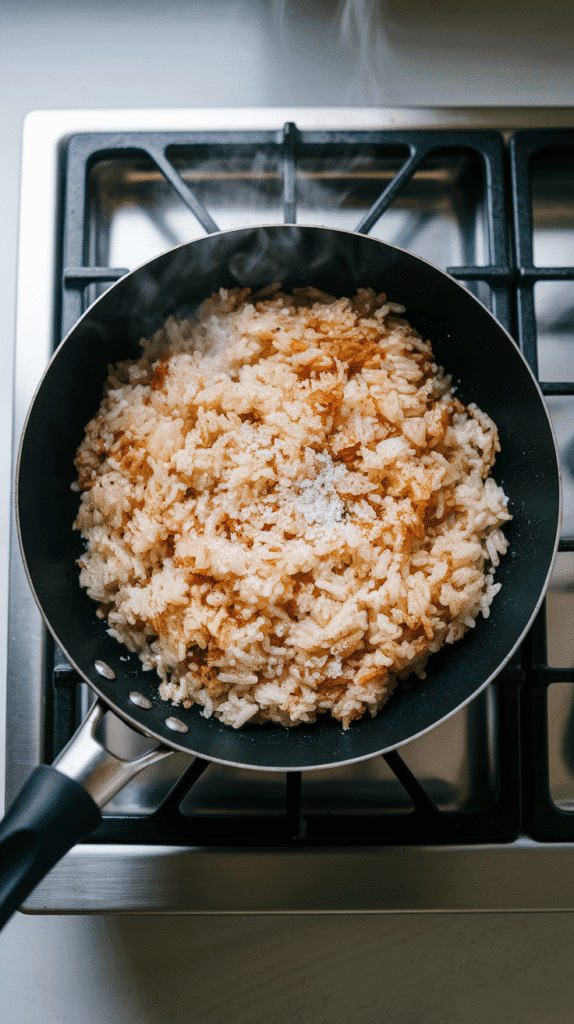
STEP 3: Season and Toast
Sprinkle ½ tsp salt evenly over the rice. Cook for another 4–5 minutes, stirring occasionally, until rice is heated through and lightly toasted in spots.
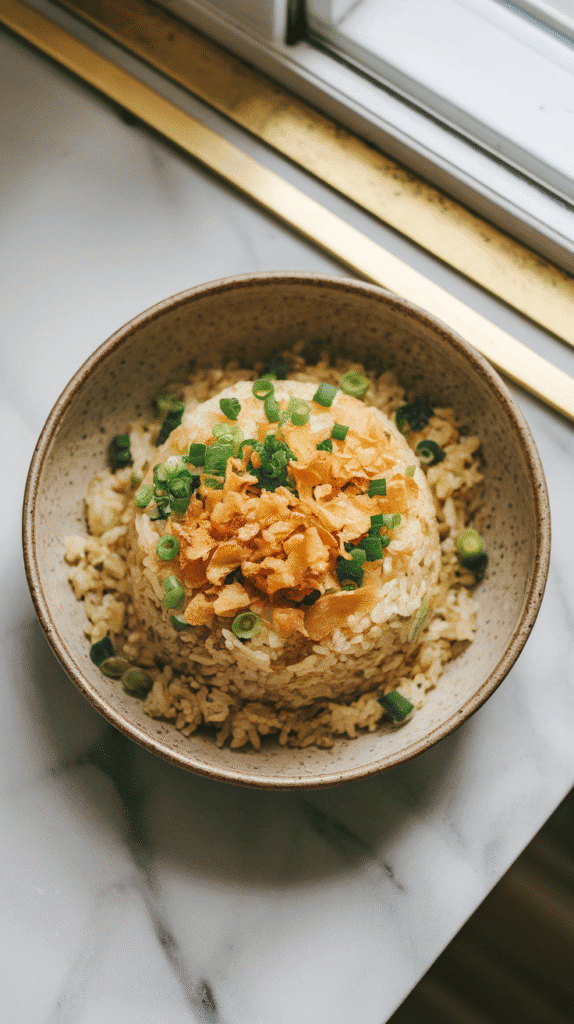
STEP 4: Garnish and Serve
Turn off the heat and top with the reserved crispy garlic and optional chopped scallions. Serve hot.
Leftovers + Storage
- Store in an airtight container for 3–4 days
- Reheat in a dry skillet with a splash of oil or in the microwave
- Add a fried egg on top to make it a full meal when reheating
Why This Recipe Works (Quick Science)
- Cold rice is drier, so it fries instead of steaming
- Garlic infuses the oil, creating a flavor base that coats every grain
- Neutral oil doesn’t overpower the garlic so the flavor shines through
- Toasting rice lightly caramelizes it, adding texture and nutty flavor
Meal Plan Ideas
- Serve with fried eggs and longganisa (Filipino sausage)
- Add as a side to grilled meats or adobo
- Pair with sautéed greens or tomato salad
- Makes a great base for rice bowls with leftover proteins
- Serve with lumpia for a full Filipino-style breakfast
Common Mistakes
- Using hot or freshly cooked rice—it gets gummy
- Cooking garlic too fast or too hot—burnt garlic is bitter
- Not stirring rice evenly—leaves clumps and uneven flavor
- Overloading with soy sauce or extras—traditional sinangag is meant to be simple
What to Serve With
- Longganisa, tapa, tocino, or adobo
- Fried or scrambled eggs
- Tomato slices or cucumber salad
- Bangus (fried milkfish)
- Fresh mango on the side
FAQ
Q: Can I use garlic powder instead of fresh garlic?
A: Not recommended—this dish is all about the crispiness and aroma of fresh garlic.
Q: Is sinangag usually spicy?
A: Nope, but you can add chopped chili or serve with spicy vinegar if you like heat.
Q: Can I freeze it?
A: It’s better fresh, but yes—freeze in a zip-top bag for up to a month.
Q: What kind of oil is best?
A: Use a neutral oil like canola, vegetable, or even light olive oil. Coconut oil works too for a slightly sweet twist.
Garlic lovers, this one’s for you
Filipino Sinangag is proof that simple is so good. Once you make it, you’ll want to keep garlic rice in your rotation forever. Let me know how it turns out or how you make it your own—I love hearing your takes on it!