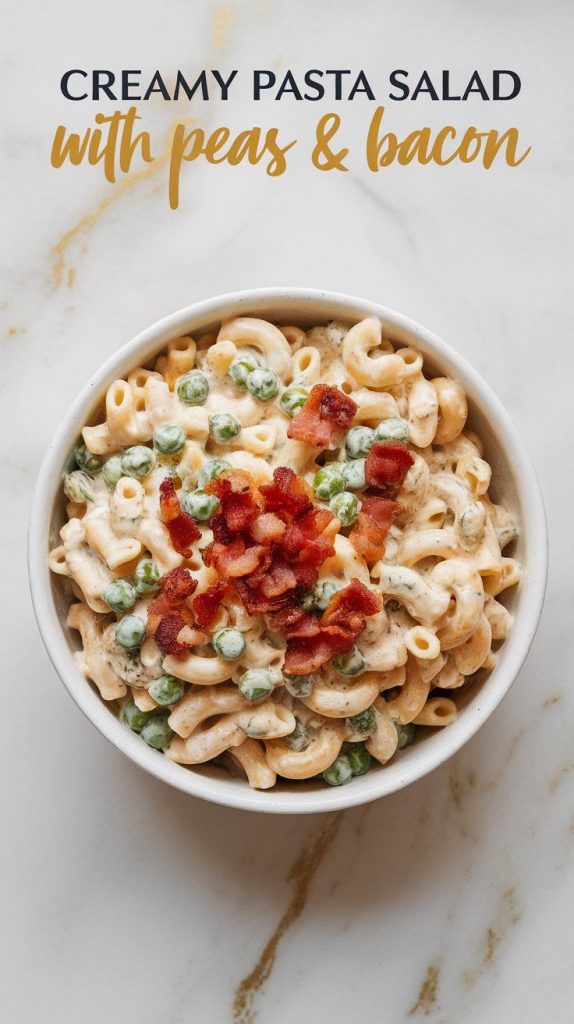
This creamy pasta salad is one of those go-to dishes that just works.
It’s easy, it’s super tasty, and honestly, it disappears fast every time I make it.
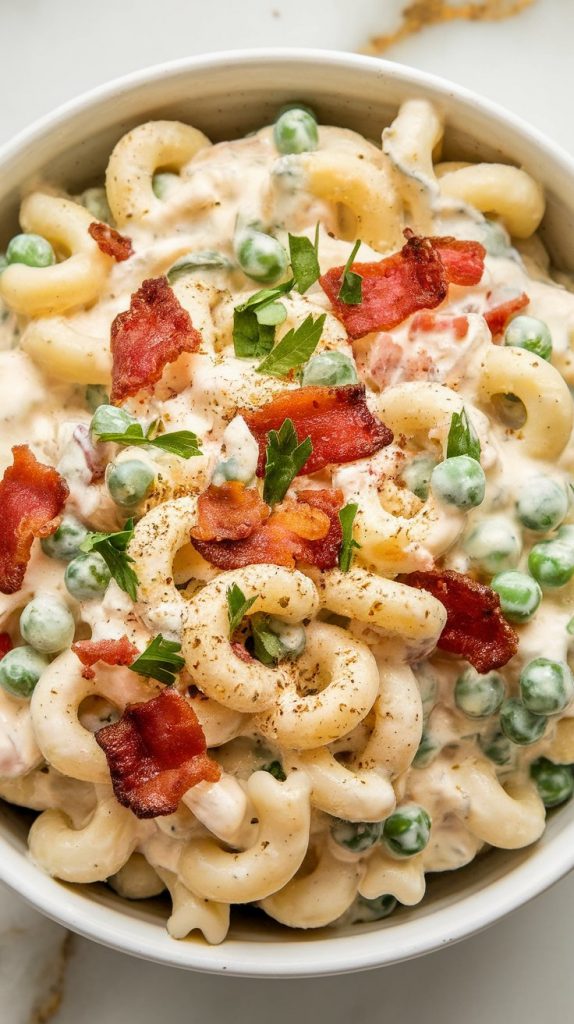
You’ve got that cool, creamy dressing, salty bites of bacon, sweet little green peas, and tender pasta.
What’s not to love?
It’s perfect for BBQs, lunchboxes, or a quick weeknight dinner.
My kids ask for this all the time — and I don’t mind because I can throw it together in no time.

🥓 Why I Love This Recipe
This pasta salad is a family favorite for a reason! Here’s why we love it:
- Fast & simple – Just a few ingredients and it’s done in 20 minutes.
- Great for leftovers – Tastes even better the next day.
- Kid-approved – Creamy, cheesy, with bacon? Total win.
- Perfect for potlucks – Always a hit at parties and BBQs.
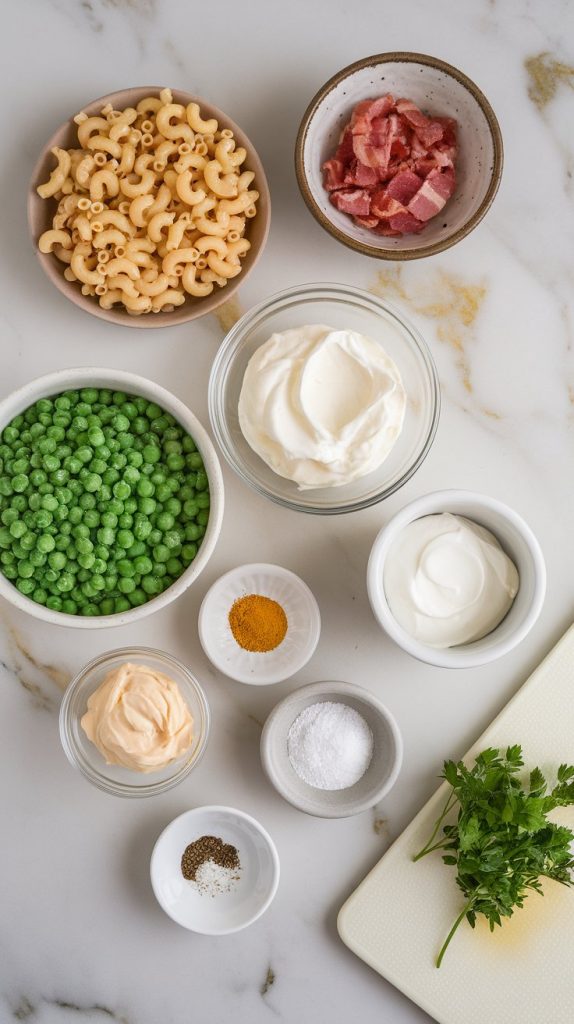
🛒 What You’ll Need
- 12 oz elbow macaroni
- 1 cup frozen peas, thawed
- 1 cup cooked bacon, chopped (about 6 slices)
- 3/4 cup mayonnaise
- 1/2 cup sour cream
- 1 tablespoon Dijon mustard
- 1 teaspoon garlic powder
- 1/2 teaspoon salt
- 1/4 teaspoon black pepper
- 2 tablespoons chopped fresh parsley (optional)
👩🍳 Pro Tips
- Rinse the pasta after cooking so it cools faster and doesn’t stick.
- Don’t overcook the peas — just thaw them. They’ll stay sweet and firm.
- Use thick-cut bacon for big, crispy bites.
- Make it ahead — the flavor gets even better after a few hours in the fridge.
- Let the kids help with mixing and pouring — it’s a great one for little hands.
🔧 Tools You’ll Need
- Large pot
- Strainer
- Cutting board & knife
- Mixing bowl
- Measuring cups & spoons
- Spoon for mixing
🔁 Substitutions & Variations
- Use Greek yogurt instead of sour cream.
- Swap turkey bacon for regular bacon.
- Try shells or rotini instead of elbow pasta.
- Add chopped cheddar cheese for extra creaminess.
- Toss in cherry tomatoes or red onion for more crunch and color.
🕒 Make-Ahead Tips
Make this salad a few hours ahead and keep it in the fridge. It actually tastes better once the flavors have time to meld. Just give it a stir before serving!
👩🍳 How to Make Creamy Pasta Salad with Peas & Bacon
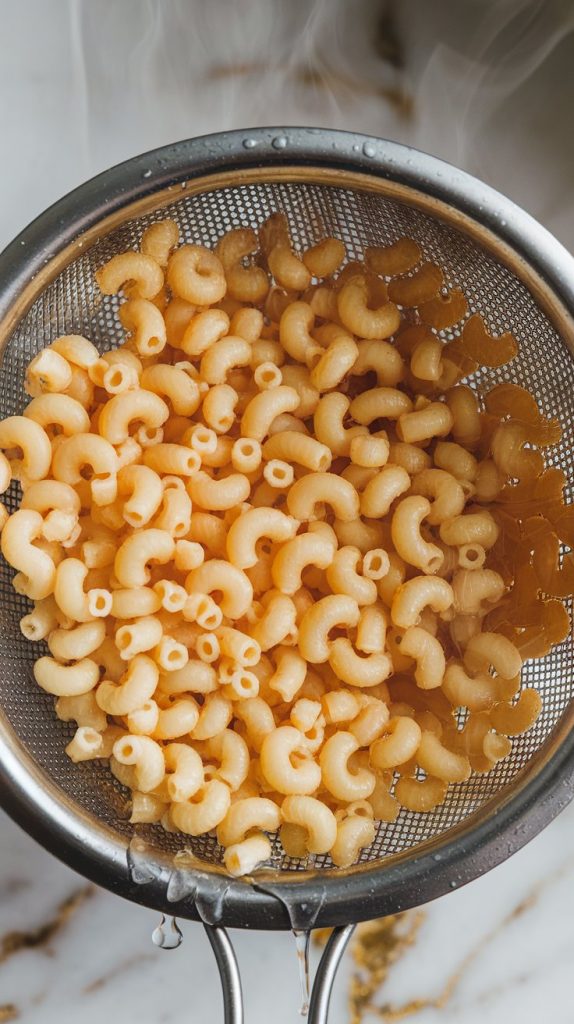
Step 1: Cook the Pasta
Boil a large pot of salted water. Cook the elbow macaroni according to the package, until al dente. Drain and rinse under cold water to cool.
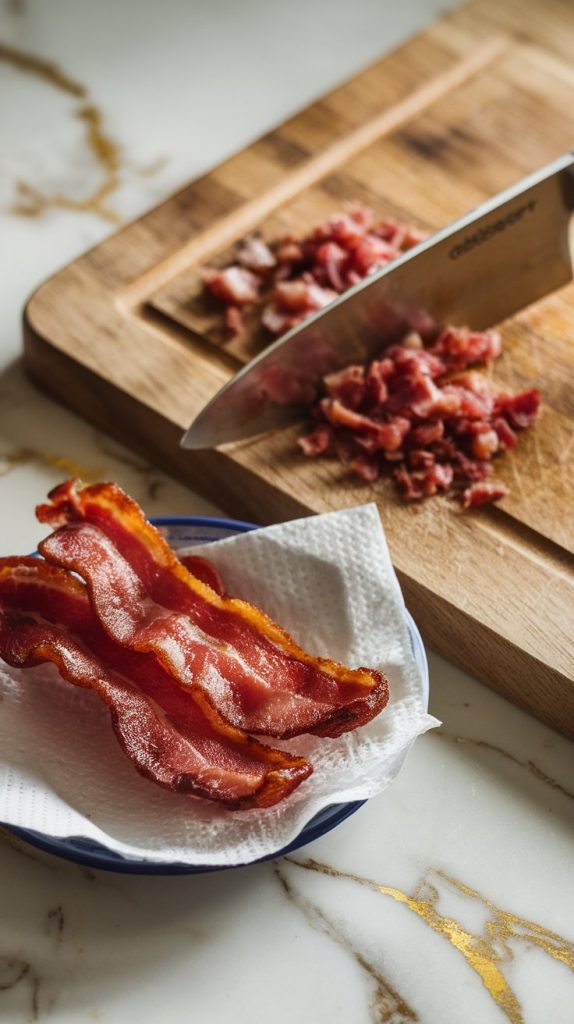
Step 2: Prep the Bacon
While the pasta is cooking, cook your bacon until crispy. Let it cool, then chop it into small pieces.
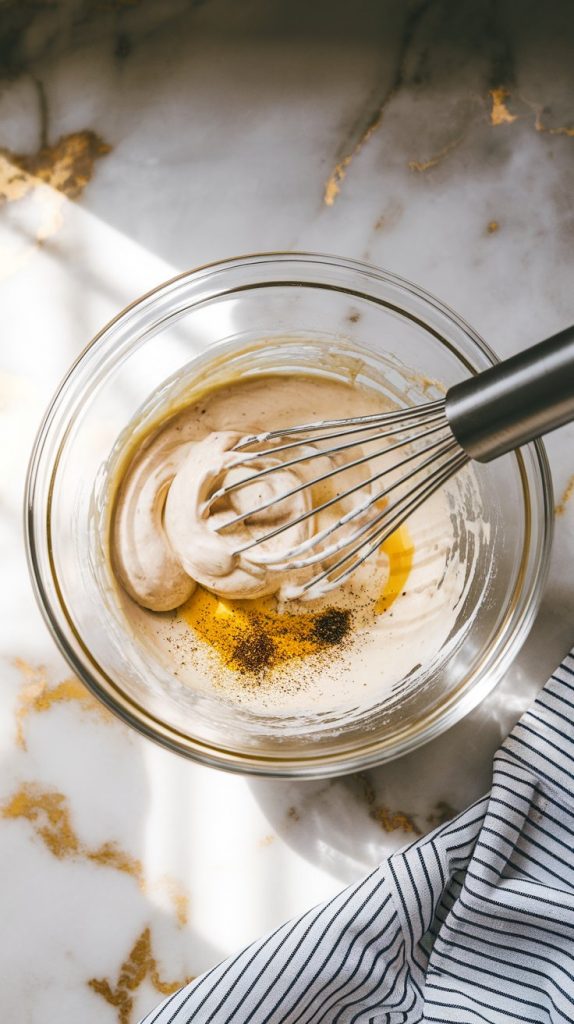
Step 3: Make the Creamy Dressing
In a large mixing bowl, stir together mayonnaise, sour cream, Dijon mustard, garlic powder, salt, and black pepper until smooth.
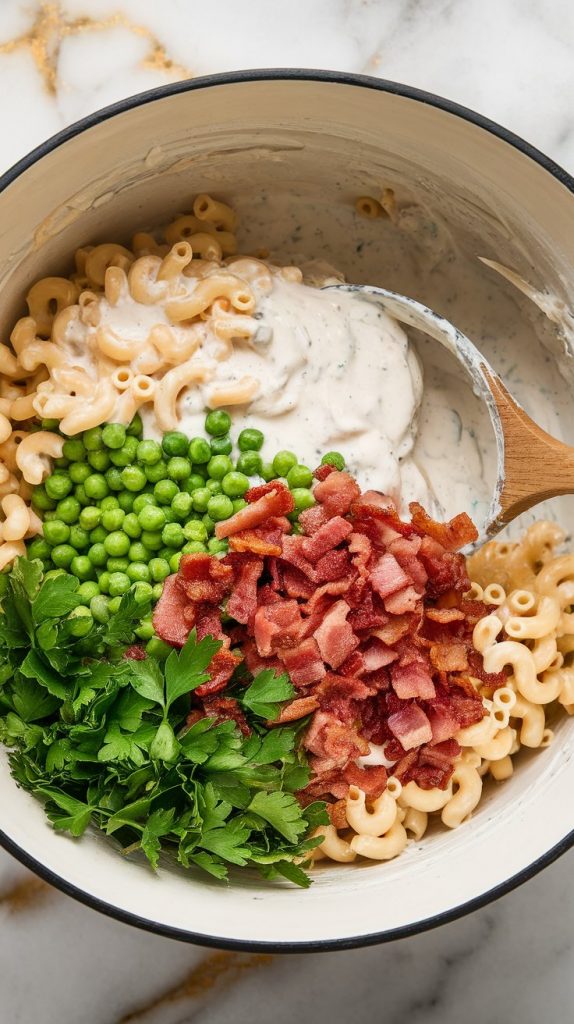
Step 4: Mix It All Together
Add the cooled pasta, thawed peas, chopped bacon, and parsley (if using) to the bowl of dressing. Mix everything gently until the pasta is well coated.
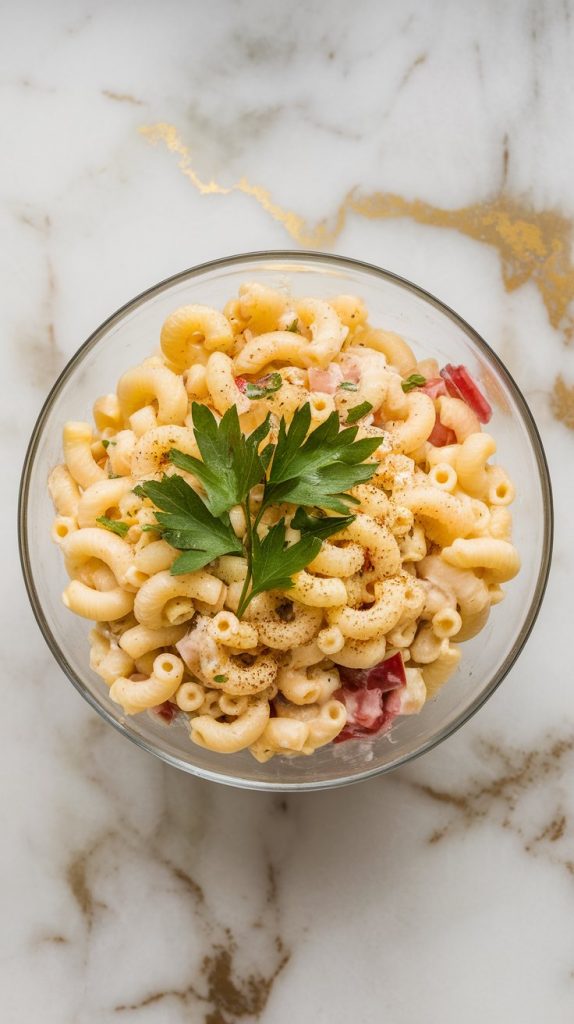
Step 5: Chill and Serve
Cover and chill the pasta salad for at least 30 minutes before serving. Garnish with extra parsley or black pepper if you’d like!
🥡 Leftovers & Storage
Keep leftovers in an airtight container in the fridge for up to 3 days. Stir before serving — you can add a splash of milk or a spoonful of mayo if it seems dry.
🍴 What to Serve With
This creamy pasta salad pairs perfectly with:
- Grilled chicken or burgers
- Hot dogs (classic cookout vibes!)
- Fresh fruit salad
- Corn on the cob
- Iced tea or lemonade
❓ FAQ
Can I make this the night before?
Yes! Just give it a stir before serving.
Can I freeze it?
Not really — mayo-based dressings don’t freeze well.
What kind of bacon should I use?
Thick-cut is best, but any crispy cooked bacon works!
Is it okay to use canned peas?
You can, but they’ll be a bit mushy. Frozen peas hold up better.
🥰 Wrap-Up
There you have it — a super simple, creamy, and crowd-pleasing pasta salad that’s always a hit! Whether it’s a family dinner, lunchbox filler, or BBQ side, this one’s a keeper. Try it out, and let me know how your family liked it in the comments below. Have questions? I’m happy to help! 💬