
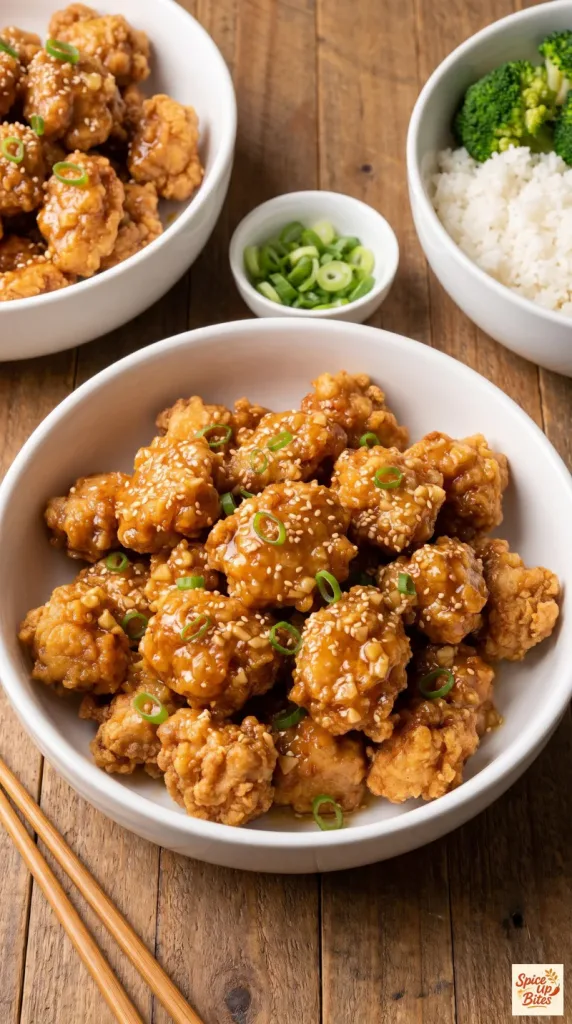
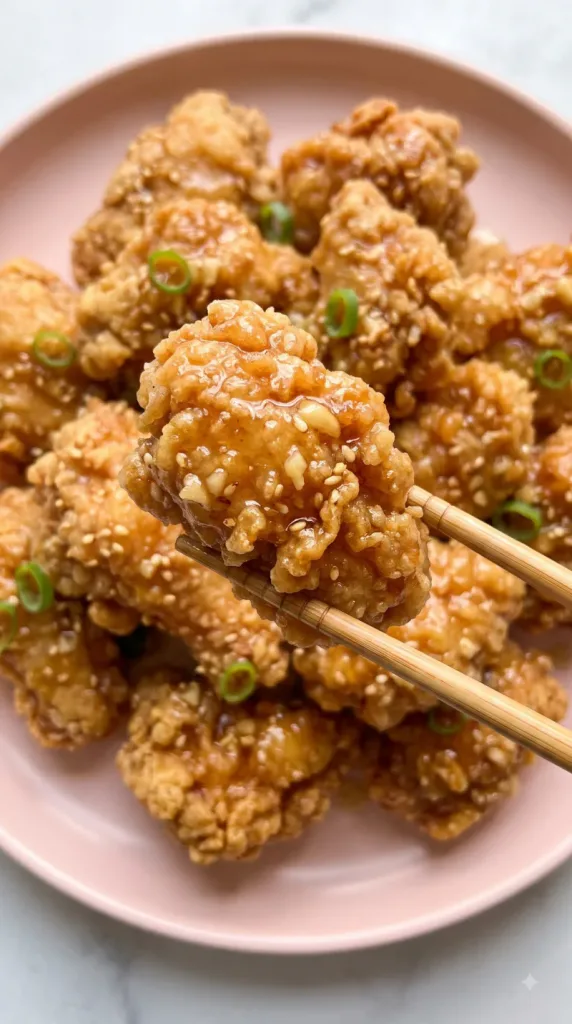
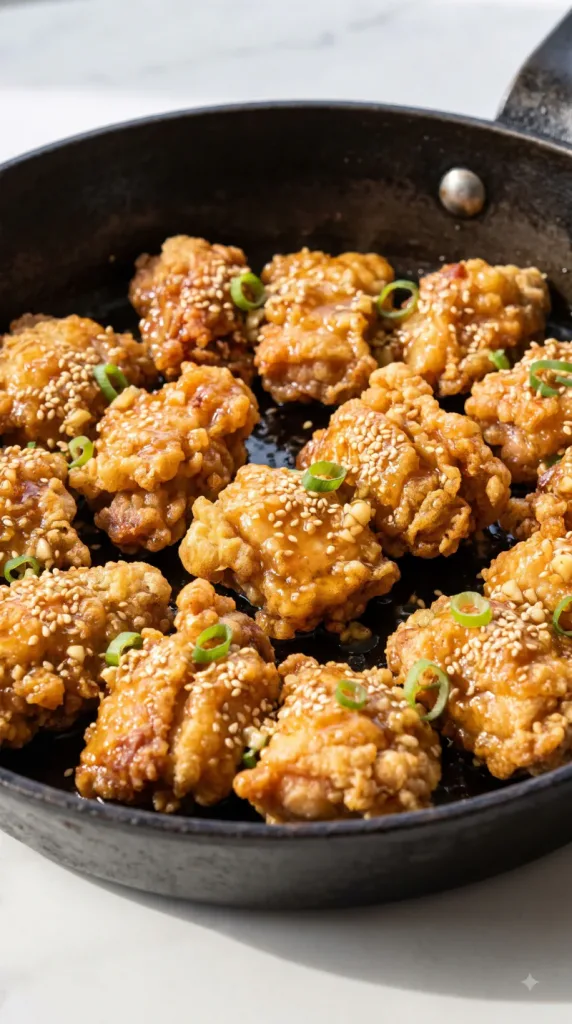
Honey Butter Korean Fried Chicken pairs a crisp, craggy shell with a sweet, buttery garlic glaze. The chicken gets two quick trips through the oil, then a light toss in the sauce. Soy sauce balances the honey, while sesame seeds and green onions add a simple finish. Serve it as a shareable snack or turn it into dinner with rice and broccoli.
Why I Love This Recipe
There is a lot to enjoy in that first bite: a crunchy edge, juicy chicken, and a sticky glaze that tastes like honey and butter. This version uses boneless thighs, so there are no bones to work around. A short ingredient list keeps the flavor clear and lets the garlic shine.
- Crisp coating: Cornstarch makes a thin shell with plenty of rough edges.
- Juicy chicken: Thigh meat stays tender through the two frying stages.
- Sweet and savory: A little soy sauce keeps the honey glaze balanced.
- Mild flavor: There is no chili paste or hot sauce in the base recipe.
What You’ll Need
- Servings: 4
- Prep Time: 20 minutes
- Cook Time: 35 minutes
- Total Time: 55 minutes
- Frying Temperatures: 350°F (177°C), then 375°F (190°C)
For the chicken
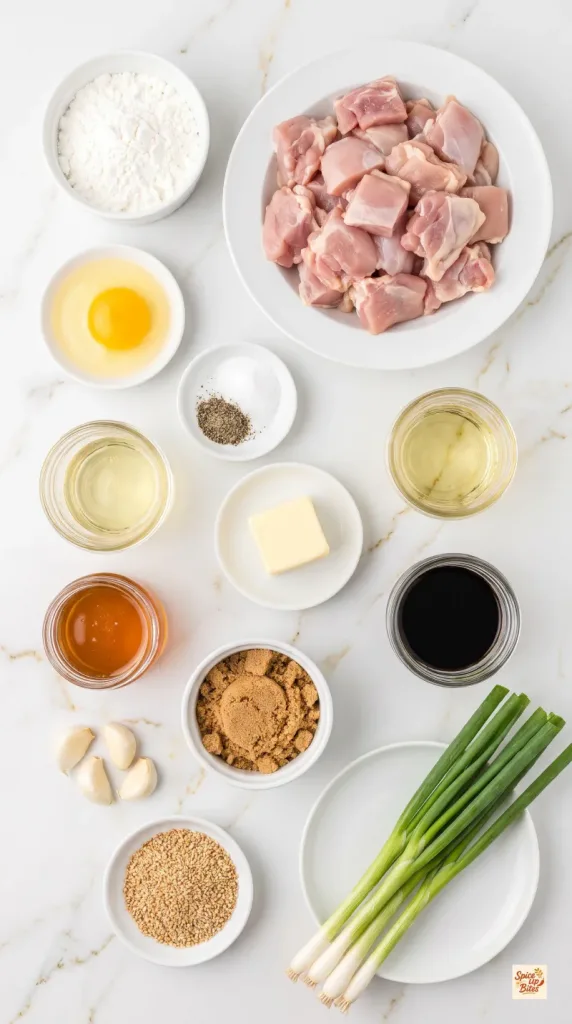
- 1 1/2 lb (680 g) boneless, skinless chicken thighs, trimmed
- 1/2 teaspoon fine salt
- 1/4 teaspoon ground black pepper
- 1 large egg
- 3/4 cup (96 g) cornstarch
- 6 cups canola oil, for deep frying; most remains in the pot
For the honey butter glaze and finish
- 4 tablespoons (57 g) unsalted butter
- 4 garlic cloves, finely minced
- 1/4 cup (85 g) honey
- 1 tablespoon packed brown sugar
- 1 tablespoon regular soy sauce
- 2 teaspoons toasted sesame seeds
- 2 tablespoons thinly sliced green onions
Use cornstarch, the fine white powder, rather than yellow cornmeal. Choose regular pouring soy sauce rather than thick dark soy sauce, which changes both the flavor and color. Unsalted butter gives you better control over the salt.
Tools You Need
- Large mixing bowl
- Heavy 5- to 6-quart Dutch oven
- Clip-on frying thermometer and instant-read meat thermometer
- Spider strainer or metal tongs
- Wire rack and paper towels
- 12-inch skillet
- Cutting board and sharp knife
- Measuring cups and spoons
How to Make Honey Butter Korean Fried Chicken
Have the glaze ingredients measured before frying so you can coat and serve the chicken without a long wait.
Step 1: Season the Chicken
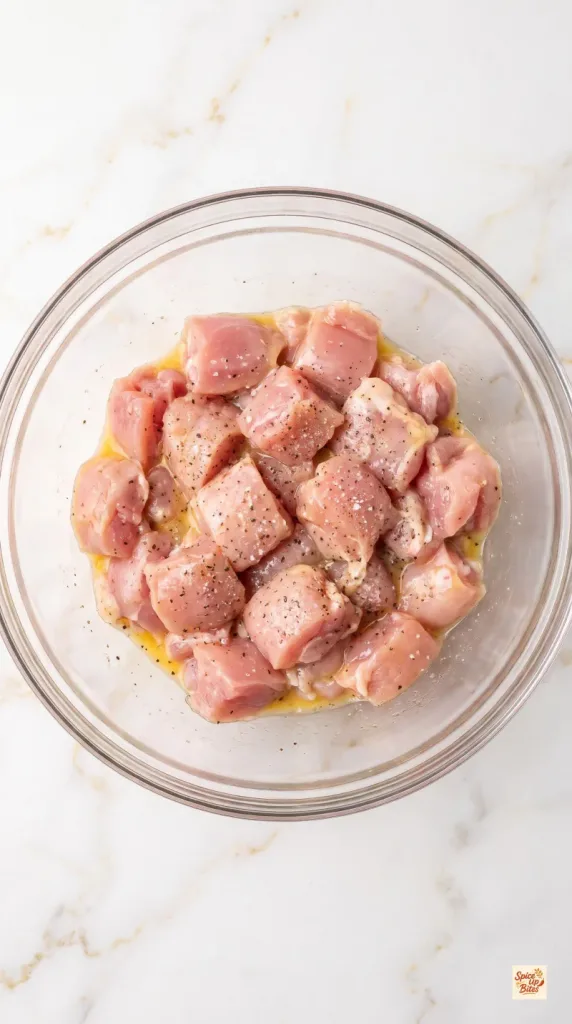
Pat 1 1/2 lb (680 g) boneless, skinless chicken thighs dry and cut into chunks about 1 1/4 inches across. Keep them similar in size so they cook evenly.
Put the chicken in a large bowl with 1/2 teaspoon fine salt, 1/4 teaspoon ground black pepper, and 1 large egg. Mix until every piece has a thin, even coating.
Keep the chicken chilled while you set up the frying station. Wash your hands and clean any surfaces that touched raw chicken.
Step 2: Coat and Heat the Oil
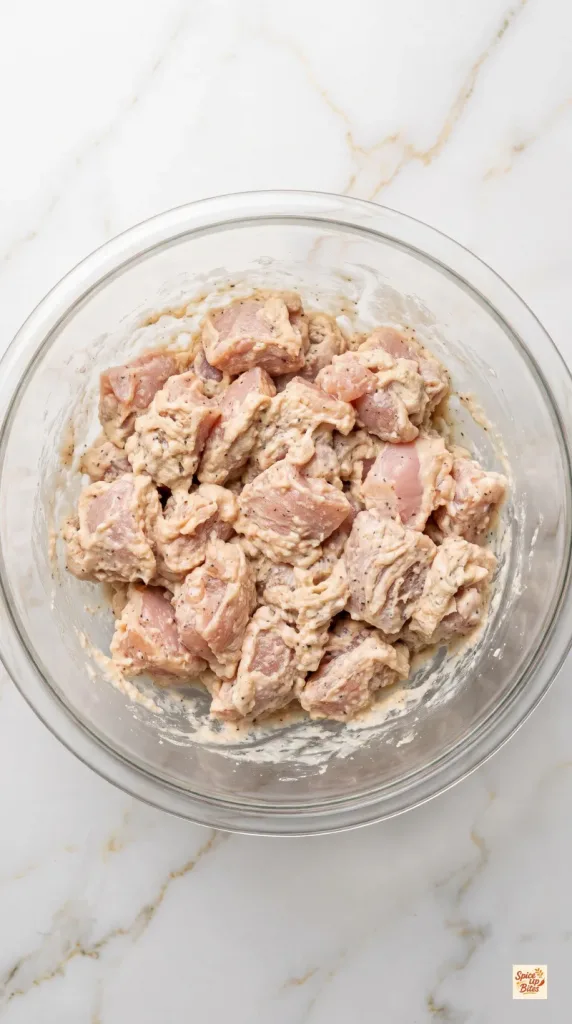
Add 3/4 cup (96 g) cornstarch to the chicken. Toss until no loose white starch remains and each chunk has a rough, sticky coating. Let it stand for 5 minutes while the oil heats.
Pour 6 cups canola oil into a dry, heavy 5- to 6-quart Dutch oven. The oil should be about 2 inches deep; use a pot that keeps it well below halfway full.
Heat the oil to 350°F (177°C). Put a wire rack beside the stove, with paper towels underneath to catch drips. Use a thermometer rather than guessing from the oil’s appearance.
Step 3: Fry the First Time
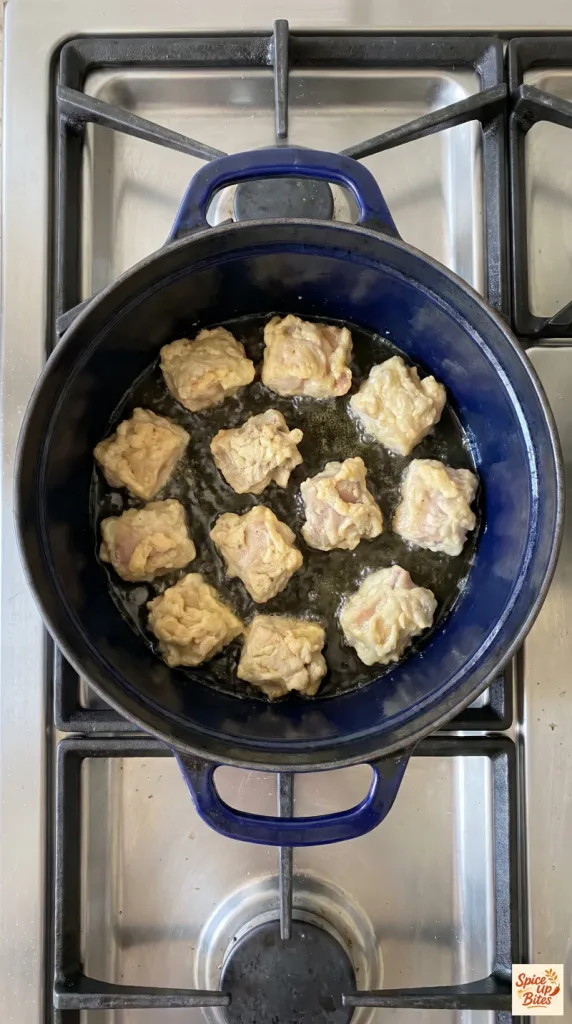
Carefully lower one-third of the coated chicken into the 350°F (177°C) oil, placing pieces in separately. Keep the remaining chicken chilled between batches.
Fry for 4–5 minutes, turning as needed, until the coating is set and pale golden and the thickest piece reaches 165°F (74°C) in the center. Check a piece out of the oil with an instant-read thermometer. Continue frying if needed.
Lift the chicken onto the wire rack. Bring the oil back to 350°F (177°C) before repeating with the remaining two batches. Do not crowd the pot or cover the fried chicken.
Step 4: Fry Again for Crunch
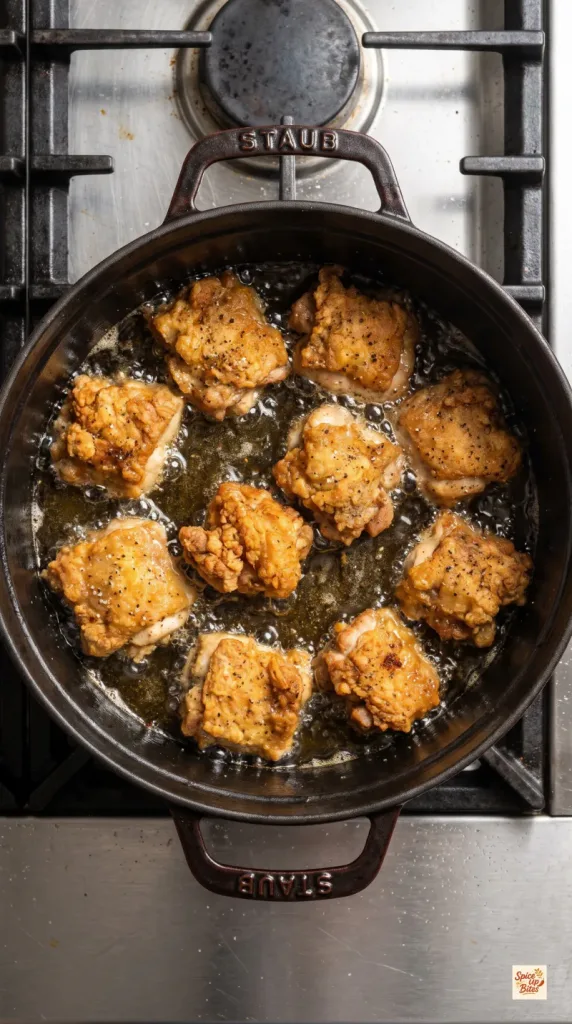
Raise the oil to 375°F (190°C). Return the first cooked batch to the pot and fry for 1–2 minutes, until deep golden and crisp. Drain on the wire rack.
Repeat with the other two batches, letting the oil return to 375°F (190°C) each time. The chicken is already cooked; this short second fry crisps the crust.
Turn off the frying burner when finished. Keep the oil pot in place until the oil is completely cool.
Step 5: Make the Honey Butter Glaze
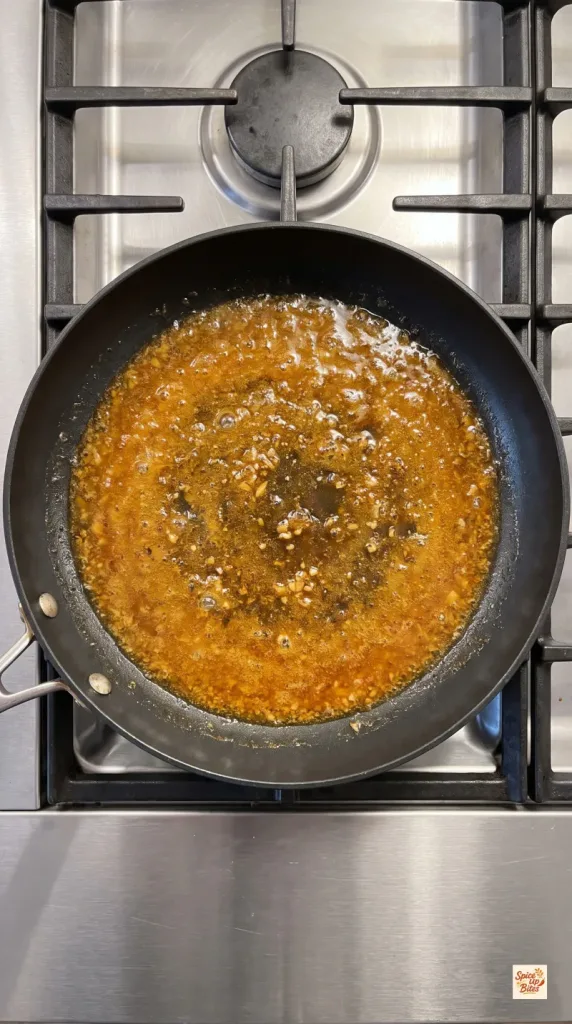
In a separate 12-inch skillet, melt 4 tablespoons (57 g) unsalted butter over medium-low heat.
Add 4 garlic cloves, finely minced, and stir for 30–45 seconds, just until fragrant. Keep the garlic pale; browned garlic can turn bitter.
Stir in 1/4 cup (85 g) honey, 1 tablespoon packed brown sugar, and 1 tablespoon regular soy sauce. Let the mixture gently bubble for 1–2 minutes, stirring, until the sugar dissolves and the glaze looks glossy. It should lightly coat a spoon, not turn into stiff caramel.
Turn the heat to low while you bring the chicken over.
Step 6: Glaze the Chicken
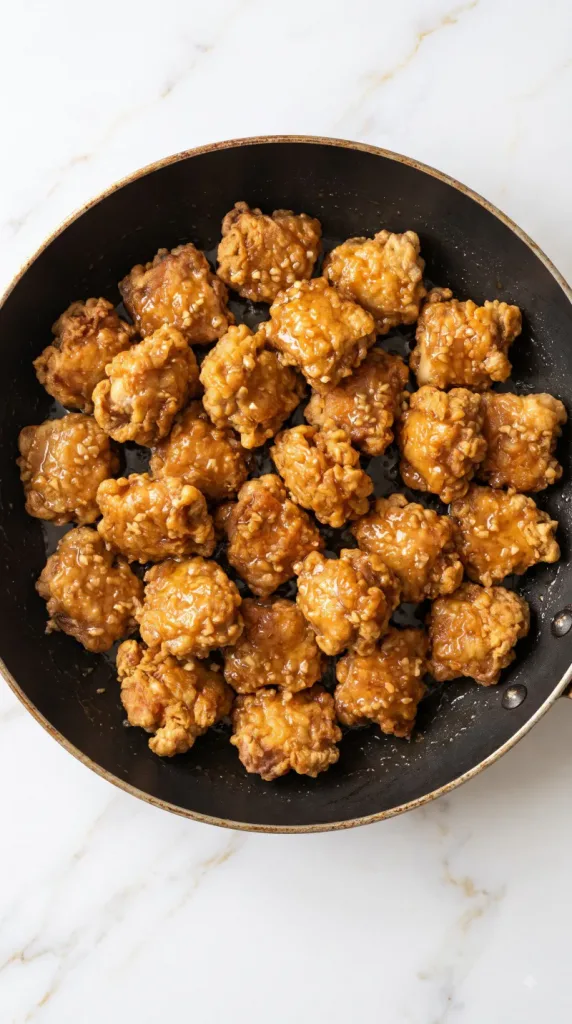
Add the entire double-fried chicken batch to the skillet. Toss gently over low heat for 20–30 seconds, just until a thin layer of glaze coats every piece.
Remove from the heat right away. Avoid simmering the chicken in the sauce, which softens the crust.
Step 7: Garnish and Serve
Divide among 4 servings and serve right away while the shell is crisp. Offer steamed rice and broccoli alongside for a fuller meal; these sides are optional and are not included in the nutrition estimate.
Sprinkle 2 teaspoons toasted sesame seeds and 1 tablespoon thinly sliced green onions over the glazed chicken. Offer the remaining 1 tablespoon sliced green onions in a small bowl at the table.
Why This Recipe Works (Quick Science)
Cornstarch forms a thin shell around the chicken. Frying drives moisture out of that coating, leaving a crisp surface. The short second fry removes more surface moisture and firms up the craggy edges.
Honey and dissolved sugar help the glaze cling. Butter adds richness, while soy sauce supplies salt and savory flavor. A quick toss coats the chicken without giving the crust much time to soak up liquid. The shell will soften as it sits, so serve it promptly.
Common Mistakes to Avoid
- Crowding the oil: Too much chicken drops the temperature and makes the coating greasy. Fry in small batches.
- Using color alone: Check the thickest piece with a thermometer. Golden coating does not prove the center is cooked.
- Burning the garlic: Use gentle heat and add the glaze ingredients before the garlic browns.
- Cooking the glaze too long: A thick, dark caramel can harden on the chicken. Stop when the glaze is glossy and lightly coats a spoon.
- Covering fried chicken: Trapped moisture softens the crust. Keep the pieces uncovered on a rack.
Pro Tips
Keep the chunks close in size and blot off excess moisture before coating. A rough, thin coat works better than a thick blanket of starch. If pieces stick together as they first enter the oil, wait briefly for the crust to set before easing them apart with tongs.
Let the oil recover between batches. A thermometer makes this much easier than adjusting the burner by guesswork. Use a separate skillet for the glaze so the garlic and butter never meet the much higher frying temperature.
What to Serve With Honey Butter Korean Fried Chicken
Steamed white rice gives the sweet, salty glaze a simple partner. Broccoli adds a fresh vegetable side without competing with the chicken. Serve both alongside, keeping the chicken uncovered until it reaches the table.
For a sharper contrast, offer Korean pickled radish or a small cucumber salad. These are optional sides, not part of the measured recipe. The glaze already coats the chicken, so an extra dipping sauce is not needed.
Substitutions and Variations
- Chicken breast: Use the same weight and chunk size. Check the center early to avoid drying it out.
- Potato starch: It can replace the cornstarch by weight, though the crust will have a slightly different feel.
- Salted butter: Omit the added chicken salt at first and expect a saltier glaze.
- A little heat: Add a pinch of crushed red pepper to the glaze if you prefer a spicy finish.
Leftovers and Storage
Refrigerate leftovers in a shallow, covered container within 2 hours and use within 3–4 days. The coating will lose some crunch once it is glazed and chilled.
Reheat in a single layer in a 350°F (177°C) oven until the center reaches 165°F (74°C), usually 10–15 minutes. Watch closely because the honey can scorch. A microwave works for convenience but leaves a softer crust.
For easier prep, cut the chicken and measure the glaze ingredients ahead, then refrigerate the chicken separately. Add the egg and starch shortly before frying. Frying and glazing just before serving gives the best texture.
Macros Information
Estimated per serving, based on 4 servings, the full glaze and garnish, and about 4 tablespoons of frying oil absorbed across the batch. Optional sides are excluded. Oil uptake and coating left in the bowl will change the values.
- Calories: 565 kcal
- Protein: 35 g
- Carbohydrates: 44 g
- Fat: 27 g
- Saturated Fat: 10 g
- Fiber: 0.5 g
- Sugar: 21 g
- Sodium: 600 mg
These numbers are estimates, not a lab analysis.
Frequently Asked Questions (FAQ)
Q: Is Honey Butter Korean Fried Chicken spicy?
A: This version is mild. Its main flavors are honey, butter, garlic, and soy sauce.
Q: Why fry the chicken twice?
A: The first fry cooks the meat and sets the shell. The short second fry makes that shell crisper before you add the glaze.
Q: Can I use chicken wings?
A: Yes, but wings need a different cooking time. Keep the oil near 350°F (177°C) and cook until the thickest meat reaches 165°F (74°C) without touching the bone, then finish with a brief second fry. The listed timing is for boneless chunks.
Q: Can I use flour instead of cornstarch?
A: Flour makes a heavier coating and will not give the same thin shell. Cornstarch or potato starch is the better choice here.
Q: Can I bake or air fry this exact coating?
A: This egg-and-starch coating is designed for deep frying. Baking or air frying it may leave dry starch patches, so use a coating designed for those methods if you need an alternative.
Q: Why did my glaze separate?
A: High heat can make the butter look oily. Lower the heat and stir gently before adding the chicken. Avoid boiling the glaze for a long time.
Q: Can I leave out the brown sugar?
A: Yes, though the glaze will be a little less sticky and sweet. Keep the honey and butter amounts the same, and stop cooking once the sauce lightly coats a spoon.
Q: How do I keep the chicken crisp for a gathering?
A: Finish the second fry close to serving time and keep the chicken uncovered on a rack. Toss with the glaze only when you are ready to put it out.
Q: Is this recipe gluten-free?
A: Regular soy sauce usually contains wheat. Use certified gluten-free tamari and check the cornstarch and other labels if needed. Keep the frying oil and tools free from gluten cross-contact.
Final Thoughts
Honey Butter Korean Fried Chicken brings together a crisp shell and a glossy garlic glaze with a few simple ingredients. Take your time with the oil temperature, keep the sauce gentle, and serve the chicken soon after coating. Leave a comment with your favorite side to serve alongside it.
Happy cooking!