
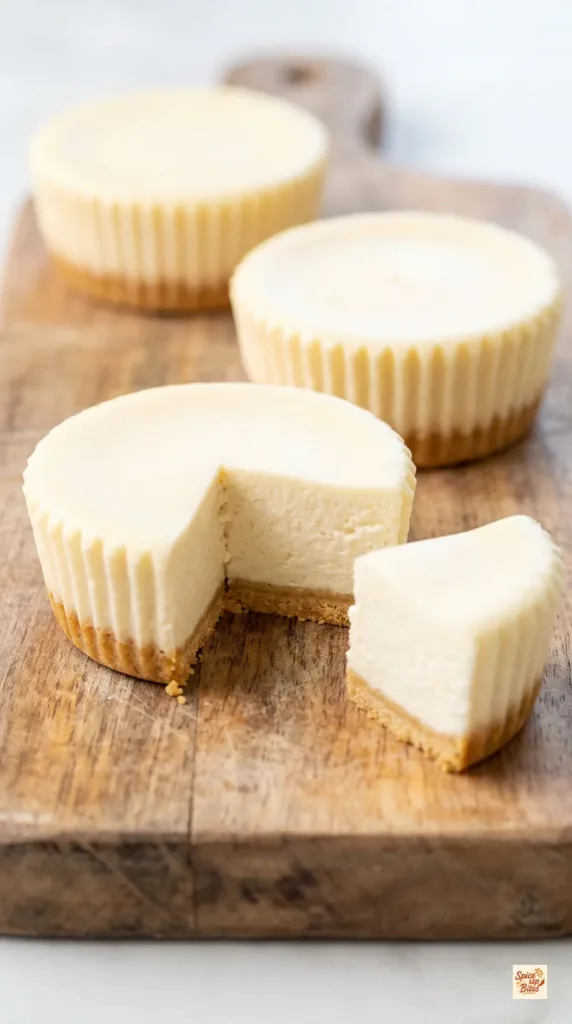
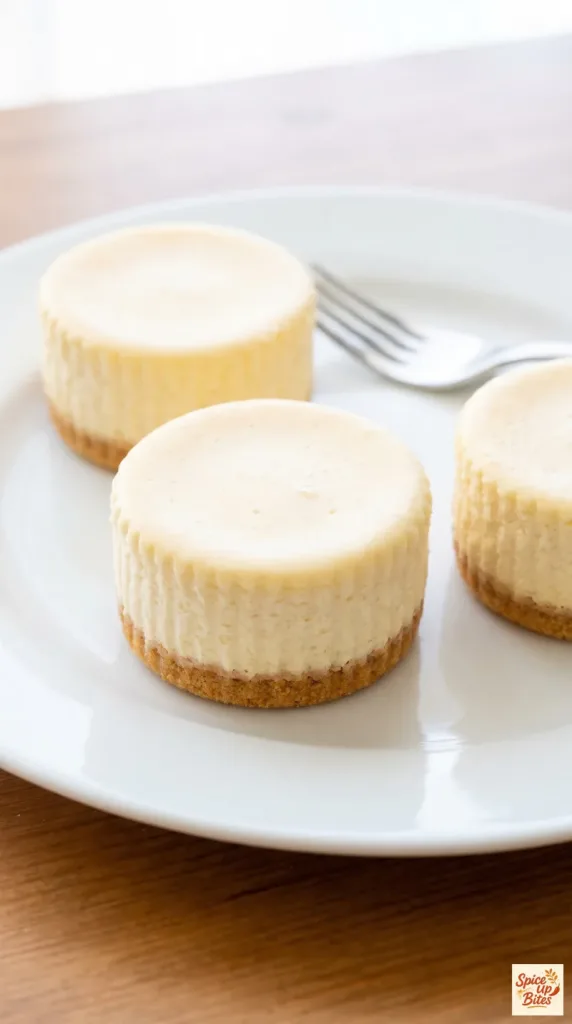
No Bake Mini Cheesecake brings a buttery crumb base and a light, creamy filling into a small, ready-to-serve dessert. A little vanilla rounds out the tang of cream cheese. The refrigerator does the setting while your oven stays free. Make a batch ahead and peel away the liners just before serving.
Why I Love This Recipe
There is something inviting about a dessert that already comes in its own little portion. These minis keep the familiar cheesecake flavors while giving the filling a soft, airy feel. Their plain tops let the vanilla and cream cheese shine.
- Simple prep. The crust gets pressed into liners and the filling comes together with a mixer.
- Small portions. Each cake is a few satisfying bites.
- Make-ahead friendly. Chilling fits easily around the rest of your meal prep.
- Gentle texture. Whipped cream gives the filling a soft finish.
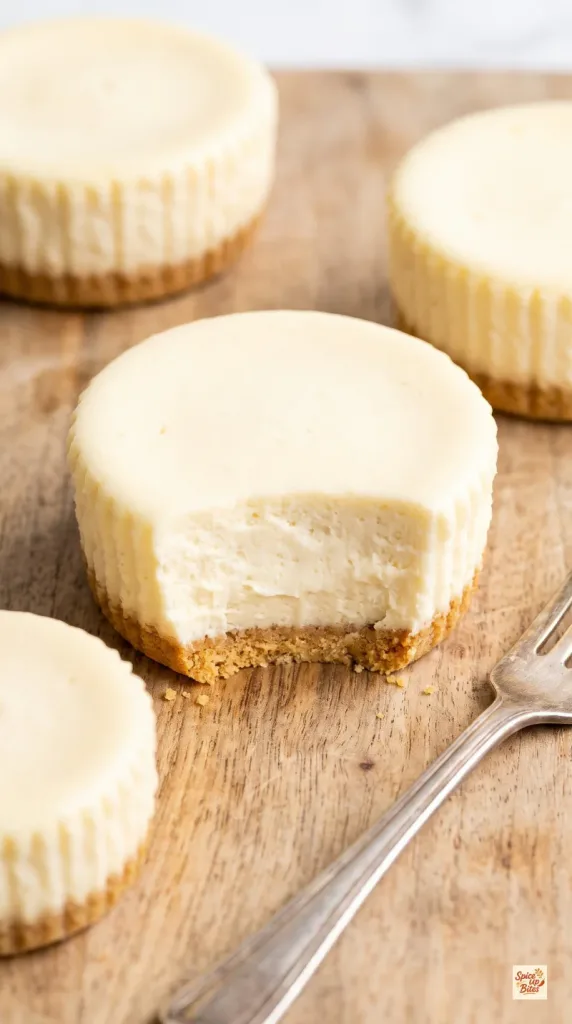
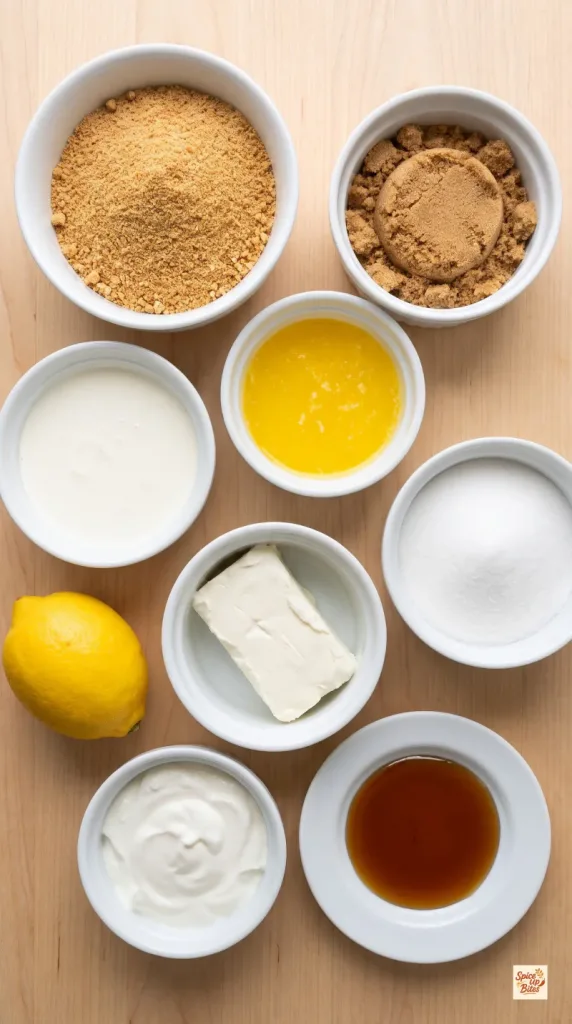
What You’ll Need
- Servings — 12 mini cheesecakes, 1 per serving
- Prep Time — 25 minutes, plus time to soften cream cheese
- Cook Time — 0 minutes
- Chill Time — at least 4 hours
- Total Time — 4 hours 25 minutes, plus softening time
- Pan — standard 12-cup muffin pan
For the crust
- 1 cup (120 g) fine graham cracker crumbs
- 2 tablespoons (25 g) packed light brown sugar
- 4 tablespoons (57 g) unsalted butter, melted and cooled slightly
For the filling
- 1/2 cup (120 ml) cold heavy whipping cream
- 8 ounces (226 g) full-fat brick cream cheese, softened
- 3 tablespoons (38 g) granulated sugar
- 1 tablespoon (15 g) sour cream, at room temperature
- 1/2 teaspoon fresh lemon juice
- 1/2 teaspoon vanilla extract
Tools You Need
- Standard 12-cup muffin pan and 12 paper cupcake liners
- Electric hand mixer
- Mixing bowls
- Silicone spatula
- Measuring cups, spoons and kitchen scale
- Spoon for pressing crumbs and smoothing filling
How to Make No Bake Mini Cheesecake
Clear a flat space in the refrigerator before you start.
Step 1: Mix the Crust
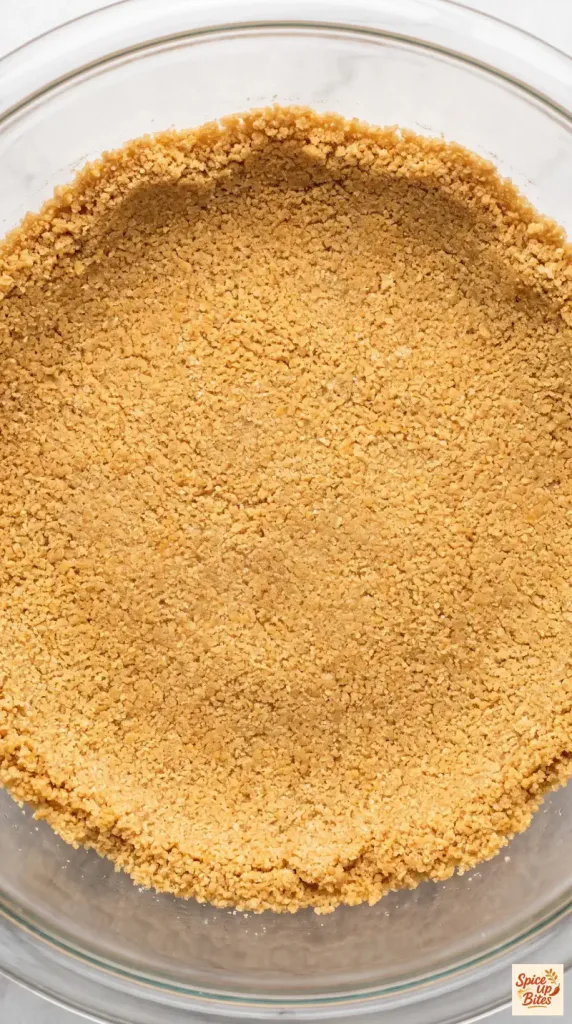
Stir 1 cup (120 g) graham cracker crumbs and 2 tablespoons (25 g) packed light brown sugar together, breaking up any sugar lumps.
Add 4 tablespoons (57 g) melted unsalted butter and stir until all the crumbs feel evenly damp. A pinch should hold together when squeezed.
Step 2: Press the Bases
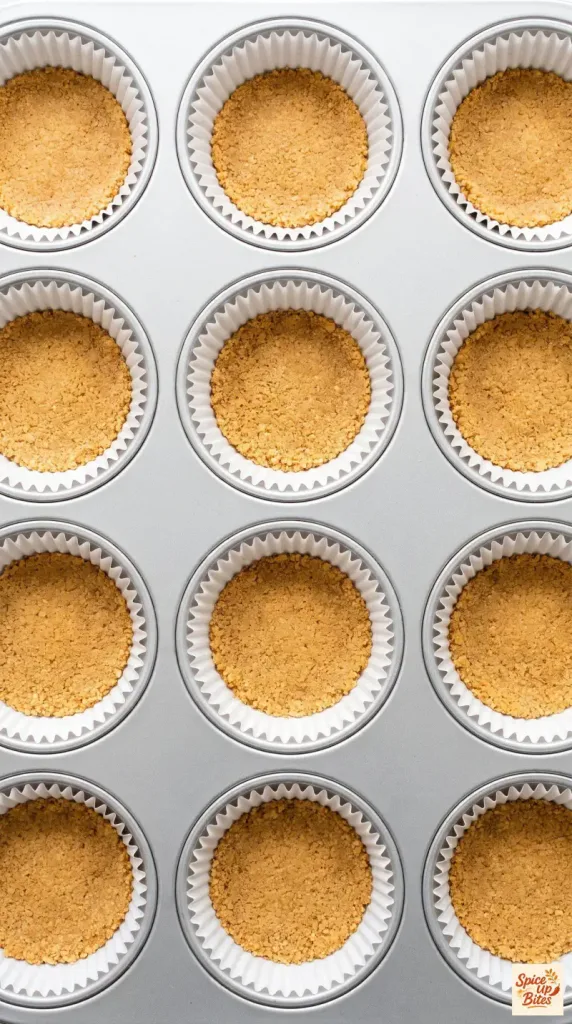
Line a standard 12-cup silver aluminum muffin pan with 12 paper cupcake liners.
Divide the entire crumb mixture evenly among the liners, about a rounded tablespoon per cup, and press firmly into a thin, flat base with the back of a spoon.
Refrigerate the pan while you make the filling.
Step 3: Whip the Cream
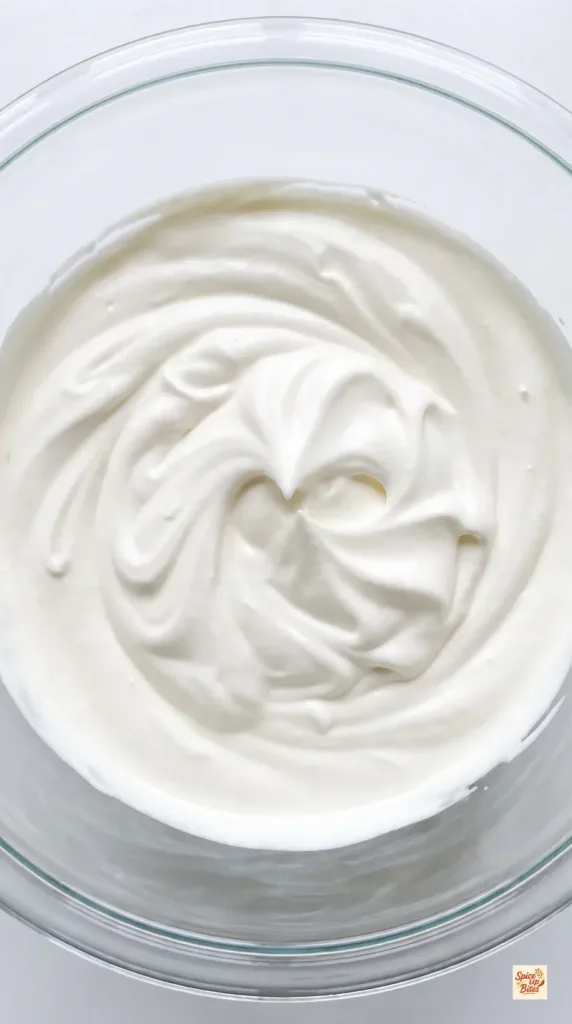
Pour 1/2 cup (120 ml) cold heavy whipping cream into a clean mixing bowl.
Beat with a hand mixer for about 2–3 minutes, stopping when stiff peaks hold their shape as you lift the beaters. Keep the texture smooth and stop before it turns grainy.
Set the whipped cream in the refrigerator while you mix the cream cheese.
Step 4: Smooth the Cream Cheese
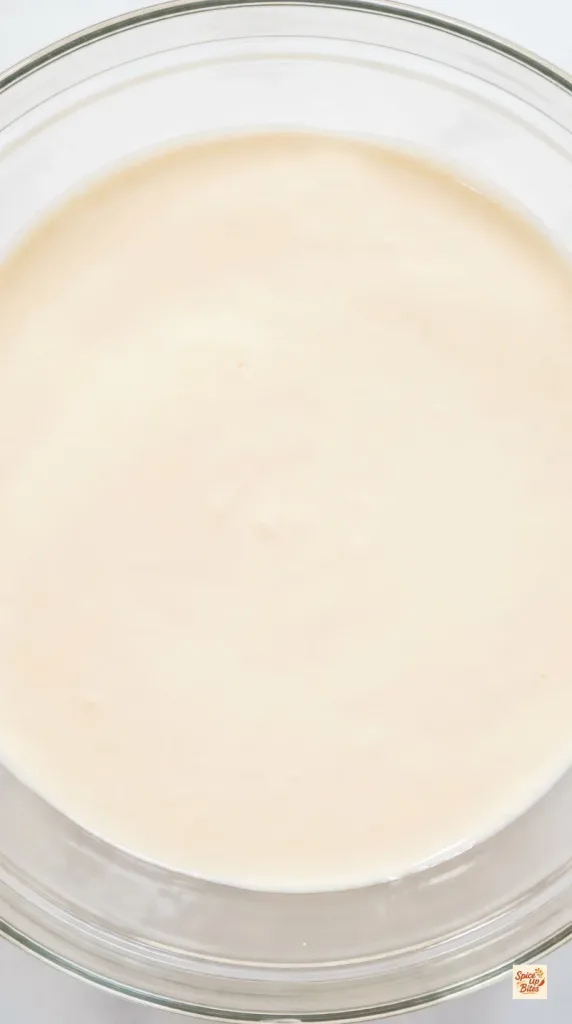
In another bowl, beat 8 ounces (226 g) softened full-fat brick cream cheese with 3 tablespoons (38 g) granulated sugar for about 2 minutes, scraping the bowl as needed.
Add 1 tablespoon (15 g) sour cream, 1/2 teaspoon fresh lemon juice and 1/2 teaspoon vanilla extract.
Beat for about 1 minute, until the mixture is smooth with no cream cheese lumps.
Step 5: Fold the Filling
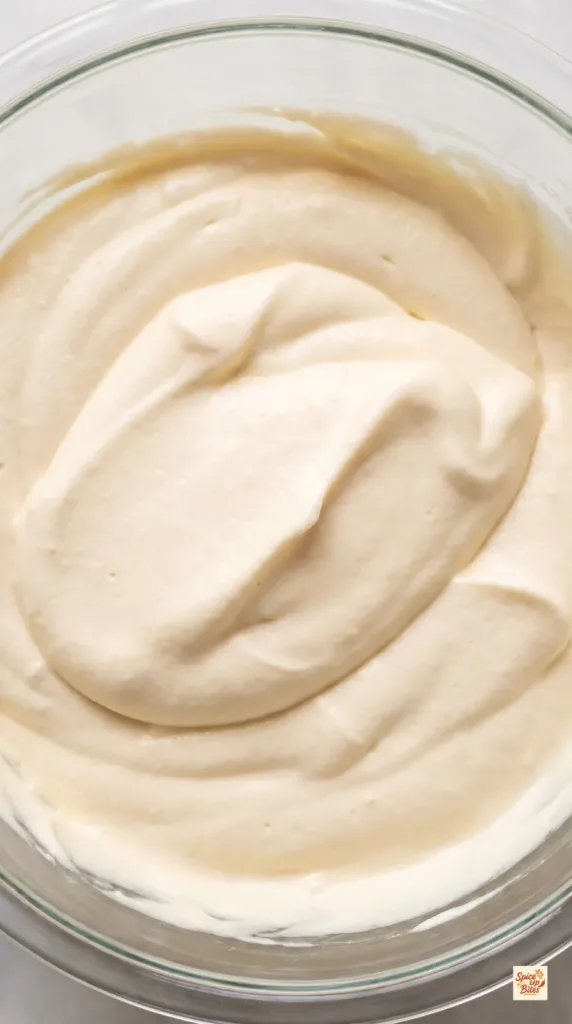
Add the whipped cream made from 1/2 cup (120 ml) heavy whipping cream to the cream cheese mixture in two additions.
Use a spatula to gently fold from the bottom of the bowl up and over the mixture until evenly combined. Stop when the filling looks fluffy and no streaks remain.
Step 6: Fill and Chill
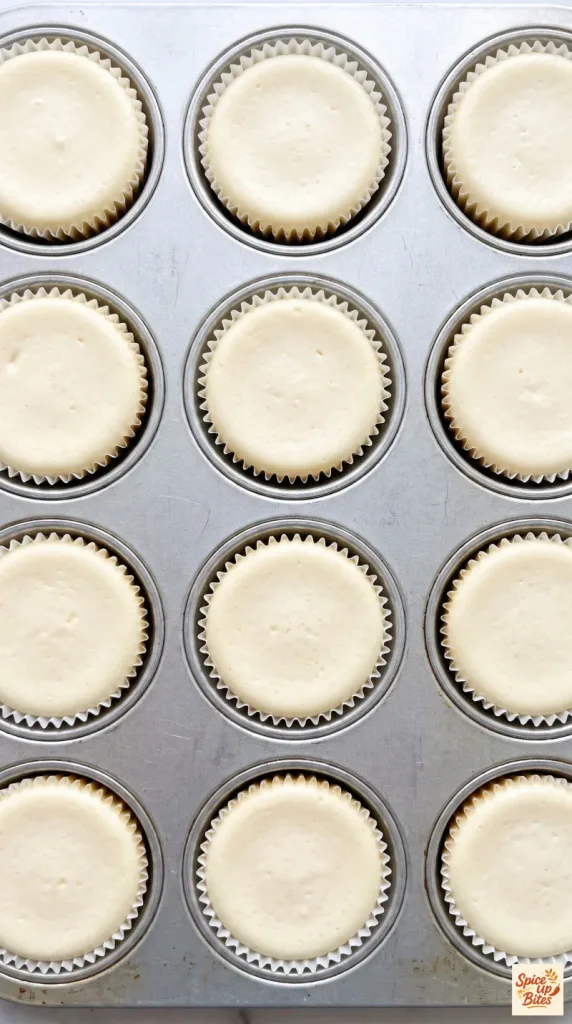
Divide all the filling evenly over the 12 chilled crusts, about 2 tablespoons per cup, then smooth each top flat.
Cover the pan without letting the cover touch the filling.
Refrigerate for at least 4 hours, or overnight, until the filling holds its shape when a liner is gently loosened. Keep the cakes in their liners during chilling.
Step 7: Unwrap and Serve
Lift the 12 chilled mini cheesecakes from the pan and carefully peel off the paper liners.
Place on a serving plate or board and serve cold. If you want to share a portion, cut straight through the filling and crust with a clean, thin knife, wiping it between cuts.
Keep the remaining portions refrigerated until needed.
Why This Recipe Works (Quick Science)
Chilled butter helps hold the pressed crumbs together. Fine crumbs make a more even base, so each small portion is easier to lift.
Whipping cream traps tiny air pockets. Folding keeps much of that air in the filling, giving it a light feel. Full-fat cream cheese adds body, and chilling firms the dairy fats so the cakes hold their small round shape. The lemon juice adds a gentle tang.
Common Mistakes to Avoid
- Starting with firm cream cheese. Let it soften so it blends smoothly before the whipped cream goes in.
- Leaving the crumbs loose. Press each base firmly, especially around the edges.
- Beating past stiff peaks. Grainy cream makes a less smooth filling.
- Mixing hard after folding. Gentle turns help preserve the air you whipped in.
- Unwrapping too soon. Give the filling its full chill before removing the liners.
Make-Ahead and Storage
For a tidy finish, make the cakes the day before and leave them covered in their liners until serving. Refrigerate leftovers in an airtight container for up to 4 days.
For longer storage, chill until set, then freeze in the liners in a single layer in a sealed container for up to 1 month. Thaw overnight in the refrigerator before unwrapping. Freezing can make the crumb base a little softer after thawing.
Macros Information
Estimated per mini cheesecake, based on 12 servings. Brands and portion sizes affect these estimates.
- Calories — 195
- Protein — 2 g
- Carbohydrates — 15 g
- Fat — 14 g
- Saturated Fat — 8 g
- Fiber — less than 1 g
- Sugar — 10 g
- Sodium — 115 mg
Frequently Asked Questions (FAQ)
Q. Is this a mini muffin pan recipe?
Use a standard muffin pan. The small amount of filling makes short individual cheesecakes, even though the wells are standard size.
Q. Does the crust need baking?
The butter-bound crust sets in the refrigerator. Pack it well and keep the finished cakes cold for easier handling.
Q. Can I use cream cheese from a tub?
Brick cream cheese gives this filling the body it needs. Spreadable products may make a softer cake that is harder to unwrap.
Q. Why is my filling lumpy?
The cream cheese may have been too cold. Smooth it fully with the sugar before adding the other filling ingredients.
Q. Why are the cakes soft when I remove the liners?
They may need more chilling, or the cream may have been underwhipped. Leave the remaining cakes in the refrigerator longer and unwrap just before serving.
Q. Can I leave out the lemon juice?
Yes. It adds a small bright note, but the cream cheese and whipped cream provide the main structure.
Q. Can I use yogurt instead of sour cream?
Use the same tablespoon of thick, full-fat plain yogurt. Avoid a watery yogurt that could loosen the filling.
Q. Can I make these the night before?
Yes. An overnight chill works well. Keep them covered in the pan and remove the liners when you are ready to serve.
Final Thoughts
No Bake Mini Cheesecake is a handy little dessert for days when you want something creamy and easy to portion. A firm crumb base, smooth cream cheese and a patient chill make the process simple. Leave a comment and share how your batch turned out.
Happy cooking!