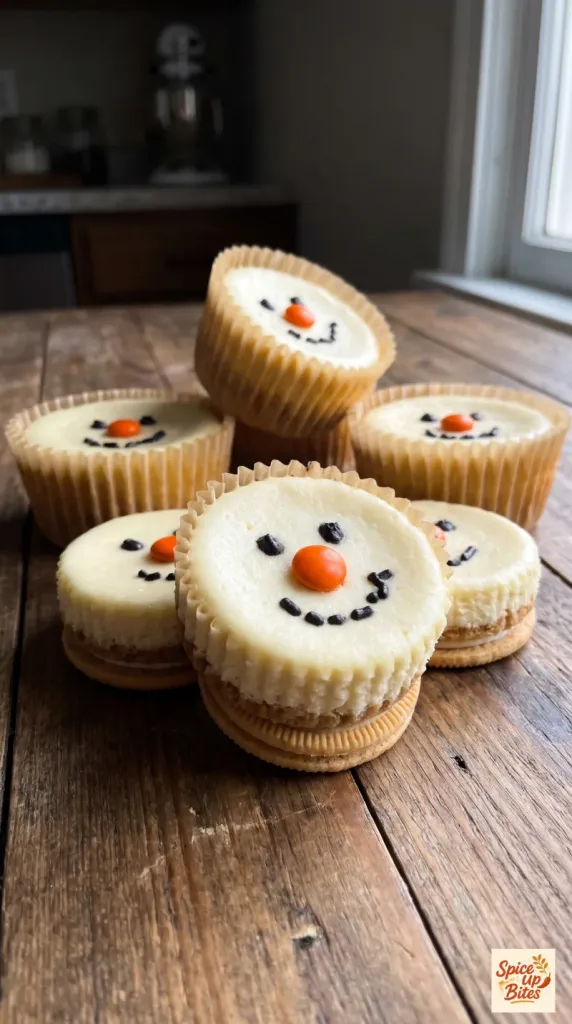

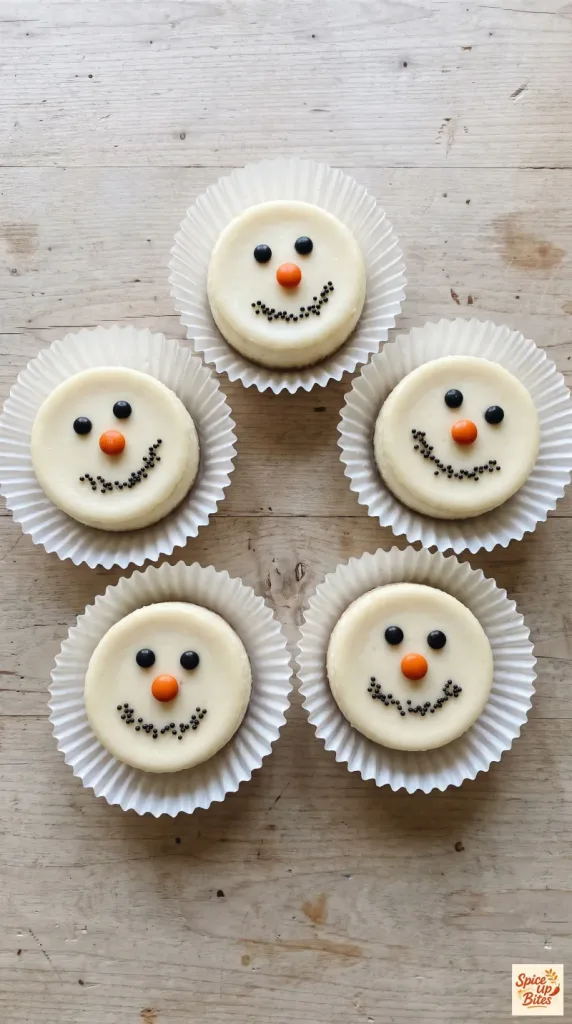
Snowman Cheesecake turns a simple vanilla dessert into a cheerful Christmas treat. This version makes individual cheesecakes with a whole vanilla cookie at the bottom. The filling is rich and creamy, and a few small candies make each snowman face. Bake them ahead, chill them well, and add the faces before serving.
Why I Love This Recipe
The charm here comes from small, simple details. You get the tang of cheesecake, a sweet cookie base, and just enough candy to make each portion feel festive. There is no crust to crush and no large cake to slice.
- Easy base: A whole sandwich cookie fits into each muffin liner.
- Small portions: Each cheesecake is ready to serve on its own.
- Simple decorating: Round sprinkles and orange candy make the faces.
- Make-ahead friendly: The filling gets firmer as it chills overnight.
What You’ll Need
- Servings: 12 individual cheesecakes
- Prep Time: 25 minutes, including decorating
- Cook Time: 18 minutes
- Cooling Time: 45 minutes
- Chill Time: 2 hours
- Total Time: 3 hours 28 minutes, plus softening ingredients
- Oven Temperature: 350°F (175°C), conventional oven
- Pan: Standard 12-cup metal muffin pan
Use full-fat cream cheese sold in blocks. Soft spreadable cream cheese can make the filling too loose. Have the cheese and eggs at room temperature so they blend without long beating.
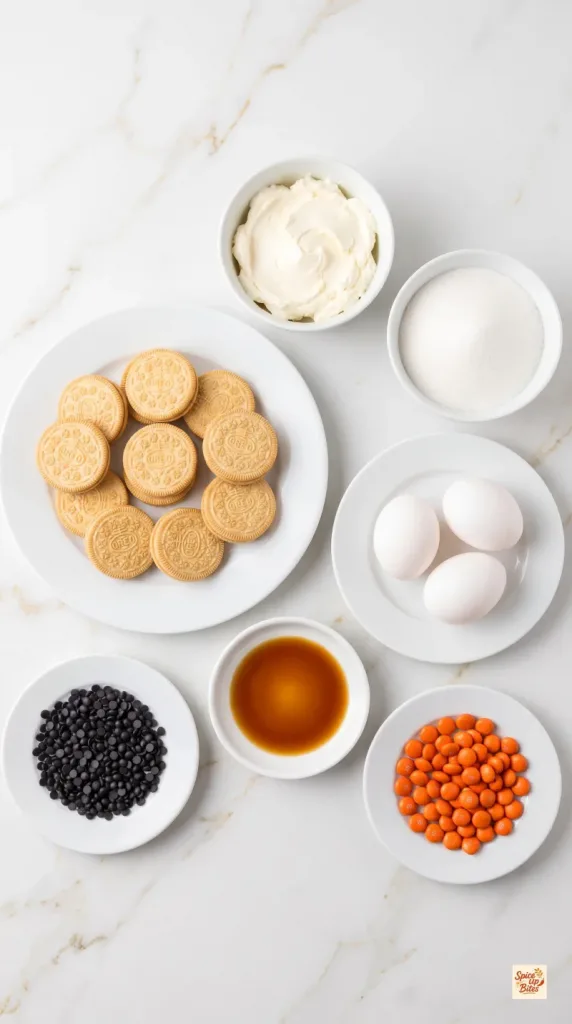
- 12 regular-size vanilla sandwich cookies, such as Golden Oreos, left whole
- 16 ounces (454 g) full-fat block cream cheese, softened
- 1/2 cup (100 g) granulated sugar
- 2 large eggs, at room temperature
- 1 teaspoon vanilla extract
- 84 small black round confetti sprinkles, about 2 teaspoons
- 6 orange candy-coated milk chocolates, carefully halved to make 12 noses
Tools You Need
- Standard 12-cup metal muffin pan
- Paper cupcake liners
- Electric hand mixer
- Large mixing bowl
- Silicone spatula
- Measuring cups and spoons
- Cooling rack
- Small kitchen scissors or a small sharp knife for halving the candy
- Small spoon or clean food tweezers for placing the decorations
How to Make Snowman Cheesecake
Start with softened ingredients, then keep the mixing gentle once the eggs go in.
Step 1: Prepare the Cookie Bases
Heat the oven to 350°F (175°C) with a rack in the middle.
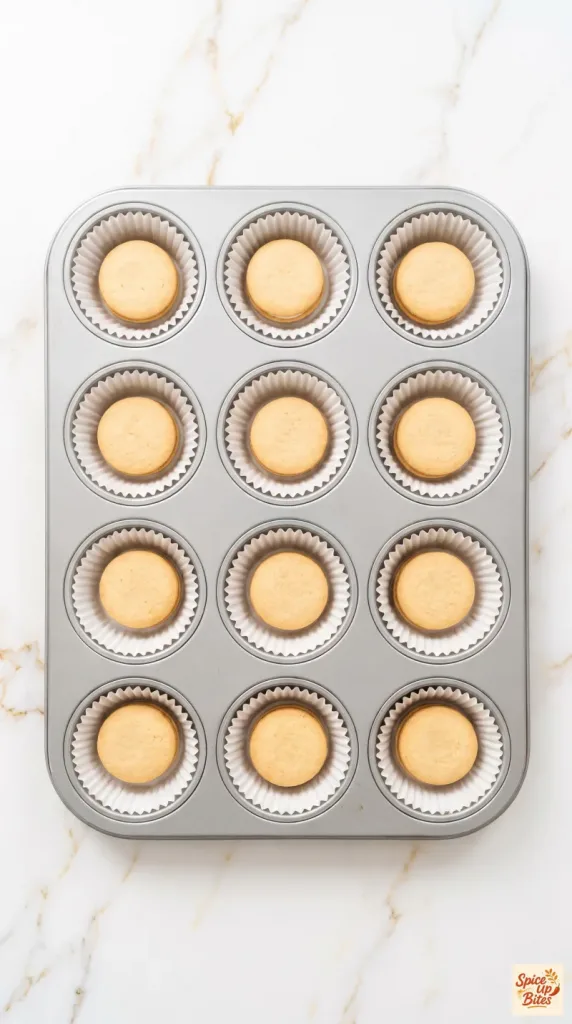
Line a standard 12-cup muffin pan with 12 paper cupcake liners.
Place 12 whole vanilla sandwich cookies in the liners, one cookie in each. Keep the cookies flat and leave their filling inside.
Step 2: Mix the Filling
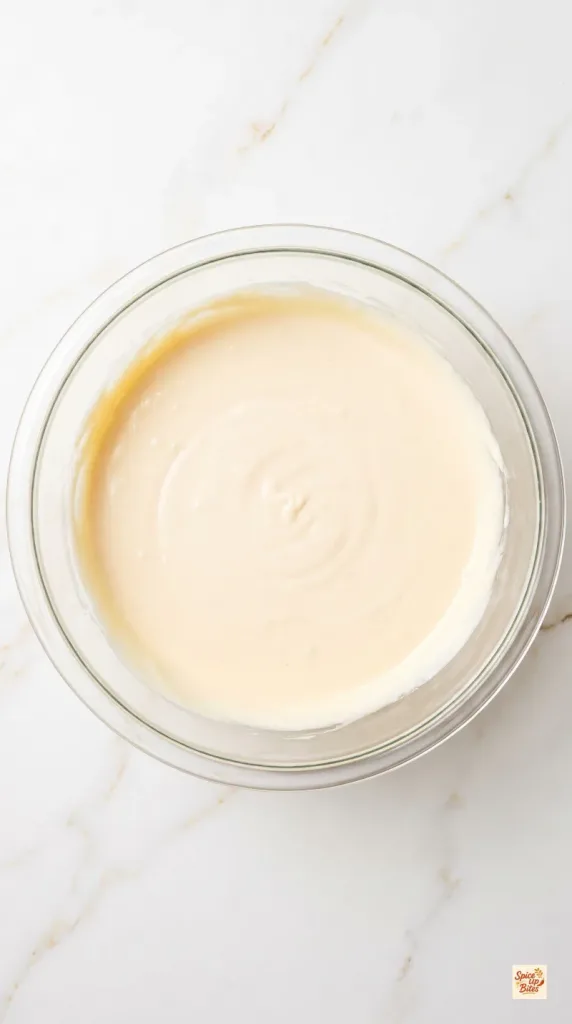
Beat 16 ounces (454 g) softened full-fat block cream cheese with 1/2 cup (100 g) granulated sugar on medium-low speed for 1–2 minutes, until smooth. Scrape the bowl so no lumps hide at the bottom.
Mix in 1 teaspoon vanilla extract.
Add 2 large eggs, one at a time, mixing on low speed just until each disappears. Scrape the bowl again, then stop. Do not whip the batter.
Step 3: Fill and Bake
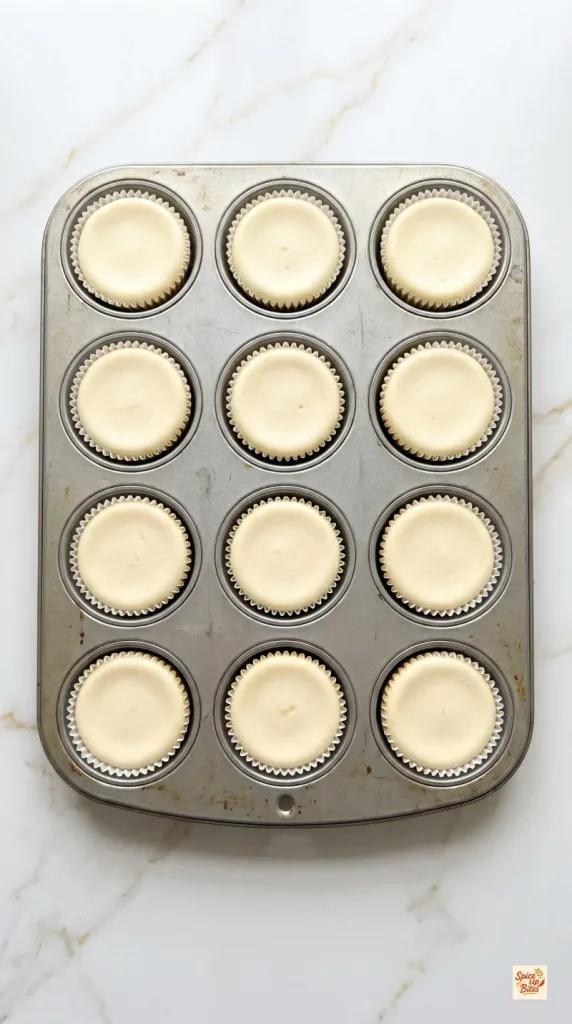
Divide all the filling evenly over the 12 cookie bases, about 3 tablespoons per liner. Leave a little space below the liner rims.
Tap the pan gently to release large air bubbles.
Bake for 15–18 minutes, until the edges are set and the centers move with a small wobble when the pan is nudged. The centers should not look wet or slosh.
Step 4: Cool and Chill
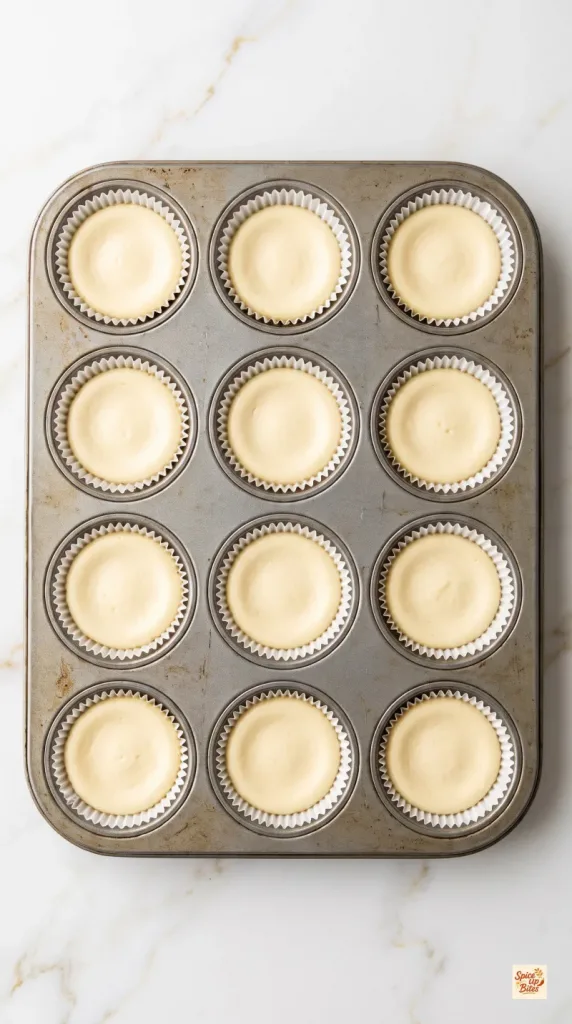
Let the 12 cheesecakes cool in the pan on a rack for 45 minutes.
Refrigerate the pan for at least 2 hours, until the cheesecakes are cold and firm. Loosely cover the pan once the cheesecakes have cooled. Keep the liners in place.
Step 5: Decorate and Serve
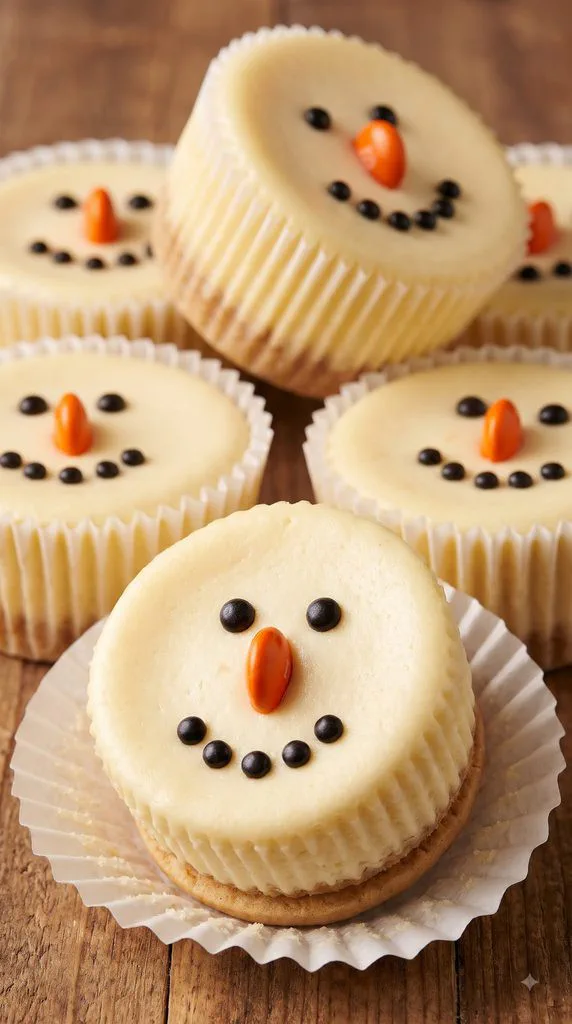
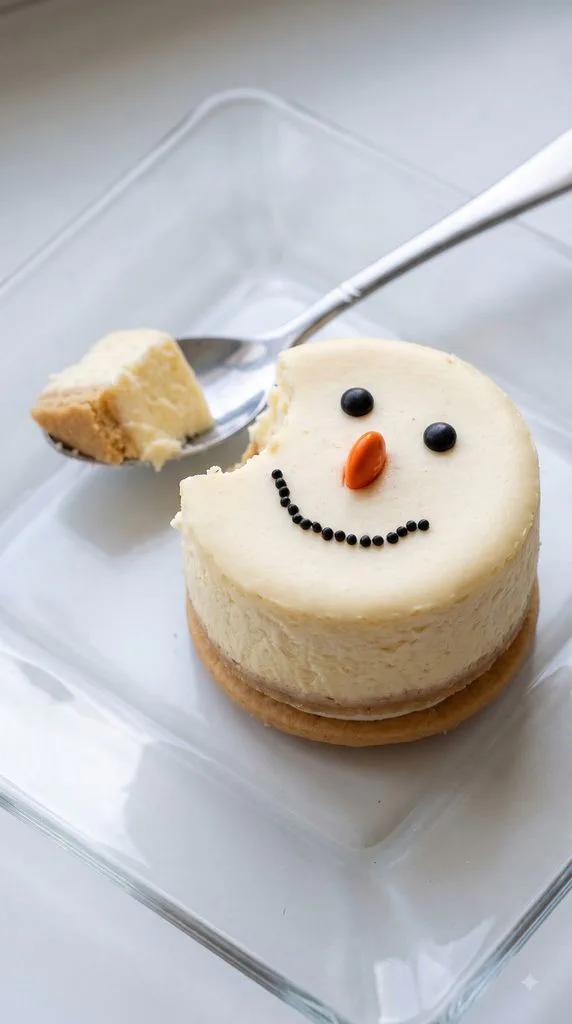
Use 84 small black round confetti sprinkles, placing 2 eyes and 5 smile dots on each of the 12 cold cheesecakes. Press gently so they stay in place.
Carefully halve 6 orange candy-coated milk chocolates. Press one half into the center of each face, with the cut edge down, to make 12 noses. Decorate shortly before serving to limit color bleeding.
Serve cold in the liners, or peel the liners away and set each cheesecake directly on a dessert plate. A small spoon makes it easy to enjoy the creamy filling and cookie base together.
Why This Recipe Works (Quick Science)
Cream cheese gives the filling its rich body and gentle tang. Eggs help it set in the oven, while sugar keeps the texture tender. Short baking keeps the small portions creamy instead of dry.
The cookies soften slightly beneath the filling as the cheesecakes rest. Chilling firms the filling, so the wrappers peel away more neatly. Mixing gently after adding the eggs also keeps excess air from making the centers rise and then collapse.
Common Mistakes to Avoid
- Starting with cold cream cheese: It leaves small lumps that are hard to smooth out after the eggs go in.
- Using a mini muffin pan: These portions need standard muffin cups to fit the whole cookies.
- Beating too long: Extra air can cause puffed tops and deep sunken centers.
- Waiting for stiff centers in the oven: A slight wobble is right. The filling sets more as it cools.
- Decorating warm cheesecake: The candy can slide and the colors may bleed.
Pro Tips
Use cookies that fit flat in the bottom of the liners. If a brand is too wide, choose a smaller regular-size sandwich cookie rather than breaking it into pieces.
For neat faces, place the eyes first, then the nose, then the curved smile. Small differences in the faces are part of their charm. Keep the decorations light so they do not weigh down the filling.
Leftovers and Storage
Store the cheesecakes in a covered container in the refrigerator for up to 3 days. Leave space above the faces so the lid does not touch them.
For longer storage, freeze the undecorated cheesecakes in a single layer until firm, then pack in a freezer-safe container for up to 2 months. Thaw overnight in the refrigerator and decorate before serving.
Put out small batches for a party and keep the rest refrigerated. Return them to the refrigerator within 2 hours, or within 1 hour in very warm conditions above 90°F (32°C).
Macros Information
Estimated per cheesecake, including its cookie base and candy face:
- Calories: 235
- Protein: 4 g
- Carbohydrates: 24 g
- Fat: 14 g
- Saturated Fat: 8 g
- Fiber: 0 g
- Sugar: 20 g
- Sodium: 160 mg
These are estimates and vary with the cookie, cream cheese and candy brands used.
Frequently Asked Questions (FAQ)
Q: Is Snowman Cheesecake a large cake or individual portions?
A: This version makes 12 individual baked cheesecakes, each decorated as a snowman face.
Q: Can I make them the day before?
A: Yes. Bake and chill them a day ahead. Add the faces shortly before serving for the cleanest colors.
Q: Do I need to remove the cream from the cookies?
A: No. Use the whole sandwich cookies with their filling intact.
Q: Can I use low-fat cream cheese?
A: Full-fat block cream cheese gives the most reliable texture. Spreadable cream cheese has a different consistency and is not a direct substitute here.
Q: How do I know they are baked enough?
A: The edges should hold still while the center gives a small wobble. A wet, moving puddle in the middle needs more baking.
Q: Why did the centers sink a little?
A: A shallow dip is normal as cheesecake cools. Deep sinking can come from overmixing or baking too long.
Q: Can I leave the liners on for serving?
A: Yes. They make the small portions easy to handle. Peel them away only after the cheesecakes are fully chilled if you prefer a plated dessert.
Q: Can I freeze decorated cheesecakes?
A: Freezing before decorating is better. Thawing can soften the sprinkles and make the candy colors run.
Q: Do these need a water bath?
A: No. Their small size lets them bake quickly. Gentle mixing and careful timing help keep the filling smooth.
Final Thoughts
Snowman Cheesecake brings a little holiday cheer with a short ingredient list and simple candy faces. Give the filling enough time to chill, then enjoy decorating each small portion. Leave a comment and share how your snowman faces turned out. Happy cooking!