
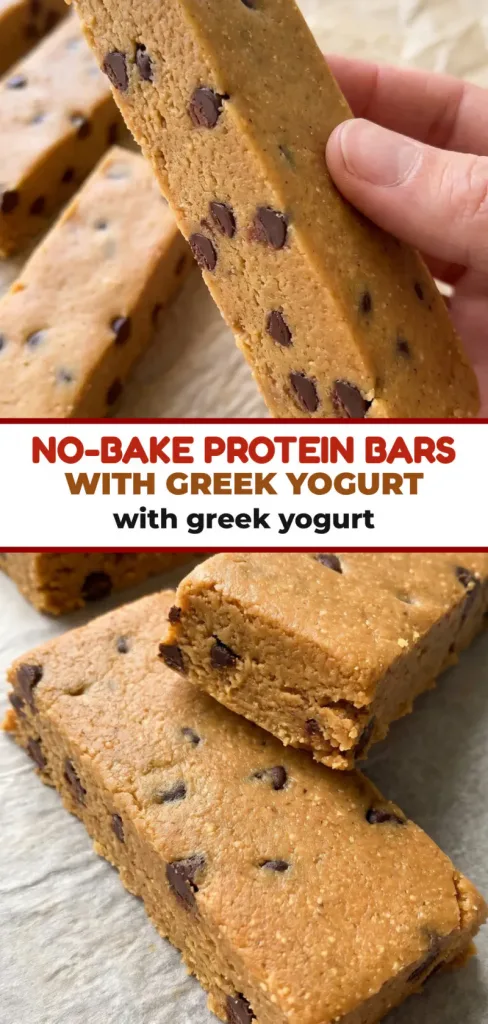
No-Bake Protein Bars with Greek Yogurt make a soft, chewy snack with peanut butter flavor and little chocolate chips in every bite. Thick yogurt brings a gentle tang, while vanilla protein powder adds sweetness and helps the bars hold together. You mix the dough in a bowl, press it into a pan, and let the fridge do the rest. Keep them chilled for an easy snack when you want something sweet and filling.
Why I Love This Recipe
There is a lot to like about a snack that needs no oven and very little cleanup. These bars have a tender, cookie-dough-like bite rather than the dry texture some protein bars have. You can portion the whole batch at once and keep it ready in the fridge.
- No baking: A bowl, spatula, and small pan handle most of the work.
- Simple texture: Greek yogurt adds moisture without a separate creamy filling.
- Easy portions: Long bars are simple to wrap and store.
- Chocolate in every bite: Mini chips spread through the dough without needing a melted topping.
What You’ll Need
- Servings: 6 bars
- Prep Time: 15 minutes
- Cook Time: 0 minutes
- Chill Time: 2 hours
- Total Time: 2 hours 15 minutes
- Pan: 6-inch square pan
Ingredients
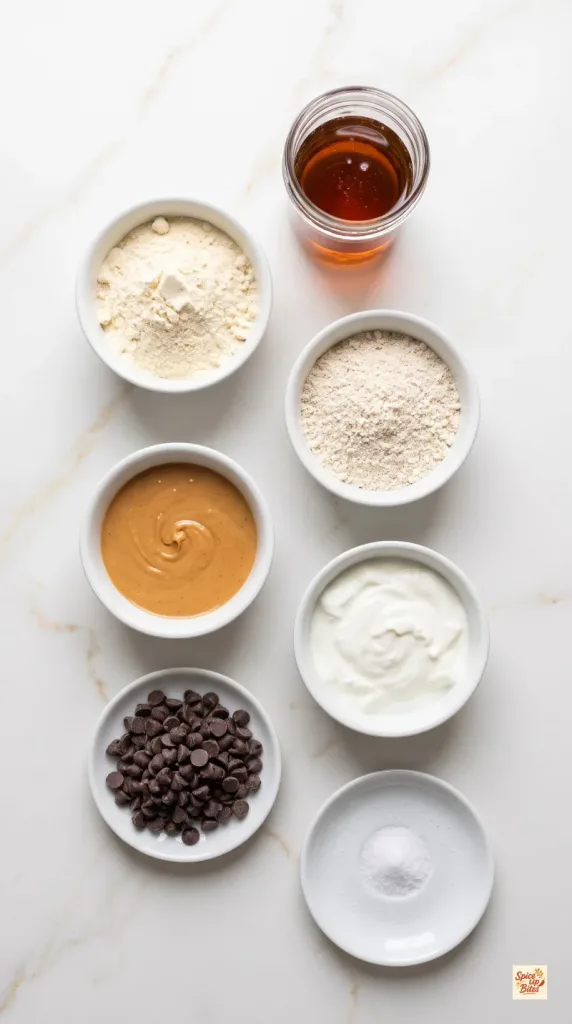
- 1 cup (100 g) vanilla whey protein concentrate powder; weigh it, since scoop sizes vary
- 1/3 cup (30 g) finely ground oat flour labeled suitable for eating without cooking
- 1/3 cup (80 g) smooth unsalted peanut butter, stirred well
- 1/4 cup (60 g) thick plain nonfat Greek yogurt, with any pooled whey poured off
- 3 tablespoons (60 g) pure maple syrup
- 3 tablespoons (30 g) mini semisweet chocolate chips
- 1/8 teaspoon fine salt
- Up to 1 tablespoon (15 g) additional Greek yogurt, only if needed for a dry dough
- Up to 1 tablespoon (8 g) additional ready-to-eat oat flour, only if needed for a sticky dough
Choose thick Greek yogurt rather than regular yogurt. Whey concentrate is the starting point here; casein and plant powders absorb moisture differently and may need more changes than the small adjustments listed above. Use oat flour that the maker says can be eaten uncooked. Do not replace it with raw wheat flour.
Tools You Need
- Kitchen scale and measuring spoons
- Glass mixing bowl
- Firm spatula
- 6-inch square pan
- Parchment paper
- Wooden cutting board and sharp knife
- Airtight storage container
How to Make No-Bake Protein Bars with Greek Yogurt
Start with well-stirred peanut butter and cold, thick yogurt.
Step 1: Mix the Binder
Line a 6-inch square pan with parchment paper, leaving enough overhang to lift out the chilled slab.
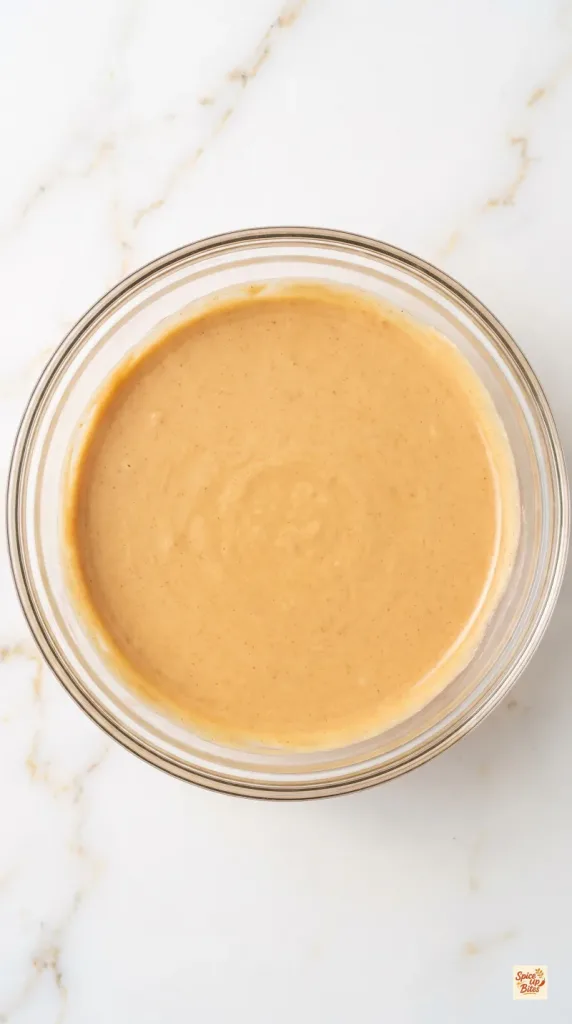
In a glass bowl, stir together 1/3 cup (80 g) smooth unsalted peanut butter, 1/4 cup (60 g) thick plain Greek yogurt, 3 tablespoons (60 g) maple syrup, and 1/8 teaspoon fine salt.
Stir until smooth and evenly tan, with no white streaks of yogurt.
Step 2: Make the Dough
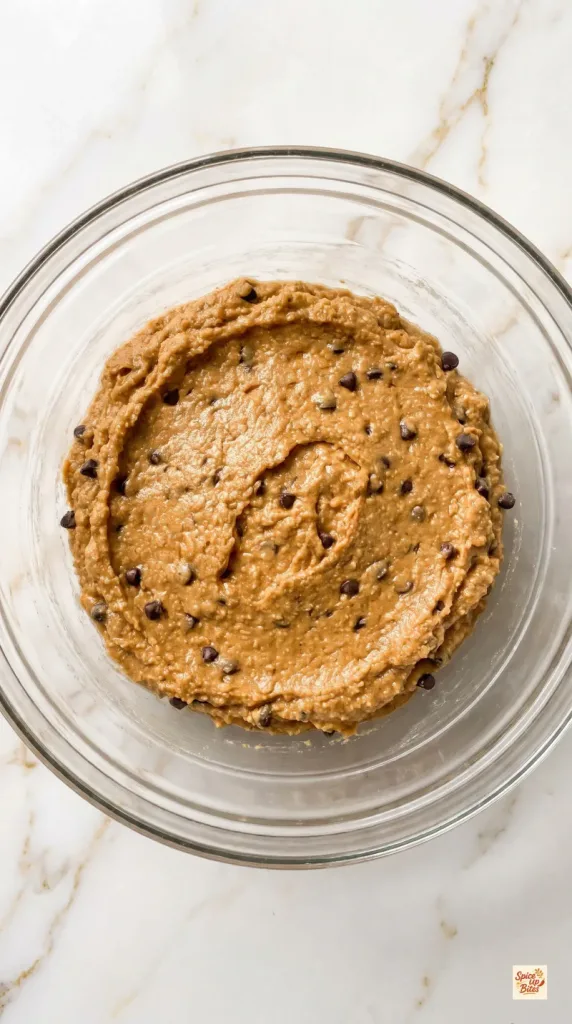
Add 1 cup (100 g) vanilla whey protein concentrate powder and 1/3 cup (30 g) ready-to-eat oat flour to the binder.
Fold firmly with a spatula, scraping the bowl, until a thick dough forms. Let it stand for 5 minutes so the powder can absorb moisture.
Press a little dough between your fingers. It should hold together without crumbling, feel soft, and leave little residue.
If it crumbles, knead in additional Greek yogurt 1 teaspoon (5 g) at a time, up to 1 tablespoon (15 g). If it smears heavily on your fingers, work in additional oat flour 1 teaspoon at a time, up to 1 tablespoon (8 g). Use only the adjustment the dough needs.
Fold in 3 tablespoons (30 g) mini semisweet chocolate chips, spreading them evenly through the dough.
Step 3: Press and Chill
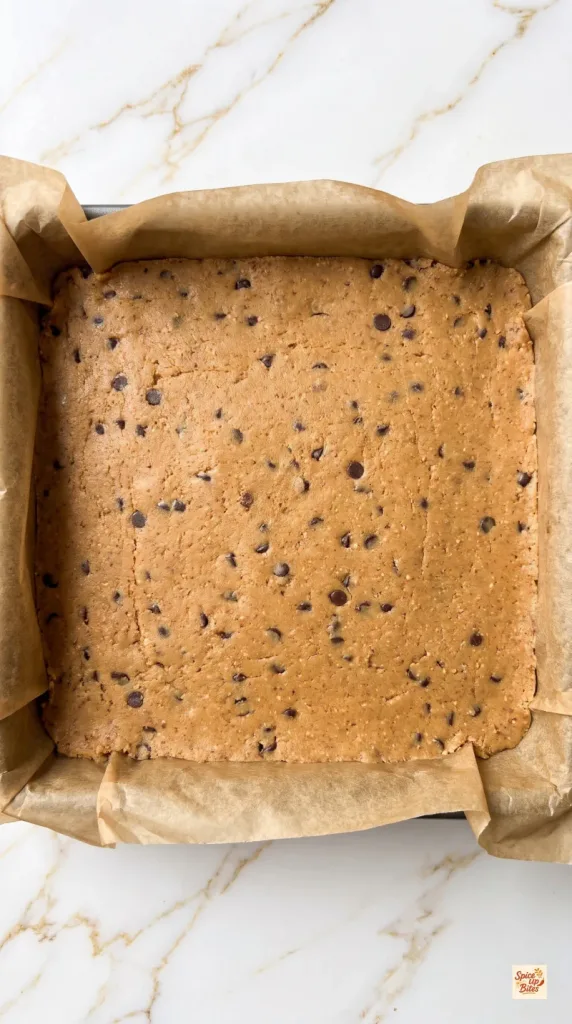
Transfer all the dough to the parchment-lined 6-inch square pan.
Press it firmly into the corners and smooth it into an even slab about 1/2 inch thick. Keep the chocolate chips mixed through the dough rather than adding a topping.
Cover the pan and refrigerate for 2 hours, until firm enough to lift without sagging. These bars stay tender; they do not set like a baked biscuit.
Step 4: Slice and Serve
Lift the cold slab from the pan using the parchment and place it on a wooden cutting board.
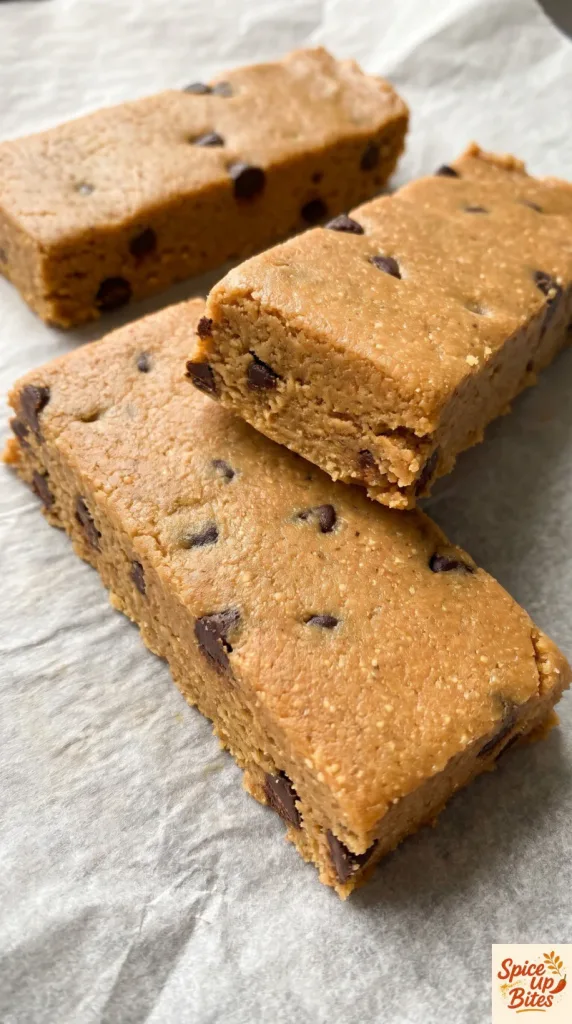
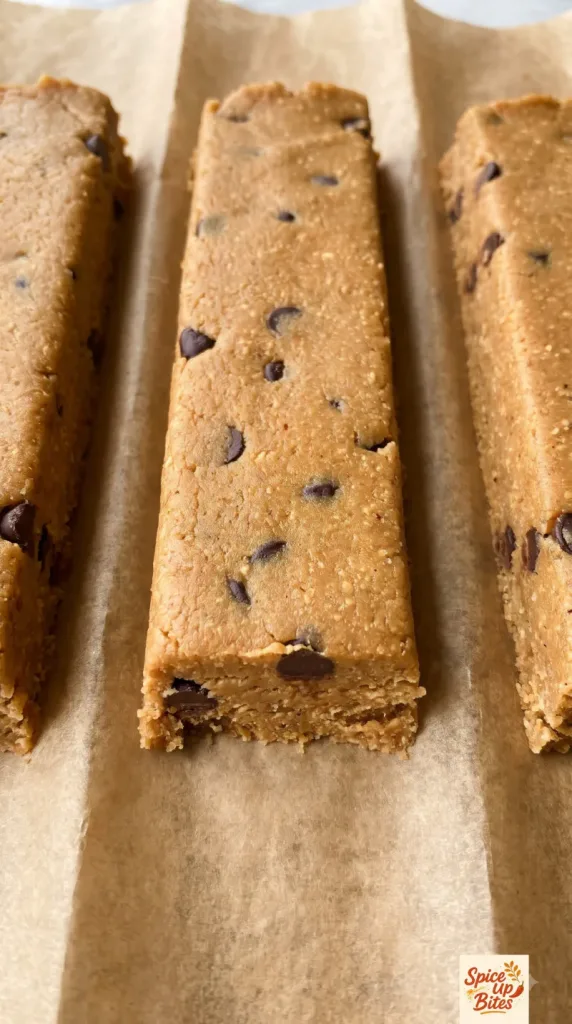
Cut it into 6 long rectangular bars, each about 1 inch wide and 6 inches long. Wipe the blade between cuts for tidier edges.
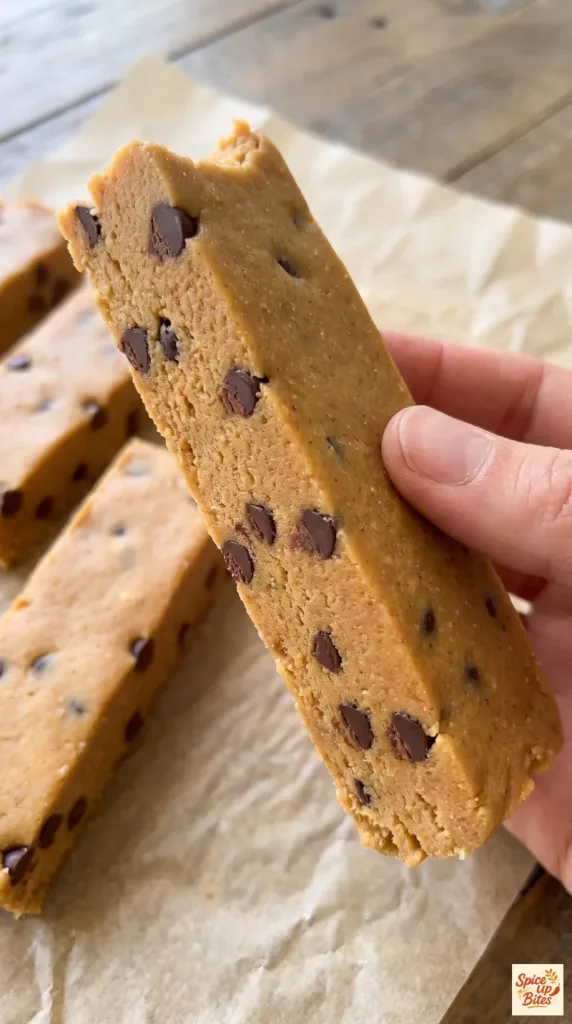
Serve the bars cold and plain. Keep any bars you are not eating in the fridge. A small corner can be broken off for a bite; the inside has the same texture and chips as the rest of the bar.
Why This Recipe Works (Quick Science)
Greek yogurt supplies moisture, and the protein powder absorbs some of it as the dough rests. Fine oat flour helps bind that moisture and gives the bars body. Peanut butter adds fat, which makes the bite softer and less chalky. Maple syrup adds sweetness and a little stickiness to help the dough stay together.
Chilling firms the peanut butter and gives the dry ingredients time to hydrate. It does not cook the ingredients or make the bars shelf-stable. A soft, cohesive dough before chilling is the best sign that the finished bars will slice well.
Common Mistakes to Avoid
- Using runny yogurt: Extra whey can make the dough sticky and the bars too soft.
- Measuring powder by scoop: Different brands have different scoop sizes. Weigh the 100 g for a more useful starting point.
- Adding too much dry powder: Let the dough rest before making small adjustments. A stiff, crumbly dough will stay dry after chilling.
- Skipping firm pressing: Loose pockets can make a bar break apart when lifted.
- Slicing too early: Wait until the slab holds its shape, then cut while cold.
- Packing them without cooling: These are refrigerated dairy snacks, so use an insulated bag and ice pack for travel.
Substitutions and Variations
Smooth almond butter can replace the 80 g peanut butter, though the flavor and firmness will change. Use a well-stirred butter rather than a dry spoonful from the bottom of the jar.
For a gluten-free batch, choose certified gluten-free oat flour that is suitable for uncooked use and check the protein powder label. This recipe contains dairy and peanuts as written.
Do not simply leave out the protein powder. It supplies much of the dry structure. A powder-free bar needs a different balance of ingredients.
Leftovers and Storage
Store the bars in an airtight container in the refrigerator for up to 4 days. Separate layers with parchment so they do not stick.
For longer storage, freeze individually wrapped bars in a sealed freezer container for up to 2 months. Thaw in the refrigerator until soft enough to eat. Freezing may make the texture a little more crumbly after thawing.
Macros Information
Estimated per bar, based on 6 bars and without the optional texture adjustments. Brands of protein powder and peanut butter will change the numbers.
- Calories: 220
- Protein: 19 g
- Carbohydrates: 20 g
- Fat: 8 g
- Saturated Fat: 2 g
- Fiber: 2 g
- Sugar: 13 g
- Sodium: 110 mg
Frequently Asked Questions (FAQ)
Q: Can I use regular yogurt?
A: Thick Greek yogurt works best. Regular yogurt contains more liquid and can make these bars too soft to cut neatly.
Q: What kind of protein powder should I buy?
A: Start with vanilla whey protein concentrate. Choose a flavor you enjoy, since it will be noticeable in the finished bars.
Q: Can I use plant-based protein powder?
A: It is not a direct swap here. Plant powders often absorb more moisture, so the listed amounts may produce a dry dough. Use a formula made for your powder if you want reliable portions.
Q: Why is my dough sticky?
A: Thin yogurt, oily peanut butter, or a less absorbent powder can cause this. Give the dough its 5-minute rest, then use the measured oat flour adjustment if needed.
Q: Why are my bars crumbly?
A: The dough may be too dry or may not have been pressed firmly enough. Before chilling, use the measured yogurt adjustment until a squeezed piece holds together.
Q: Do I have to use chocolate chips?
A: You can leave out the 30 g mini chocolate chips for plain peanut butter bars. They will be less sweet, and their estimated nutrition will change.
Q: Can I use honey instead of maple syrup?
A: Honey can work, but it is thicker and sweeter. Replace the 60 g maple syrup with 60 g honey and check the dough before adding any adjustment.
Q: Can I take these bars to work?
A: Yes. Pack them cold in an insulated bag with an ice pack and refrigerate them when you arrive. They are softer than packaged shelf-stable bars.
Q: Can I make the bars smaller?
A: Yes. Cut the slab into 12 shorter pieces instead of 6 long bars. Each small piece has roughly half the listed nutrition.
Final Thoughts
No-Bake Protein Bars with Greek Yogurt are a simple way to keep a soft peanut butter snack ready in the fridge. Weigh the powder, check the dough before chilling, and serve the bars cold for the best texture. Leave a comment with the protein powder you used and how your bars turned out. Happy cooking!
1 thought on “No-Bake Protein Bars with Greek Yogurt”
Comments are closed.