
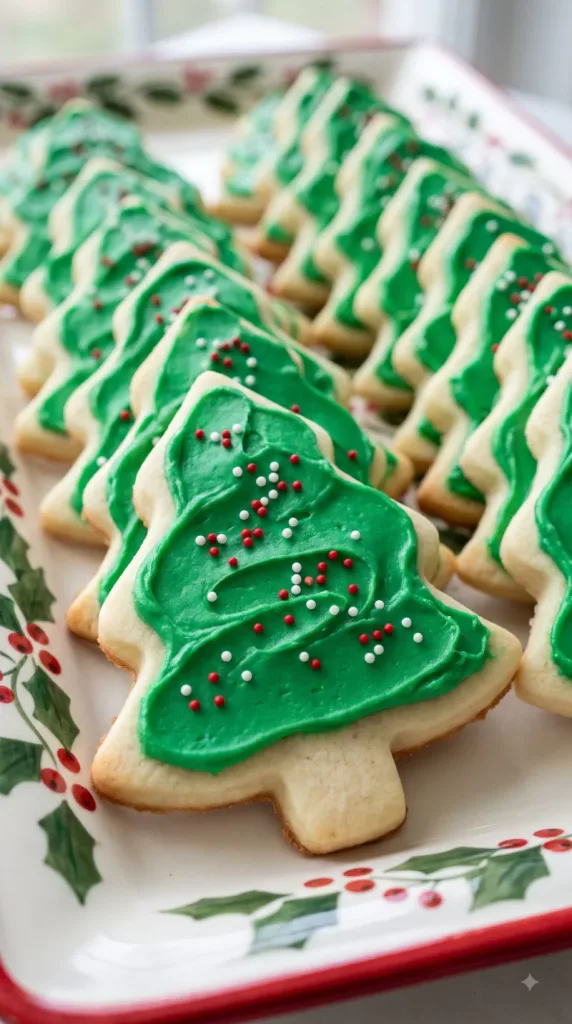
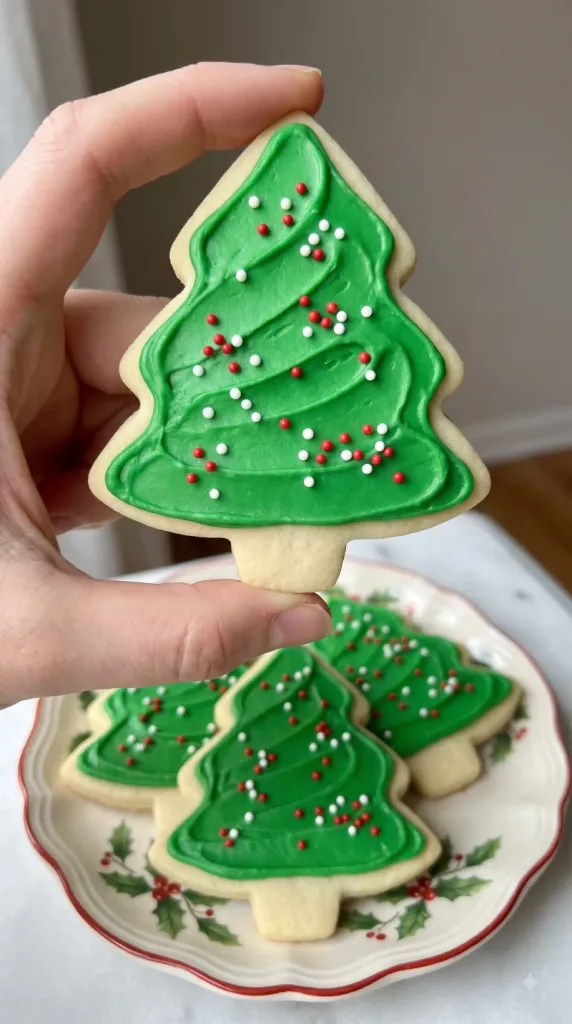
Christmas Tree Cookies bring buttery vanilla flavor and a little holiday sparkle to the cookie plate. These cutout cookies have tender centers, lightly crisp edges, and a soft green vanilla frosting. Red-and-white sprinkles make them look festive without tricky piping. Chill the dough well, then keep an eye on those pointed branches as they bake.

Why I Love This Recipe
The charm of these cookies is in their simple tree shapes and bright frosting. You can spread the frosting with a small spatula, so there is no need to master royal icing. The dough can also rest overnight, which makes a busy baking day easier to plan.
- Classic flavor: Butter and vanilla shine through the sweet frosting.
- Clear shapes: Chilled dough and a modest amount of baking powder help the branches stay defined.
- Simple decorating: A thin layer of green frosting and sprinkles does the work.
- Easy to plan ahead: Make the dough or bake the plain cookies before decorating day.
What You’ll Need
- Servings: 24, about 1 decorated cookie each; yield varies with the cutter.
- Prep Time: 45 minutes, including decorating.
- Cook Time: 25 minutes for two batches, about 10–12 minutes per batch.
- Chill Time: 1 hour 10 minutes.
- Cooling Time: 30 minutes.
- Frosting Rest Time: 30 minutes.
- Total Time: About 3 hours 20 minutes.
- Oven Temperature: 350°F (175°C), conventional oven.
- Pan Size: Two rimmed 13-by-18-inch baking sheets.
- Cookie Cutter: A tree-shaped cutter about 3 inches tall.
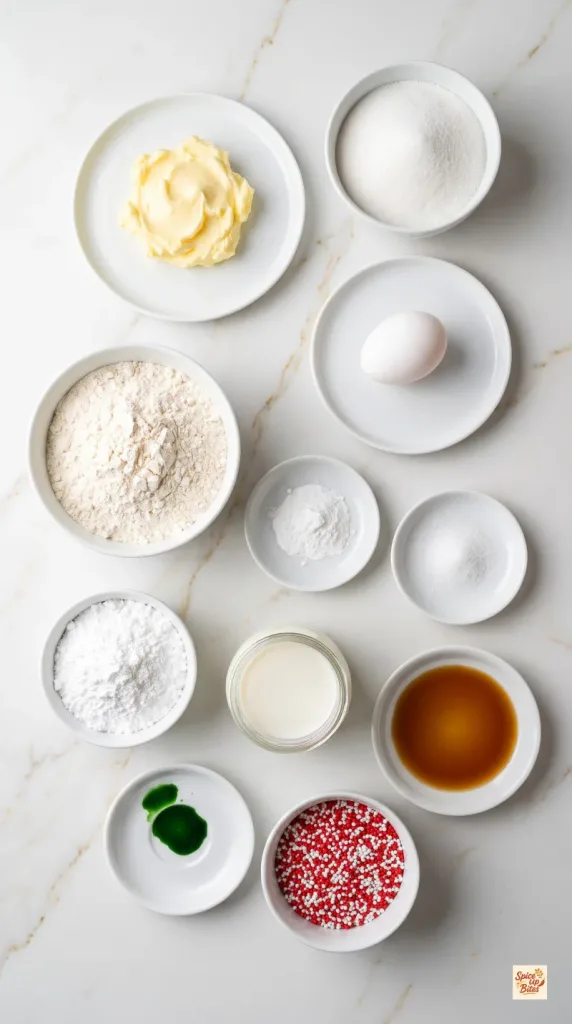
For the cookies:
- 1 cup (226 g) unsalted butter, softened but still cool
- 1 cup (200 g) granulated sugar
- 1 large egg, at room temperature
- 2 teaspoons vanilla extract
- 3 cups (360 g) all-purpose flour
- 1/2 teaspoon baking powder
- 1/2 teaspoon fine salt
For the frosting and decoration:
- 1/4 cup (56 g) unsalted butter, softened
- 2 cups (240 g) powdered sugar, sifted
- 2 tablespoons whole milk, divided
- 1 teaspoon vanilla extract
- 1/8 teaspoon fine salt
- 1/4 teaspoon leaf-green gel food coloring
- 3 tablespoons red-and-white round sprinkles
Tools You Need
- Stand mixer with paddle attachment
- Large and medium mixing bowls
- Kitchen scale and measuring spoons
- Flexible spatula and small offset spatula
- Rolling pin
- Tree-shaped cookie cutter, about 3 inches tall
- Parchment paper
- Two rimmed 13-by-18-inch baking sheets
- Wire cooling racks
How to Make Christmas Tree Cookies
Keep the dough cool and roll it evenly for cookies that bake at the same pace.
Step 1: Cream the Butter and Sugar
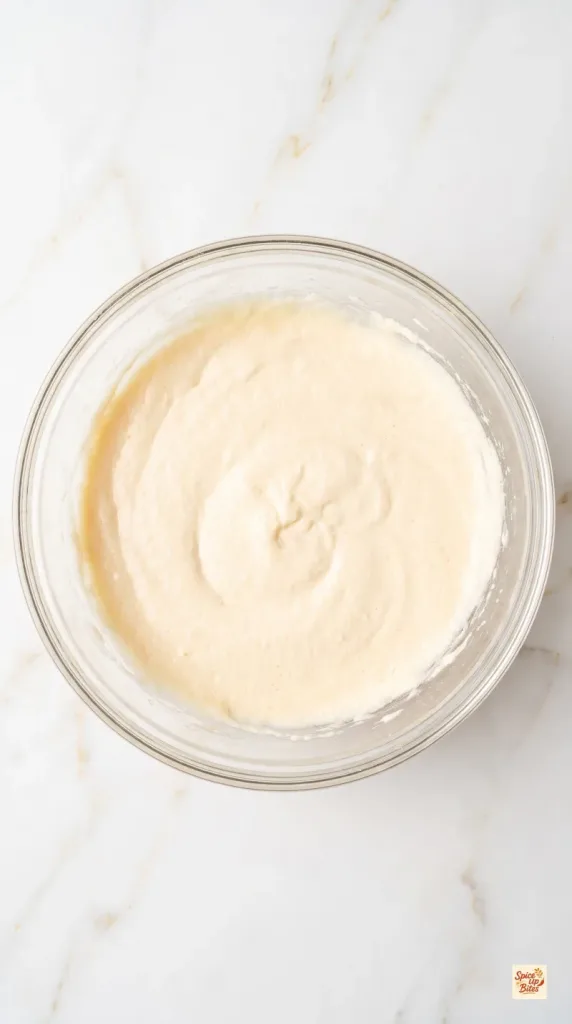
Beat 1 cup (226 g) softened unsalted butter with 1 cup (200 g) granulated sugar on medium speed for 2 minutes, until creamy and slightly lighter. Scrape down the bowl.
Beat in 1 large egg and 2 teaspoons vanilla extract for 30–45 seconds, until evenly combined.
Step 2: Make and Chill the Dough
Whisk 3 cups (360 g) all-purpose flour, 1/2 teaspoon baking powder, and 1/2 teaspoon fine salt in a medium bowl.
Add the flour mixture to the butter mixture in two additions. Mix on low just until no dry flour remains. Scrape the bottom of the bowl; stop once the dough comes together.
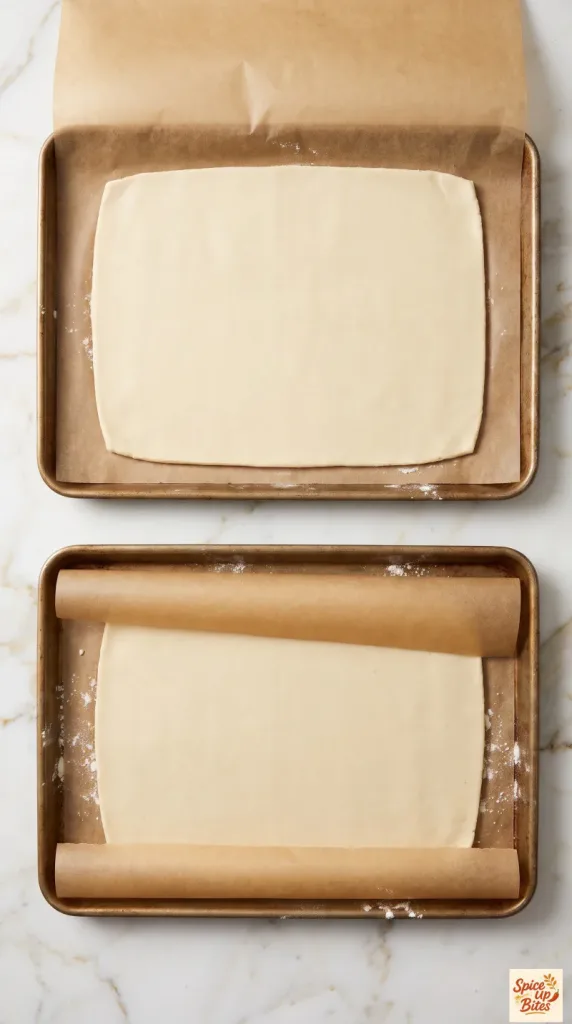
Divide the dough in half. Roll each half between sheets of parchment to an even 1/4-inch thickness.
Slide the dough sheets onto baking sheets, cover, and chill for 1 hour, until firm.
Step 3: Cut the Trees
Heat the oven to 350°F (175°C). Line both 13-by-18-inch baking sheets with fresh parchment.
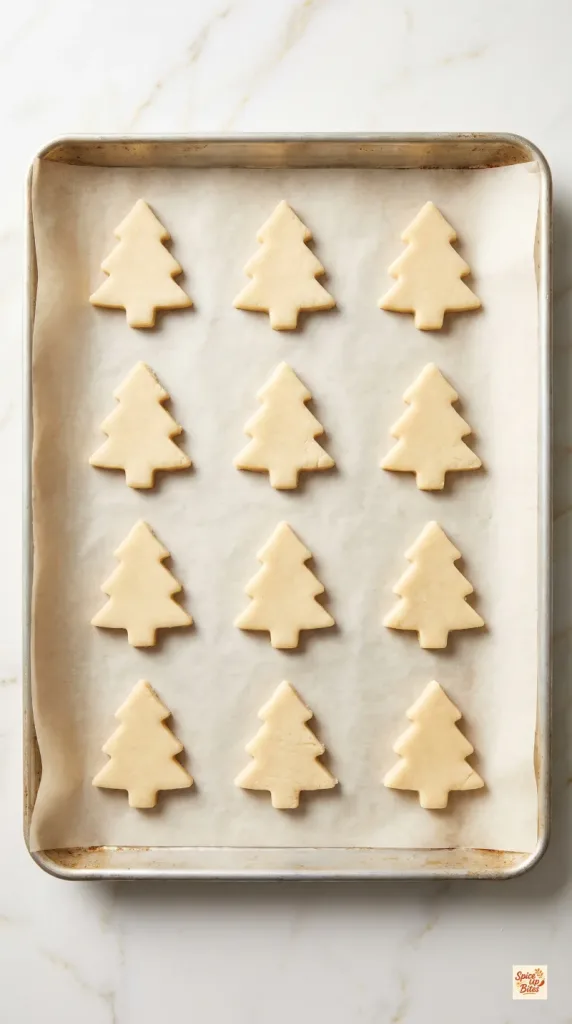
Peel the parchment from the chilled dough and cut trees with a 3-inch tree-shaped cutter. Arrange them about 2 inches apart, up to 12 cookies per sheet, without crowding.
Gather the scraps and reroll them between parchment to 1/4 inch thick. Chill soft scraps before cutting again. Aim for about 24 cookies in all; a wide cutter may give fewer.
Chill the filled trays for 10 minutes. Keep the second tray refrigerated while the first bakes.
Step 4: Bake and Cool
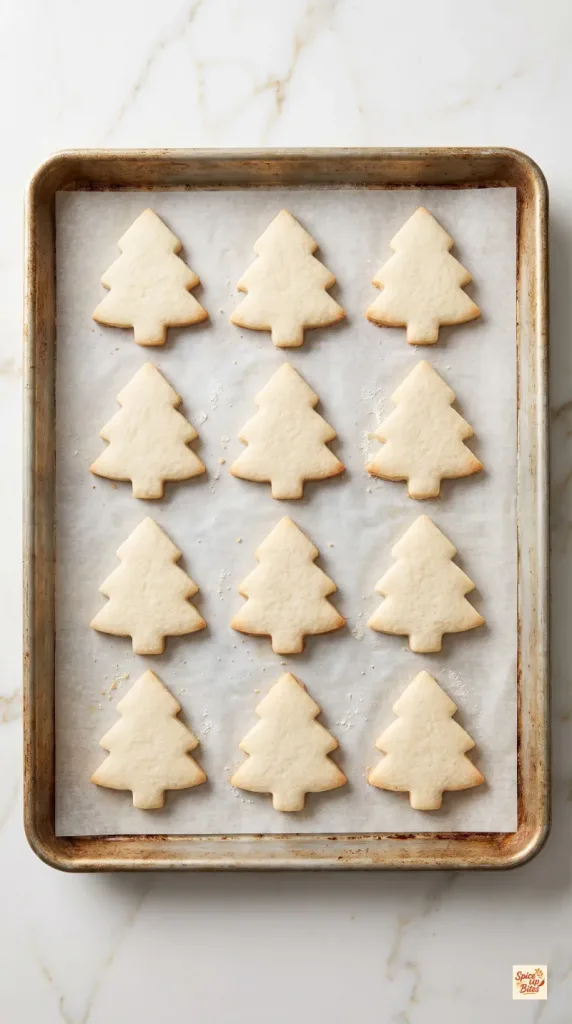
Bake one tray at a time on the middle rack for 10–12 minutes, rotating the tray after 6 minutes.
Remove the cookies when the tops look dry and the edges are set with the faintest golden color. The centers should stay pale. If the branch tips brown quickly, check the batch early.
Let each batch rest on its sheet for 5 minutes, then transfer to a rack. Allow about 30 minutes for complete cooling before frosting.
Step 5: Mix the Green Frosting
Beat 1/4 cup (56 g) softened unsalted butter until smooth. Add 2 cups (240 g) sifted powdered sugar, 1 tablespoon whole milk, 1 teaspoon vanilla extract, and 1/8 teaspoon fine salt.
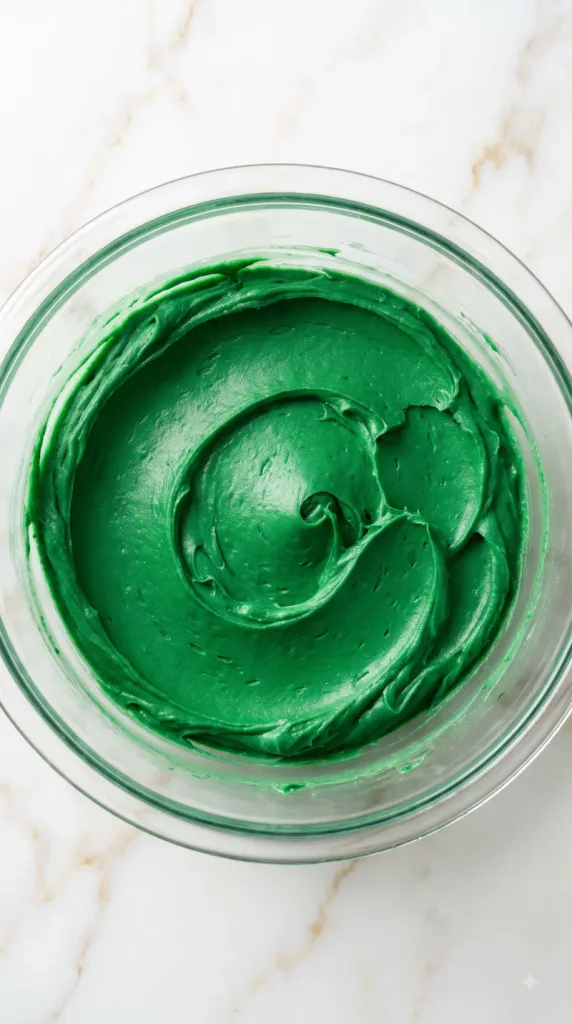
Beat on low until combined, then on medium for 2 minutes. Add the remaining 1 tablespoon whole milk a teaspoon at a time, stopping once the frosting spreads easily and holds soft ridges. You may not need every drop.
Add the 1/4 teaspoon leaf-green gel food coloring a little at a time, mixing thoroughly after each addition, until the frosting is bright Christmas green and evenly colored with no streaks. You may not need the full amount, as gel coloring strengths vary.
Step 6: Decorate and Serve
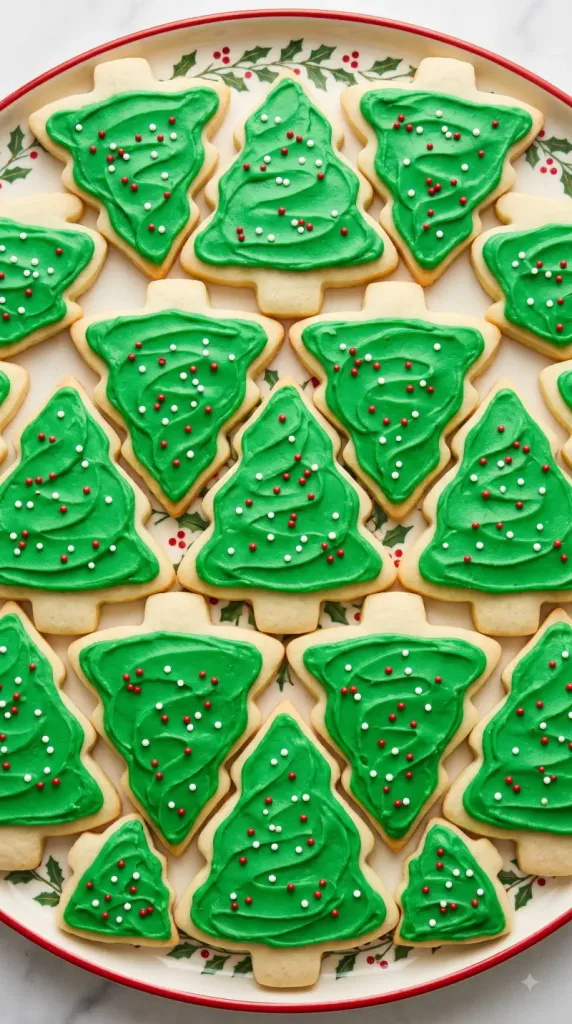
Spread the green frosting over the tops of 24 completely cooled cookies, using about 2 teaspoons per cookie. Follow the branches with the spatula and leave a slim cookie border and the short trunk visible.
Scatter 3 tablespoons red-and-white round sprinkles over the frosted cookies, dividing them evenly. Add them while the frosting is soft so they stick.
Let the decorated cookies rest in a single layer for 30 minutes before moving them to a platter. The frosting may form a light crust, but it stays soft underneath. Serve the cookies on their own.
Why This Recipe Works (Quick Science)
Butter gives the cookies a tender bite, while the egg helps hold the dough together. Mixing only until the flour disappears limits gluten development, so the cookies stay tender instead of tough.
Chilling firms the butter before baking. That gives the tree branches a better chance to set before the dough spreads. A small amount of baking powder adds gentle lift without making the cookies too puffy.
The frosting’s powdered sugar gives it body, and the milk makes it easy to spread. Cool cookies keep that butter-based frosting from melting and sliding off.
Common Mistakes to Avoid
- Packing the flour: Use the gram weight, or spoon flour into the cup and level it. Too much flour makes dry cookies.
- Using very soft dough: If cut trees bend when lifted, chill the dough again before moving them.
- Rolling unevenly: Thin branch tips brown before thick centers bake through. Keep the whole sheet at 1/4 inch thick.
- Waiting for brown tops: Remove the cookies when set and only faintly golden at the edges.
- Frosting warm cookies: Even slightly warm cookies can melt the frosting.
- Stacking too soon: This is soft buttercream, so pressure can flatten the decoration even after it crusts.
Make-Ahead and Storage Tips
Refrigerate the covered dough sheets for up to 2 days. If they become too stiff to cut, let them stand briefly until the cutter presses through cleanly.
Freeze plain baked cookies in an airtight container for up to 2 months, with parchment between layers. Thaw them covered before decorating.
Store decorated cookies in a single layer in an airtight container in the refrigerator for up to 5 days. Let them sit at room temperature for 15–20 minutes before serving for a softer bite. For longer storage, freeze them in a single layer until firm, then pack carefully with parchment between layers for up to 1 month. Thaw covered in the refrigerator.
Macros Information
Estimated per decorated cookie, based on 24 cookies and all frosting and sprinkles being used. Cutter size and leftover frosting will change these values.
- Calories: 220
- Protein: 2 g
- Carbohydrates: 31 g
- Fat: 10 g
- Saturated Fat: 6 g
- Fiber: 0.5 g
- Sugar: 19 g
- Sodium: 80 mg
Frequently Asked Questions (FAQ)
Q: Can I make the dough the night before?
A: Yes. Refrigerate the rolled dough sheets, well covered, for up to 2 days. Cut and bake when ready.
Q: Why did my trees spread?
A: Warm dough, very soft butter, or an overly warm baking sheet can cause spreading. Chill the cut cookies and always use cool sheets for the next batch.
Q: Can I skip the food coloring?
A: Yes. Leave the vanilla frosting its natural creamy color and keep the red-and-white sprinkles. The flavor and texture stay the same.
Q: Is this royal icing?
A: No. It is a soft vanilla buttercream. It is easier to spread, but it does not dry into the hard shell used for detailed royal-icing decorations.
Q: Can I use salted butter?
A: Yes. Use the same butter amounts and omit the added salt from both dough and frosting. The final salt level will depend on the butter brand.
Q: What if I do not have a tree cutter?
A: Use another holiday cutter of a similar size. Thin or small shapes may bake faster, and the yield can change.
Q: Can I double the recipe?
A: Yes, if the mixer can handle the dough. Otherwise, make separate batches. Bake one sheet at a time for even results.
Q: How do I know the cookies are baked?
A: Look for dry tops, set edges, and a faint golden line around the bottom edge. They firm up as they cool, so do not wait for dark brown tops.
Q: Can I pack these as gifts?
A: Use a shallow box with the cookies in a single layer. Keep them cool and avoid pressing wrapping against the soft frosting.
Final Thoughts
Christmas Tree Cookies make a cheerful holiday bake with simple ingredients and easy decorating. Give the dough time to chill, keep the edges pale, and enjoy adding those little sprinkle ornaments. Leave a comment with your favorite way to decorate your trees. Happy cooking!
1 thought on “Christmas Tree Cookies”
Comments are closed.