
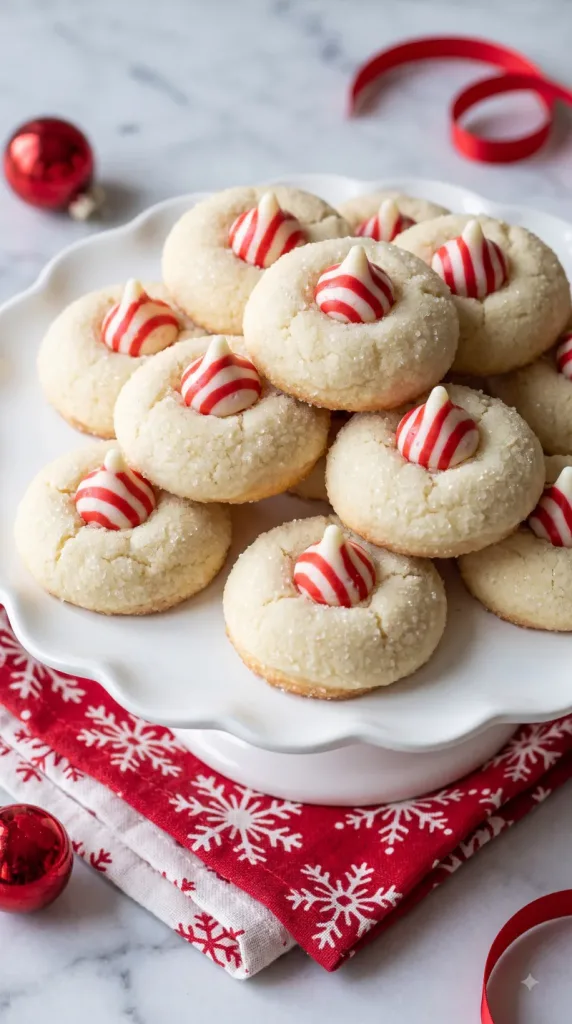
Candy Cane Kiss Cookies bring a cheerful peppermint finish to a soft vanilla sugar cookie. Each round cookie has a crisp sugar coating and a red-and-white striped candy in the center. The dough uses simple baking staples and needs a short chill before baking. Add the kisses after baking so their pretty stripes and pointed tops stay clear.

Why I Love This Recipe
These cookies have a simple holiday look without rolling out dough or piping frosting. Vanilla keeps the cookie mild, while the candy gives each bite a sweet peppermint note. A short chill makes the dough easier to portion and helps it bake into neat rounds.
- Soft centers: A brief bake keeps the inside tender.
- Simple finish: A peppermint kiss adds both flavor and decoration.
- Easy portions: Small dough balls make a batch of 24 cookies.
- Make-ahead option: Chill the dough ahead and bake when needed.
What You’ll Need
- Servings: 24 cookies; 1 cookie per serving
- Prep Time: 25 minutes
- Chill Time: 30 minutes
- Cook Time: 20 minutes for two batches
- Cooling and Setting Time: 45 minutes
- Total Time: 2 hours
- Oven Temperature: 350°F (175°C)
- Pan Size: Two 13×18-inch rimmed baking sheets
Ingredients:
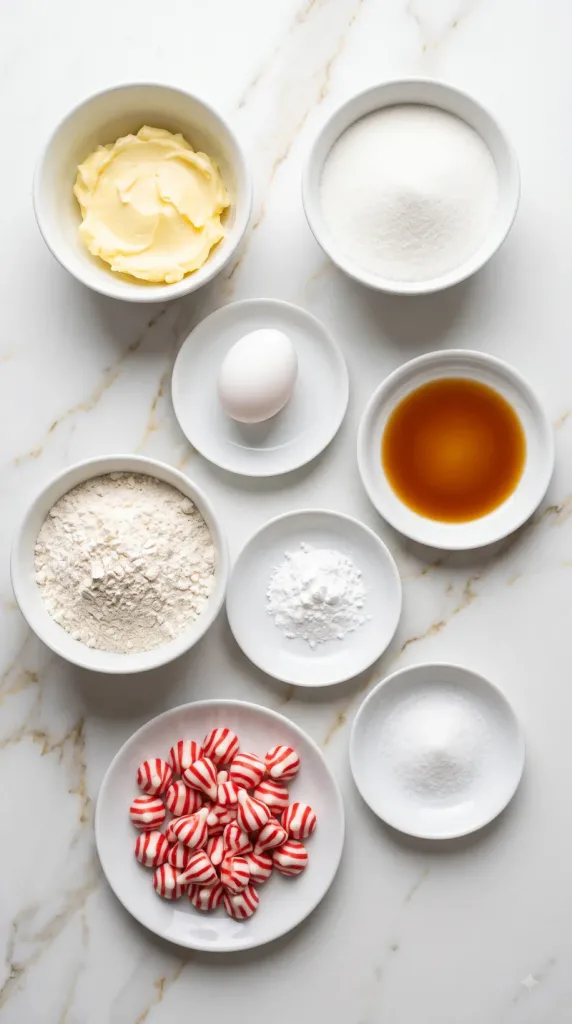
- 1/2 cup (113 g) unsalted butter, softened but not melted
- 1 cup (200 g) granulated sugar, divided: 3/4 cup (150 g) for the dough and 1/4 cup (50 g) for rolling
- 1 large egg, at room temperature
- 1 teaspoon vanilla extract
- 1 3/4 cups (210 g) all-purpose flour, spooned and leveled
- 1/2 teaspoon baking powder
- 1/4 teaspoon fine salt
- 24 candy cane peppermint kisses, unwrapped, about 4 oz (113 g), chilled
Tools You Need
- Hand mixer or stand mixer
- Large glass mixing bowl and medium glass mixing bowl
- Measuring cups and spoons or a kitchen scale
- Flexible spatula
- Small dough scoop
- Small glass bowl for rolling sugar
- Two 13×18-inch rimmed baking sheets
- Parchment paper
- Cooling rack and thin cookie spatula
How to Make Candy Cane Kiss Cookies
Keep the candies chilled until the cookies are ready for their finishing touch.
Step 1: Cream the Butter and Sugar
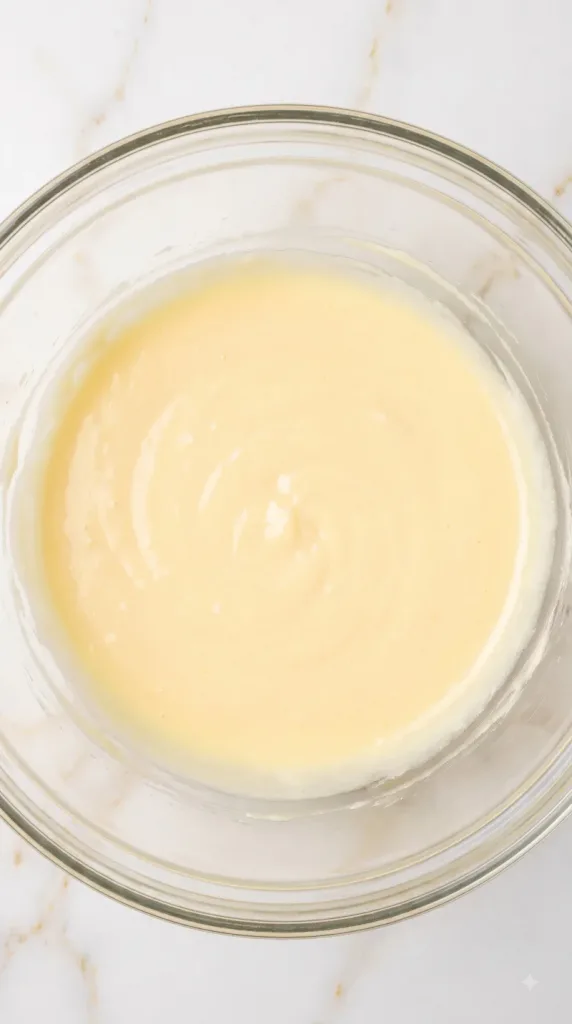
Beat 1/2 cup (113 g) softened unsalted butter with 3/4 cup (150 g) granulated sugar in a large glass bowl for 2–3 minutes, until pale and fluffy.
Beat in 1 large egg and 1 teaspoon vanilla extract until smooth, scraping the bowl as needed.
Step 2: Combine the Dry Ingredients
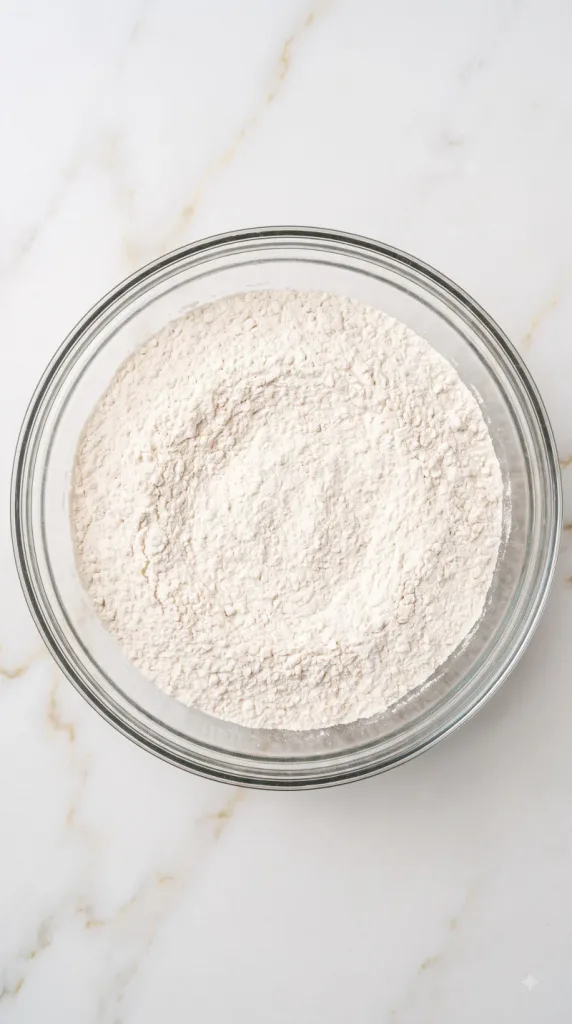
Whisk 1 3/4 cups (210 g) all-purpose flour, 1/2 teaspoon baking powder, and 1/4 teaspoon fine salt in a separate medium glass bowl until evenly combined.
Step 3: Make and Chill the Dough
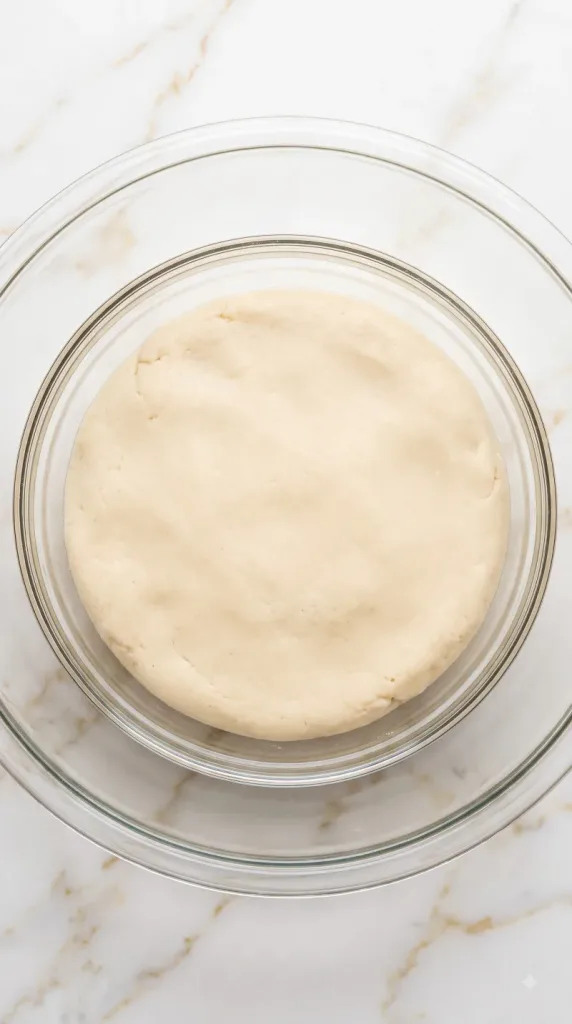
Add the entire flour mixture from Step 2 to the butter mixture from Step 1.
Mix on low just until no dry flour remains; scrape the bottom of the bowl and stop before the dough becomes tough.
Cover the bowl and refrigerate for 30 minutes.
During the chill, unwrap 24 candy cane peppermint kisses, about 4 oz (113 g), and refrigerate them separately.
Step 4: Shape and Coat the Cookies
Preheat the oven to 350°F (175°C) with a rack in the middle.
Line two 13×18-inch rimmed baking sheets with parchment paper.
Place the remaining 1/4 cup (50 g) granulated sugar in a small bowl.
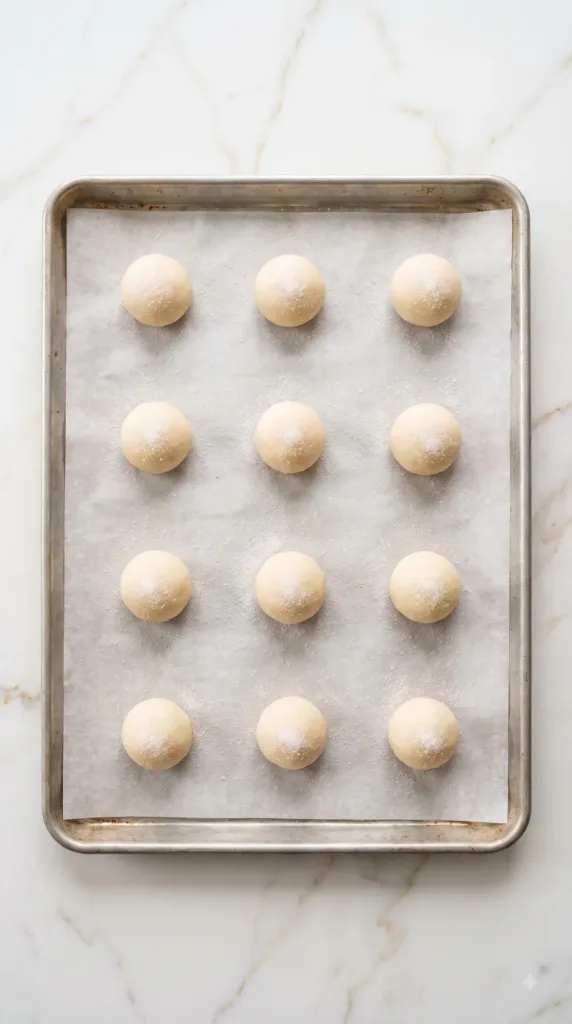
Divide the dough into 24 equal portions, about 22 g each, and roll into balls about 1 inch wide.
Roll the balls in the measured sugar to coat lightly; discard any unused rolling sugar.
Arrange 12 balls on each prepared sheet, about 2 inches apart, without flattening. Keep the second sheet refrigerated while the first bakes.
Step 5: Bake and Add the Kisses
Bake the first sheet for 9–11 minutes, until the edges are set and the centers look puffed and no longer wet. The tops should stay pale.
Let the cookies rest on the sheet for 3 minutes.
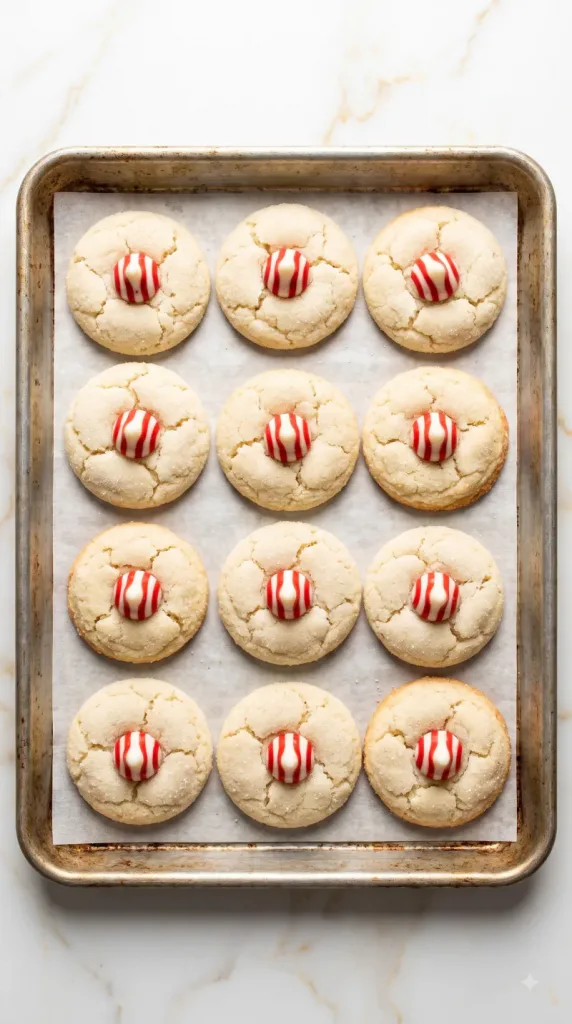
Gently press 12 chilled peppermint kisses into the centers of the 12 cookies, just deeply enough to anchor them. Do not push through the bottoms.
Leave the cookies undisturbed on the sheet for 10 minutes so the softened candies keep their shape.
Bake the second sheet for 9–11 minutes and repeat with the remaining 12 chilled peppermint kisses, using the same resting times. Use the doneness cues rather than the clock alone.
Step 6: Cool and Serve
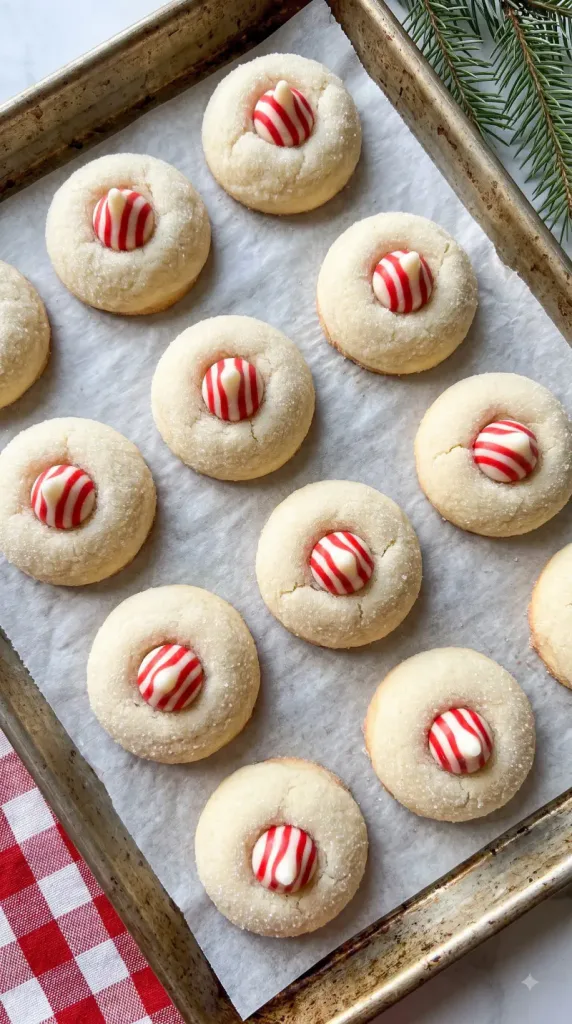
Carefully transfer the cookies to a cooling rack with a thin spatula, supporting each cookie from underneath without touching its candy.
Allow about 30 more minutes, or until the cookies are fully cool and the kisses are firm. Allow extra time in a warm room.
Serve the cookies on their own once the candy has set. Let both batches finish cooling before stacking or packing.
Why This Recipe Works (Quick Science)
Creaming softened butter and sugar traps small air pockets in the dough. The egg helps hold the cookies together, and baking powder gives them a gentle lift. Chilling firms the butter so the cookies spread less before their edges set.
The cookies keep cooking a little on the baking sheet after they leave the oven. Adding chilled kisses after a short rest helps anchor the candy while slowing how quickly its tip softens. Leaving the cookies untouched matters because a kiss can hold its shape even while it is soft inside.

Common Mistakes to Avoid
- Using melted butter: It makes the dough loose and encourages spreading. Butter should give slightly when pressed and still hold its shape.
- Packing the flour: Too much flour makes dry cookies. Use 210 g or spoon flour into the cup and level it.
- Skipping the chill: Soft dough can spread before it sets.
- Waiting for brown tops: The cookies should remain pale, with only faint color at the bottom edges.
- Pressing candies in too deeply: A gentle push holds the kiss without cracking the cookie apart.
- Moving soft candies: Leave them alone until firm so their points stay neat.
Make-Ahead and Storage Tips
Keep fully cooled cookies in an airtight container at cool room temperature for up to 4 days. Separate layers with parchment only after the candies have set. Avoid warm storage spots that soften the toppings.
Refrigerate covered dough for up to 2 days. If it becomes too firm to scoop, let it stand briefly until workable, then shape and coat it.
Freeze uncoated dough balls on a tray, then seal in a freezer bag for up to 2 months. Thaw overnight in the refrigerator, roll in the measured sugar, and bake as directed. Freeze finished, fully set cookies in a rigid airtight container for up to 2 months; thaw in the closed container to limit condensation.
Macros Information
Estimated per cookie, based on 24 cookies and all the rolling sugar:
- Calories: 125
- Protein: 1.5 g
- Carbohydrates: 18 g
- Fat: 5.5 g
- Saturated Fat: 3.3 g
- Fiber: 0.3 g
- Sugar: 11 g
- Sodium: 44 mg
These are estimates. Candy brand and unused rolling sugar will change the values.
Frequently Asked Questions (FAQ)
Q: Can I make the dough ahead?
A: Yes. Cover and refrigerate it for up to 2 days. Let very firm dough soften slightly before portioning.
Q: Do I need peppermint extract?
A: No. The candy cane kisses supply the peppermint flavor, while the cookie base stays vanilla-flavored.
Q: Can I use regular chocolate kisses?
A: Yes. Use the same number and add them after baking. The cookies will have a chocolate finish instead of peppermint.
Q: Why did my cookies spread too much?
A: The butter may have been too soft, the dough too warm, or the flour undermeasured. Chill the dough and use a cool baking sheet.
Q: Why did the kisses lose their points?
A: They may have been added too soon or moved while soft. Use chilled candies, follow the brief cooling pause, and leave the topped cookies undisturbed.
Q: How do I know when the cookies are done?
A: Look for set edges, puffed centers that no longer look wet, and faintly golden bottom edges. Brown tops usually mean they have baked too long.
Q: Can I double the batch?
A: Yes. Double every ingredient and keep the same portion size. Bake one sheet at a time and allow extra baking and cooling time.
Q: Can I pack these in a cookie tin?
A: Yes, once both the cookies and candies are fully cool and firm. Use parchment between layers and avoid a warm spot during transport.
Final Thoughts
Candy Cane Kiss Cookies add a bright peppermint touch to a holiday cookie plate with very little decorating work. Keep the dough chilled, watch for set edges, and give the candies time to firm up. Leave a comment to share how your batch turned out. Happy cooking!