
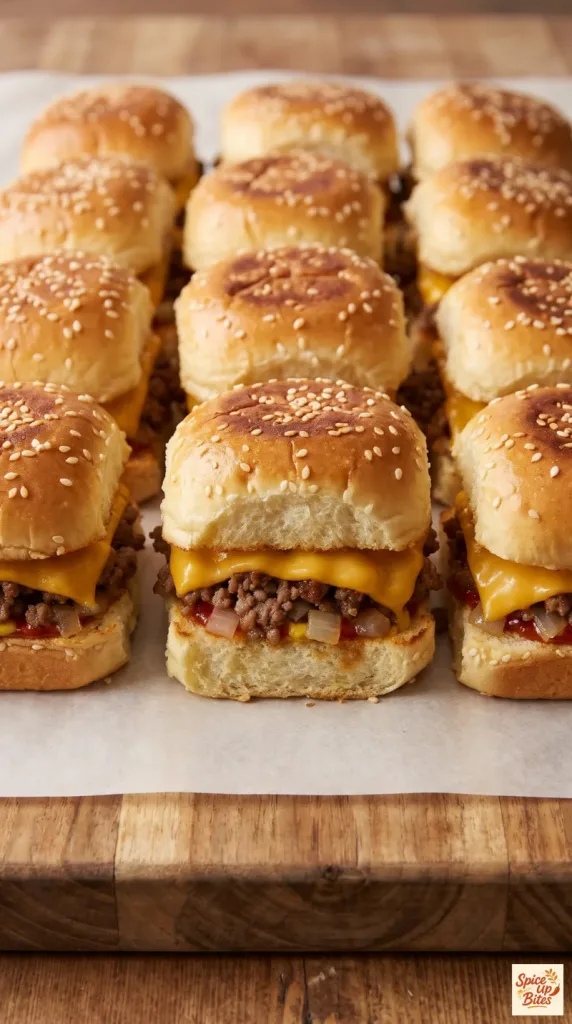
Cheeseburger Sliders pack savory beef, soft melted cheese, and buttery sesame tops into small, shareable sandwiches. The filling cooks in a skillet, so there is no need to shape tiny patties. A short bake brings the layers together and lightly toasts the rolls. Serve them for a game-day spread or a simple dinner.
Why I Love This Recipe
The best part of this recipe is how much burger flavor fits into one pan. Ketchup and mustard season the beef itself, while the cheese holds the loose crumbles together once it melts.
- Easy assembly: Slice the rolls as a slab instead of building each sandwich from scratch.
- Tender filling: Draining the beef keeps the bread from turning greasy.
- Simple portions: Cut along the bun seams for neat, easy-to-share sliders.
- A familiar finish: Butter and sesame seeds give the tops a gentle crunch.
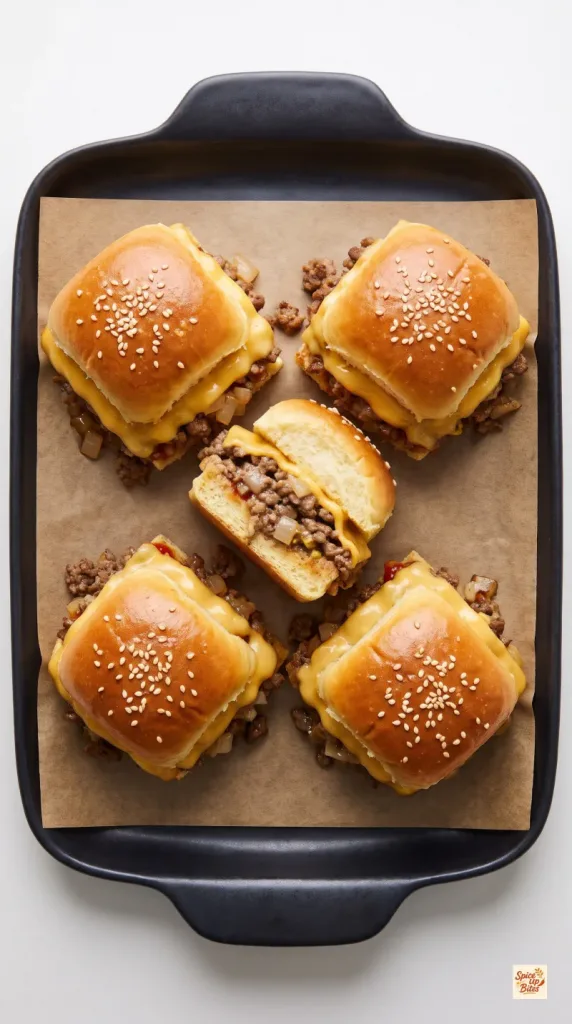
What You’ll Need
- Servings: 12 sliders; 6 meal servings of 2 sliders
- Prep Time: 15 minutes
- Cook Time: 30 minutes
- Rest Time: 5 minutes
- Total Time: 50 minutes
- Oven Temperature: 350°F (175°C)
- Baking Dish: White 9×13-inch rectangular ceramic dish with two built-in side handles, parchment-lined
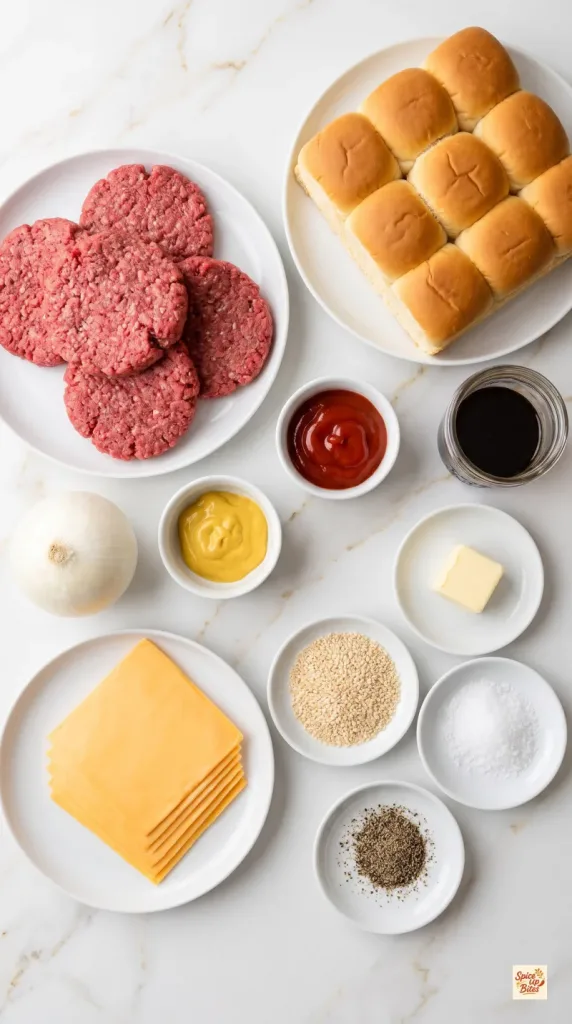
Ingredients
- 1 1/2 pounds 90% lean ground beef
- 1 small onion, finely diced (about 3/4 cup)
- 1/2 teaspoon fine salt
- 1/4 teaspoon ground pepper
- 3 tablespoons ketchup
- 1 tablespoon yellow mustard
- 2 teaspoons Worcestershire sauce
- 12 connected Hawaiian-style square pull-apart rolls (about 12 ounces)
- 6 ounces American cheese, in 12 thin square slices sized to the individual rolls
- 2 tablespoons unsalted butter, melted
- 2 teaspoons sesame seeds
Tools You Need
- 12-inch stainless-steel skillet
- White 9×13-inch rectangular ceramic baking dish with two built-in side handles
- Parchment paper and foil
- Wooden spoon or spatula
- Serrated bread knife and wooden cutting board
- Small glass bowl and pastry brush
- Measuring spoons and an instant-read thermometer
How to Make Cheeseburger Sliders
Cook the filling first, then layer and bake the sandwiches.
Step 1: Prepare the Rolls
Heat the oven to 350°F (175°C).
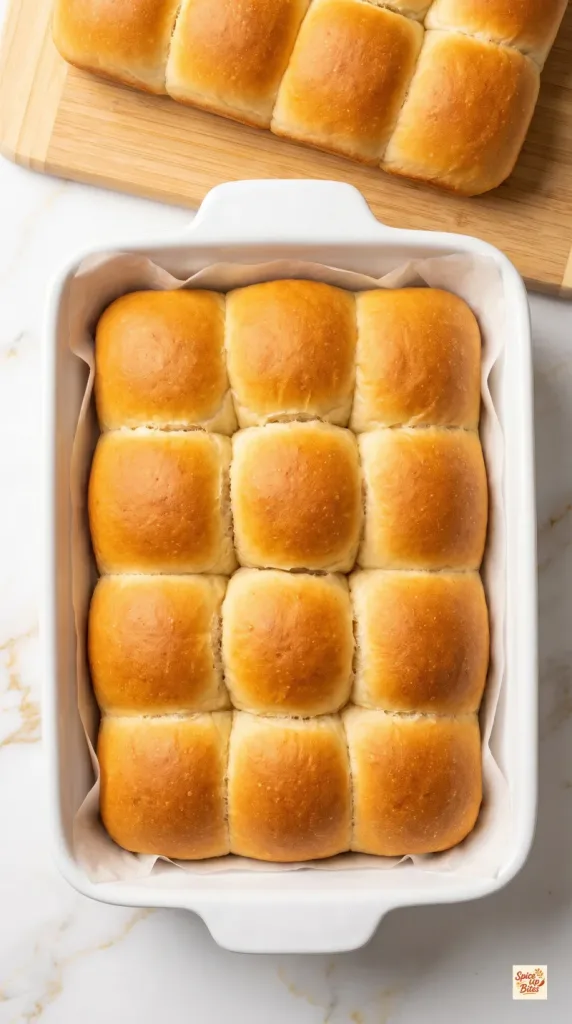
Line a white 9×13-inch rectangular ceramic baking dish with two built-in side handles with parchment across the base and up the long sides. Leave the dish ungreased.
Keep 12 connected rolls (about 12 ounces) together and slice the whole slab horizontally. Set the bottom slab in the dish and set the matching top slab aside.
Step 2: Brown the Beef and Onion
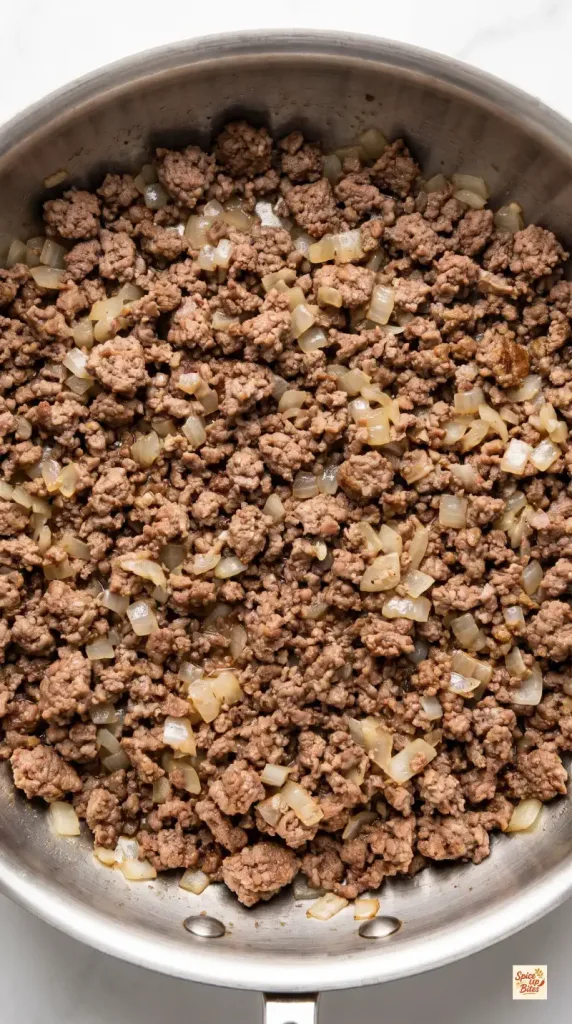
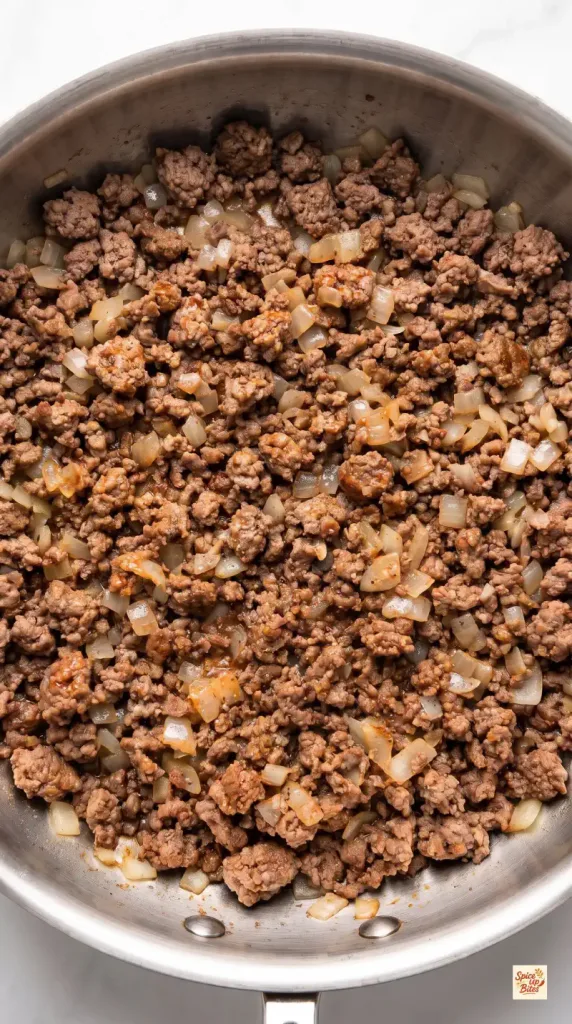
Place 1 1/2 pounds ground beef and 1 small finely diced onion (about 3/4 cup) in a 12-inch stainless-steel skillet over medium-high heat.
Cook for 8–10 minutes, breaking the beef into small crumbles, until the onion is soft and the beef reaches 160°F (71°C). Check the temperature in several gathered mounds of meat.
Take the skillet off the heat and carefully spoon off excess fat. Keep the cooked beef and onion in the skillet.
Step 3: Season the Filling
Return the skillet to medium-low heat. Stir in 1/2 teaspoon fine salt, 1/4 teaspoon ground pepper, 3 tablespoons ketchup, 1 tablespoon yellow mustard, and 2 teaspoons Worcestershire sauce.
Stir for 1–2 minutes, until the filling is evenly seasoned and moist, with no puddle of liquid. Remove it from the heat.
Step 4: Add the Beef and Cheese
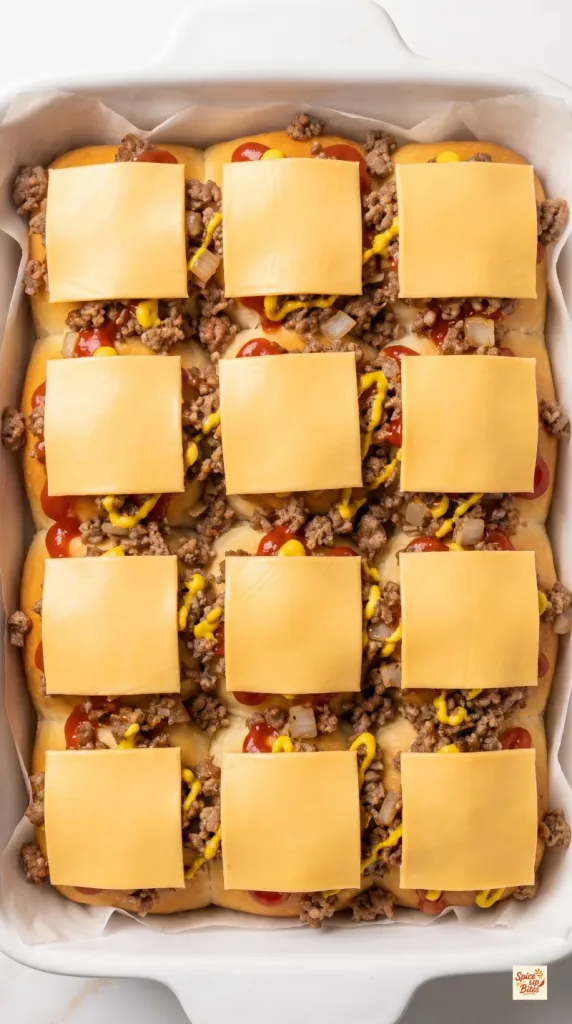
Spread all the cooked filling evenly over the bottom slab of 12 rolls, taking it out to the edges so each portion gets beef.
Arrange 6 ounces American cheese in 12 thin square slices over the meat, with one separate square per roll. Choose slices sized to the roll tops; keep them in a single layer without overlaps.
Step 5: Butter and Bake
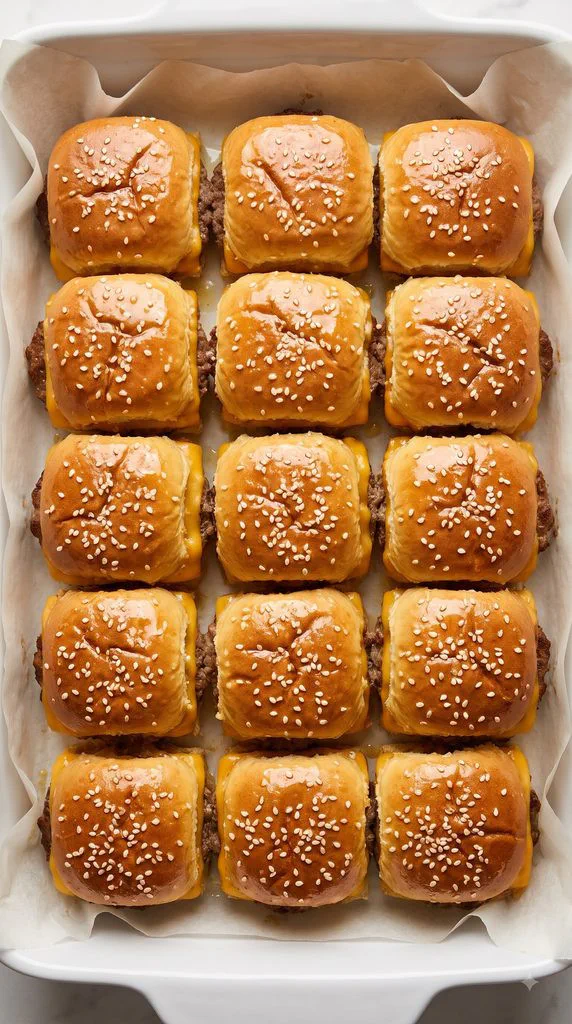
Replace the matching top slab over the filling. Brush 2 tablespoons melted unsalted butter evenly over every bun top.
Sprinkle 2 teaspoons sesame seeds evenly across all the tops.
Cover the dish loosely with foil and bake for 10 minutes. Remove the foil and bake for 8–10 minutes more, until the filling is heated through, all the cheese is fully melted, and the tops are lightly toasted and golden.
The finished buns should sit low against the filling and stay soft inside. Leave the baked dish uncovered.
Step 6: Rest and Serve
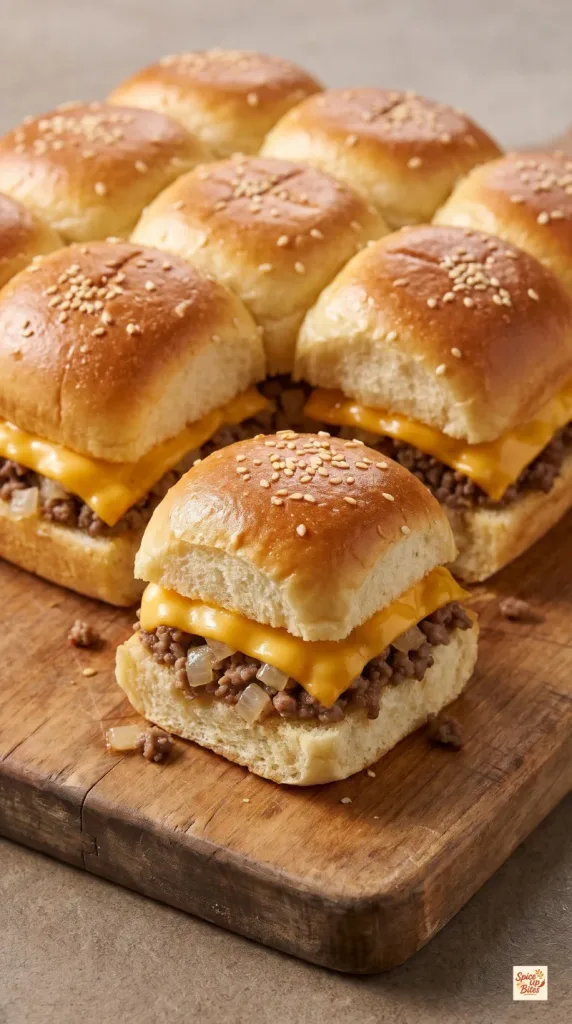
Let the sliders rest for 5 minutes so the filling settles before cutting.
Cut along the seams into 12 sliders, keeping the beef and melted cheese inside each sandwich. Transfer to a board or serving tray and serve warm.
For a fuller meal, add an optional green salad or coleslaw on the side.
Why This Recipe Works (Quick Science)
Cooking the beef before assembly lets you drain off the fat that would otherwise soak into the bread. Small crumbles spread more evenly than large chunks, so every slider gets a similar amount of filling.
American cheese melts smoothly and helps bind the loose beef beneath the top bun. Foil holds in moisture during the first part of baking. Removing it lets the buttered tops toast without drying out the centers. A short rest gives the layers time to settle before you cut them apart.
Common Mistakes to Avoid
- Skipping the drain: Extra fat can soak the bottom rolls. Drain the beef before adding the condiments.
- Overcooking the filling: Stop once the meat is cooked and the onions are soft. It will heat again in the oven.
- Using thick cheese stacks: Thin, evenly sized slices melt more easily and keep the sliders balanced.
- Leaving the tops uncovered too long: Watch the color during the last few minutes. Loosely tent with foil if they brown before the cheese melts.
- Cutting right away: Give the batch its short rest so fewer crumbles fall out.
Pro Tips
- Keep the bottom slab intact while you spread the filling. It is easier to handle than loose rolls.
- Use a thin, even layer of butter rather than soaking the bread.
- Pack the filling gently into an even layer, without pressing the rolls flat.
- Buy thin square American-cheese slices totaling 6 ounces. If needed, trim oversized squares equally on all sides to fit; do not turn them into rectangular half-slices.
What to Serve With Cheeseburger Sliders
A green salad adds a crisp, fresh side to these rich sandwiches. Coleslaw is another easy choice, especially for a casual spread. Potato wedges or roasted vegetables also work well. Keep the side portions separate so the buns stay dry.
Make-Ahead Tips
Cook the beef filling ahead, cool it promptly, and refrigerate it in a covered container for up to 2 days. Reheat it until hot throughout before assembling the sliders, then follow the baking directions. Keep the rolls, cheese, butter, and sesame seeds separate until assembly for the best bread texture.
Leftovers and Storage
Refrigerate leftover sliders within 2 hours in a covered container. Use them within 3 days.
To reheat, wrap loosely in foil and warm at 350°F (175°C) for 15–20 minutes, or until the centers reach 165°F (74°C). Open the foil near the end to refresh the tops.
For longer storage, wrap cooled sliders individually and freeze for up to 2 months. Thaw overnight in the refrigerator before reheating. The bread will be a little softer after freezing.
Macros Information
Estimated per slider, based on 12 sliders and excluding optional sides. Brands and drained fat change the final numbers.
- Calories: 260 kcal
- Protein: 17 g
- Carbohydrates: 19 g
- Fat: 13 g
- Saturated Fat: 6 g
- Fiber: 1 g
- Sugar: 6 g
- Sodium: 590 mg
Frequently Asked Questions (FAQ)
Q: Can I use regular dinner rolls?
A: Yes. Choose soft, connected rolls of a similar size and total weight. They will taste less sweet than Hawaiian-style rolls.
Q: Can I use cheddar instead of American cheese?
A: Yes. Use 6 ounces mild cheddar cut into 12 thin squares. It may release a little more oil and will not melt quite as smoothly.
Q: Do I need to make patties?
A: No. This version uses cooked beef crumbles spread evenly over the bread.
Q: Can I use fattier ground beef?
A: Yes, but drain it well before adding the condiments. Too much leftover fat can make the bottom buns greasy.
Q: Can I leave out the mustard?
A: Yes. Omit the 1 tablespoon yellow mustard for a milder filling. The ketchup and Worcestershire sauce still add flavor.
Q: Why is my bottom bread soggy?
A: The usual causes are undrained beef or a watery filling. Drain the meat, briefly cook the seasoned mixture, and serve soon after the sliders rest.
Q: How do I keep the tops from getting too dark?
A: Keep them loosely covered for the first part of baking. If they brown early after uncovering, lay the foil back over the dish until the cheese melts.
Q: Can I double the recipe?
A: Yes. Use two separate 9×13-inch dishes so the filling stays the same depth. Rotate their oven positions if needed and check each dish for melted cheese and heated centers.
Q: Are these a meal or an appetizer?
A: Either. Plan on one slider as part of an appetizer spread or two sliders per person with a side for a meal.
Final Thoughts
Cheeseburger Sliders bring the familiar burger flavors together in one easy batch. Keep the filling moist, melt the cheese fully, and give the buns just enough time to toast. Leave a comment with your favorite side to serve with them. Happy cooking!