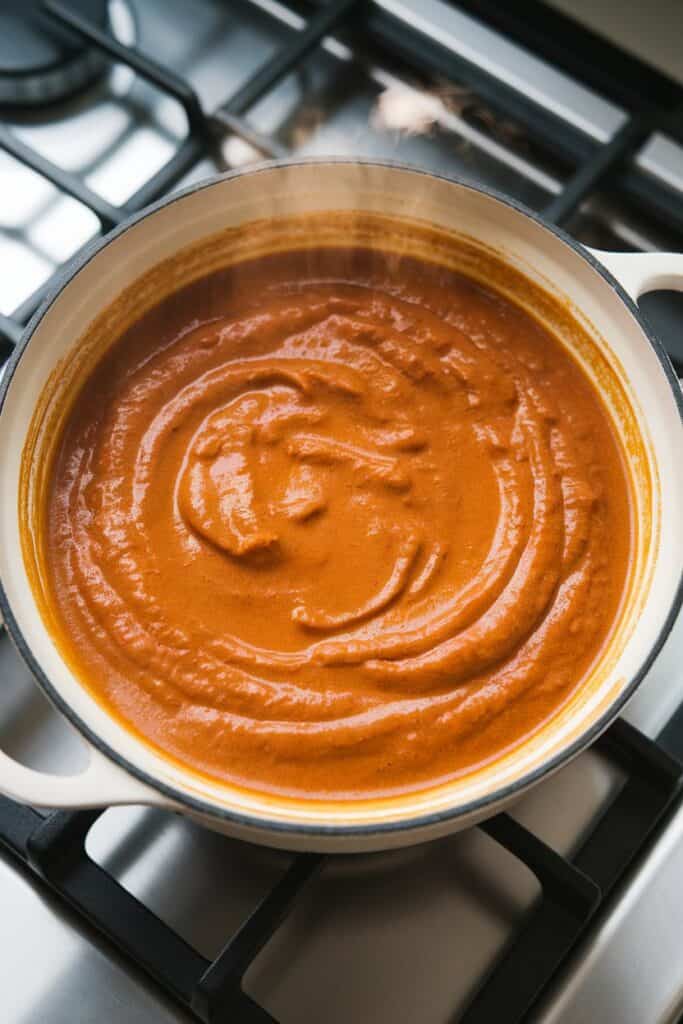
This Thai Curry Butternut Squash Soup is like a warm hug in a bowl.
It’s cozy, creamy, and packed with flavor from red curry paste, coconut milk, and roasted butternut squash.
I make this on chilly days when I want something nourishing but still really easy to throw together.
You’ll love how it comes together with simple pantry staples and just a few fresh ingredients.
Plus, your kitchen will smell amazing while it simmers.

Why I Love This Recipe
I started making this soup after a trip to a small Thai cafe where I had the most velvety, flavorful soup that felt both comforting and exotic at the same time. I came home and worked on a version that’s easy to make but still rich with flavor. This one hits all the right notes.
- Roasted squash brings out a natural sweetness
- Thai red curry gives it a kick and so much depth
- Coconut milk makes it creamy without any dairy
- Comes together in one pot after roasting
- Perfect for meal prep or cozy dinners

Servings & Time
Servings: 4
Cook Time: 50 minutes (includes roasting)
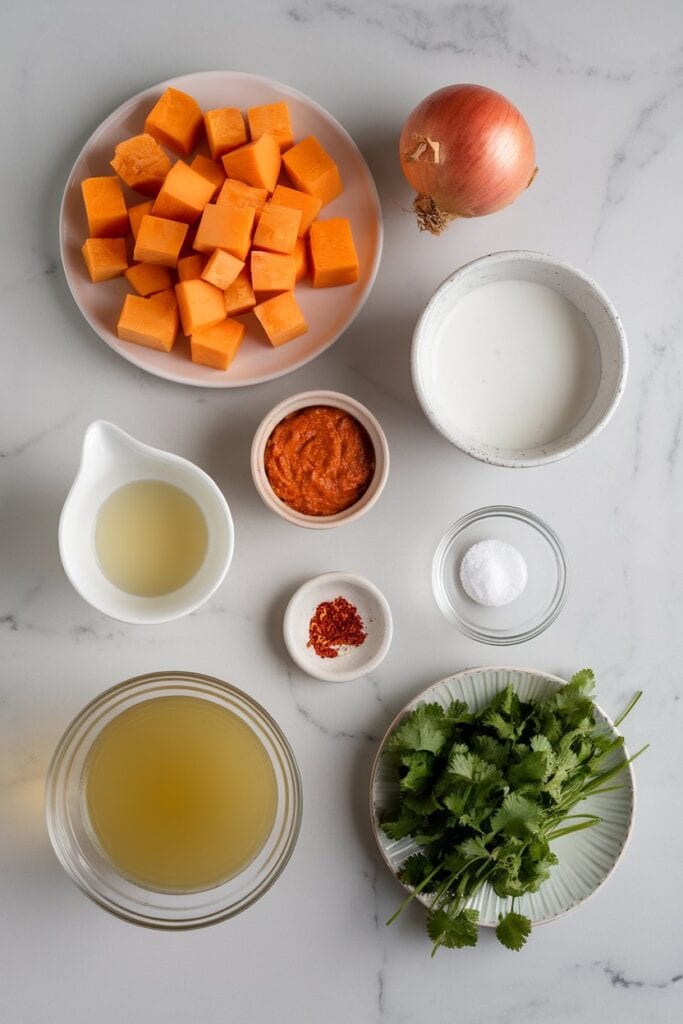
What You’ll Need
- 1 medium butternut squash (about 2.5 lbs), peeled, seeded, and cubed
- 1 tablespoon olive oil (for roasting)
- 1 tablespoon olive oil (for soup)
- 1 small yellow onion, diced
- 3 garlic cloves, minced
- 1 tablespoon fresh ginger, grated
- 2 tablespoons Thai red curry paste
- 3 cups vegetable broth
- 1 (13.5 oz) can full-fat coconut milk
- 1 tablespoon lime juice (freshly squeezed)
- 1 teaspoon salt (adjust to taste)
- Optional toppings: fresh cilantro, coconut milk drizzle, red chili flakes
Pro Tips
- Roast the squash—it adds caramelized flavor you won’t get from boiling
- Use full-fat coconut milk for that rich, creamy texture
- Adjust curry paste to your spice level (start small if unsure)
- Blend the soup carefully—work in batches if using a blender
- Garnish at the end to keep everything looking and tasting fresh
Tools You’ll Need
- Baking sheet
- Parchment paper
- Large pot or Dutch oven
- Blender (or immersion blender)
- Chef’s knife
- Cutting board
- Wooden spoon
- Measuring cups and spoons
Substitutions and Variations
- Swap butternut squash for pumpkin or sweet potatoes
- Add cooked shredded chicken for protein
- Use light coconut milk to reduce calories (soup will be thinner)
- Stir in baby spinach at the end for extra greens
- Replace red curry paste with yellow or green for a twist
Make Ahead Tips
- Roast the squash 1–2 days ahead and store it in the fridge
- Soup can be made fully in advance and kept refrigerated for 3–4 days
- Freezes beautifully—just leave out any garnishes until serving
Recipe + Instructions
Step 1: Roast the Butternut Squash
Preheat oven to 400°F. Spread 1 medium butternut squash (about 2.5 lbs), peeled, seeded, and cubed, on a parchment-lined baking sheet. Drizzle with 1 tablespoon olive oil and toss to coat. Roast for 30 minutes until tender and slightly caramelized.
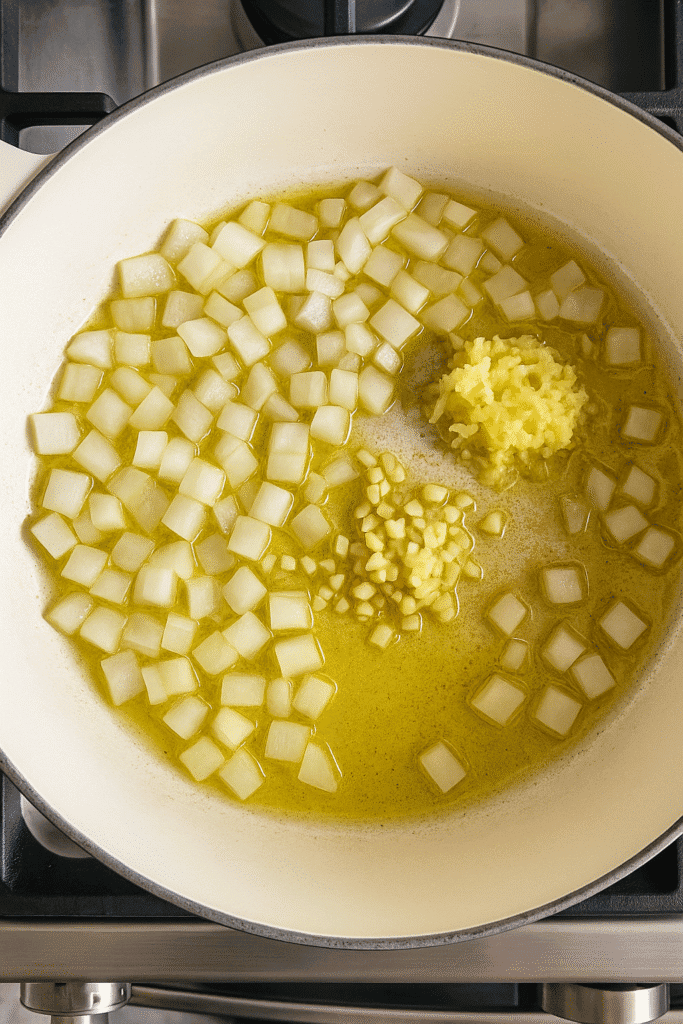
Step 2: Sauté Aromatics
Heat 1 tablespoon olive oil in a large pot over medium heat. Add 1 small diced yellow onion and cook for 4–5 minutes until soft. Stir in 3 cloves minced garlic and 1 tablespoon grated fresh ginger. Cook for 1 minute until fragrant.
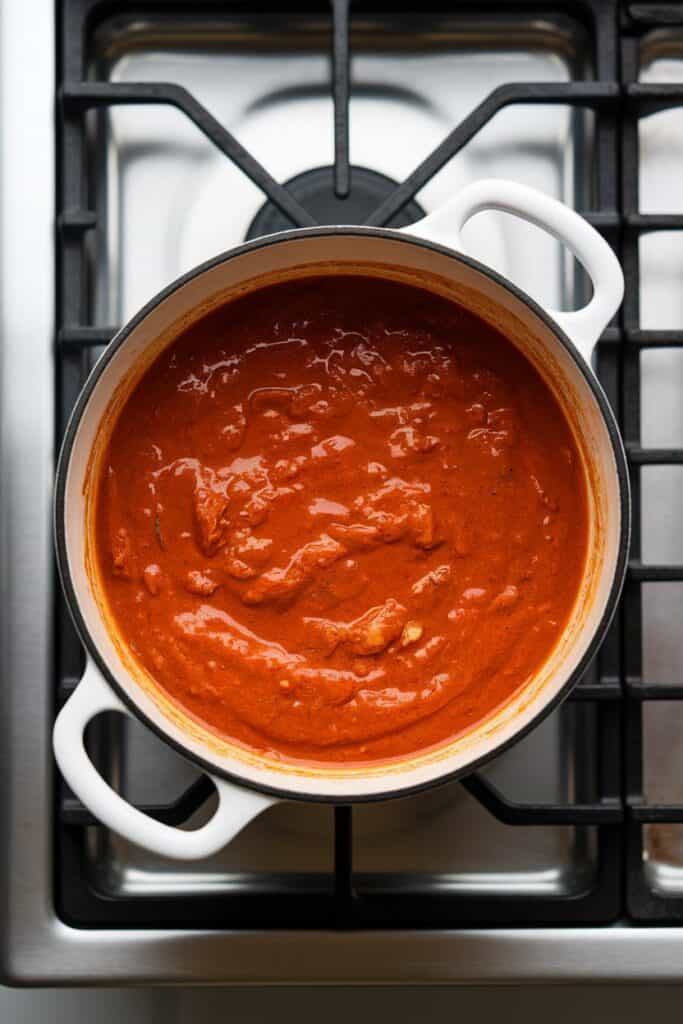
Step 3: Add Curry Paste
Stir in 2 tablespoons Thai red curry paste and cook for 1 minute, letting it bloom and deepen in flavor.
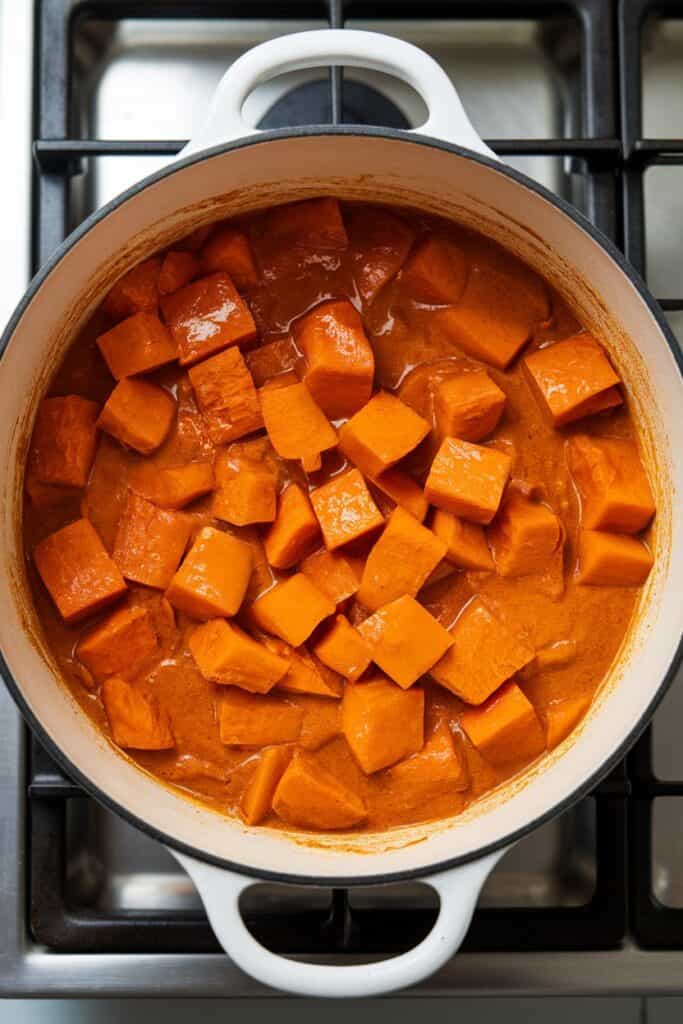
Step 4: Add Roasted Squash and Broth
Add the roasted butternut squash and 3 cups vegetable broth to the pot. Stir everything together and bring to a simmer.
Step 5: Simmer and Blend
Simmer for 10 minutes to let flavors combine. Remove from heat. Carefully blend the soup using an immersion blender until smooth—or transfer to a blender in batches.
Step 6: Stir in Coconut Milk and Lime
Stir in 1 (13.5 oz) can full-fat coconut milk, 1 tablespoon lime juice, and 1 teaspoon salt. Heat gently until warmed through—don’t boil.

Step 7: Serve and Garnish
Ladle soup into bowls and top with a swirl of coconut milk, chopped cilantro, and a sprinkle of red chili flakes if you like some heat.

Leftovers & Storage
- Keep leftovers in the fridge for up to 4 days
- Reheat gently on the stove or microwave until hot
- Freezes well for up to 3 months—store in airtight containers
- Add a splash of broth or water if it thickens too much after storing
Why This Recipe Works (Quick Science)
Roasting the butternut squash caramelizes its natural sugars, bringing out a deeper flavor than boiling. Thai red curry paste is oil-based, so sautéing it activates the spices and makes everything more fragrant. Coconut milk adds creaminess thanks to its healthy fats, giving that silky texture without any cream.
Common Mistakes
- Skipping the roasting—boiled squash just isn’t as flavorful
- Using light coconut milk—it’s thinner and less creamy
- Adding lime too early—it can lose its brightness if overcooked
- Over-blending—if using a blender, don’t overfill and always vent the lid
- Not tasting for salt—squash needs a good seasoning boost
What to Serve With
- Crusty sourdough bread or naan
- A fresh green salad with lime vinaigrette
- Grilled tofu or shrimp on the side
- Jasmine rice for a heartier bowl
FAQ
Can I make this spicy?
Yes! Add more red curry paste or a dash of sriracha for heat.
Can I use frozen squash?
Totally. Just roast it straight from frozen—add 5–10 more minutes.
Is this gluten-free?
Yes, all ingredients are naturally gluten-free. Just double-check your curry paste.
Can I make it in advance?
Yup, this soup is perfect for making ahead and reheats beautifully.
What blender should I use?
A stick blender is easiest, but any regular blender will work—just let the soup cool slightly first.
Macros Information (Per Serving – Approximate)
- Calories: 310
- Protein: 4g
- Fat: 22g
- Carbs: 26g
- Fiber: 5g
- Sugar: 8g
Now It’s Your Turn
I hope this Thai Curry Butternut Squash Soup brings the same warmth and comfort to your table as it does to mine. If you try it, I’d love to hear what you think—leave a comment and let me know how it went, or if you made any tasty tweaks!